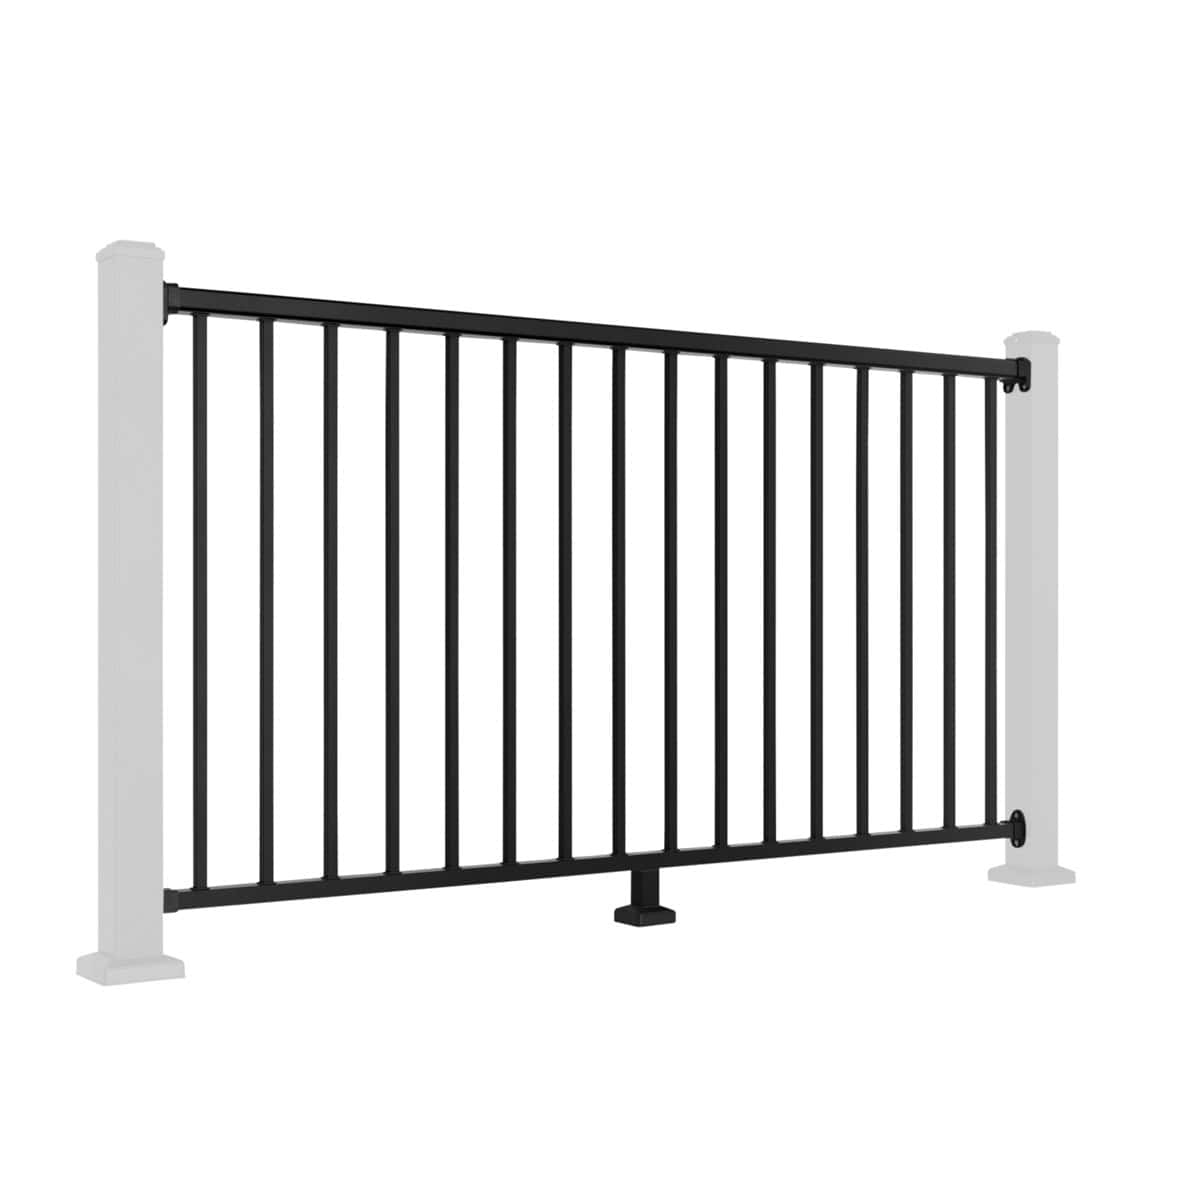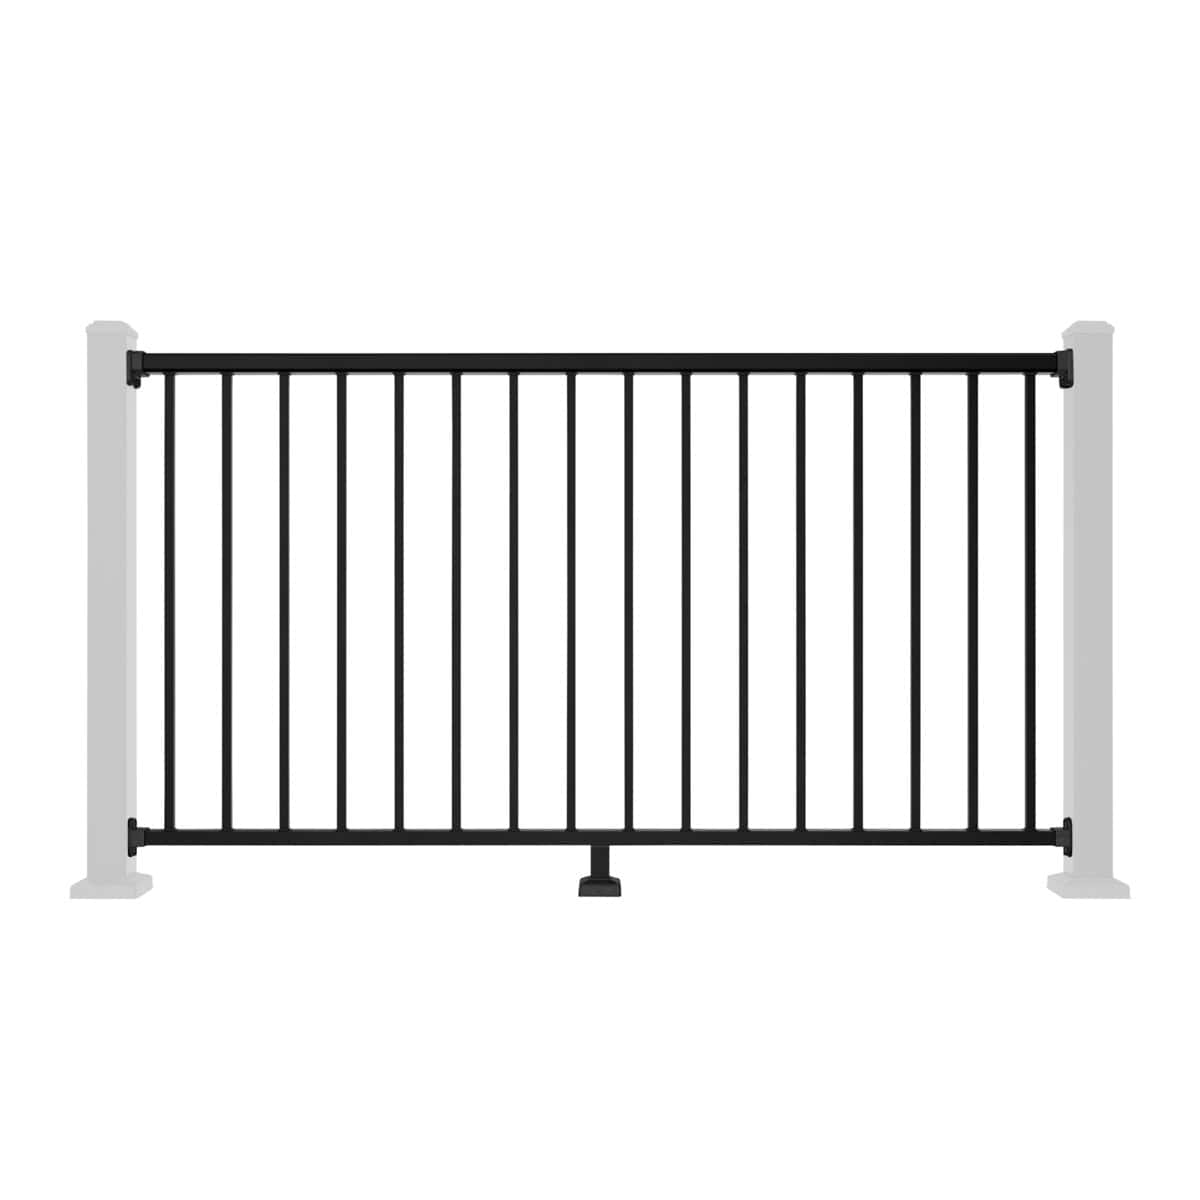


Installing railing on composite decking is made easy with NeoTimber® composite balustrades.
Read the step-by-step instructions below to learn about installing decking balustrades and specifically how to position and fix both your composite balustrade base plate and post sleeve securely onto the perimeter of your deck area. Installing composite deck railing posts onto decking is a fairly straight-forward process for anyone competent in DIY. Please note that we recommend installing decking balustrade posts into a solid (not hollow) deck board and solid subframe joist, such as timber or recycled plastic lumber.
Step #1.
Following diagrams 35 and 36, position the post (J-LV-0215-36) correctly. Installing composite deck railing directly onto a solid deck board requires a substrate underneath in order for the screws to fully secure the post mount (J-LV-0215-36). The substrate underneath has to fit in-between the range shown in diagram 36.


Step #2.
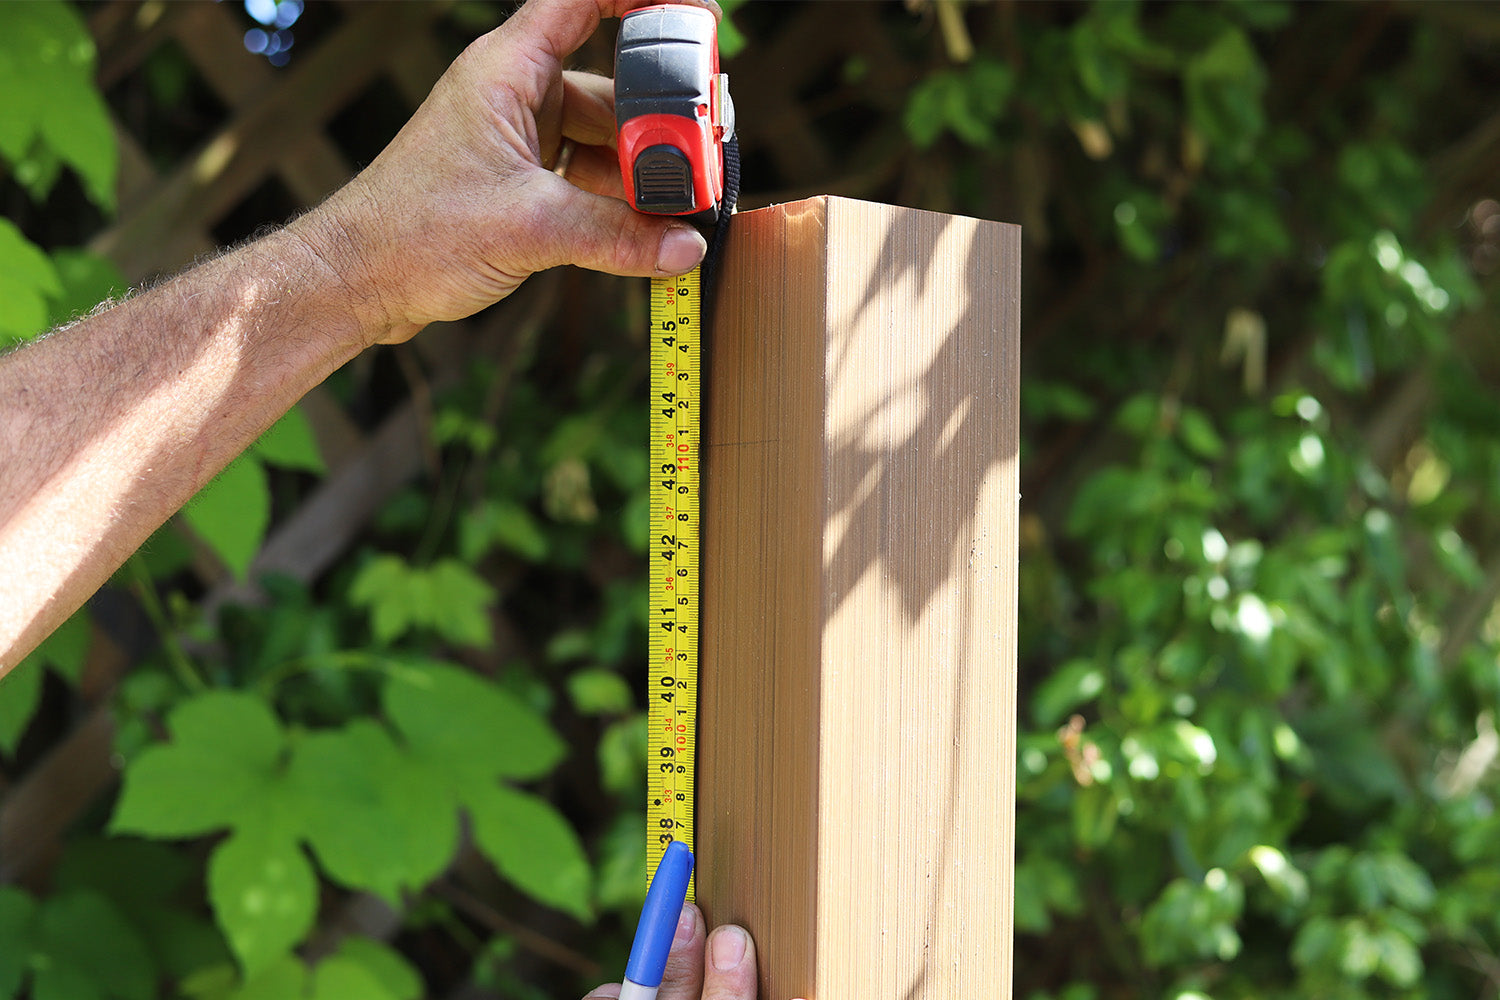
Once the post is in the correct position, mark the holes with a marker or pencil as shown in diagram 37.

Step #3.
Next, drill into the floor where you have placed your marks as shown in diagram 38.

Step #4.
Place the post back over the pre-drilled holes, and drill the screws into place as shown in diagram 39.

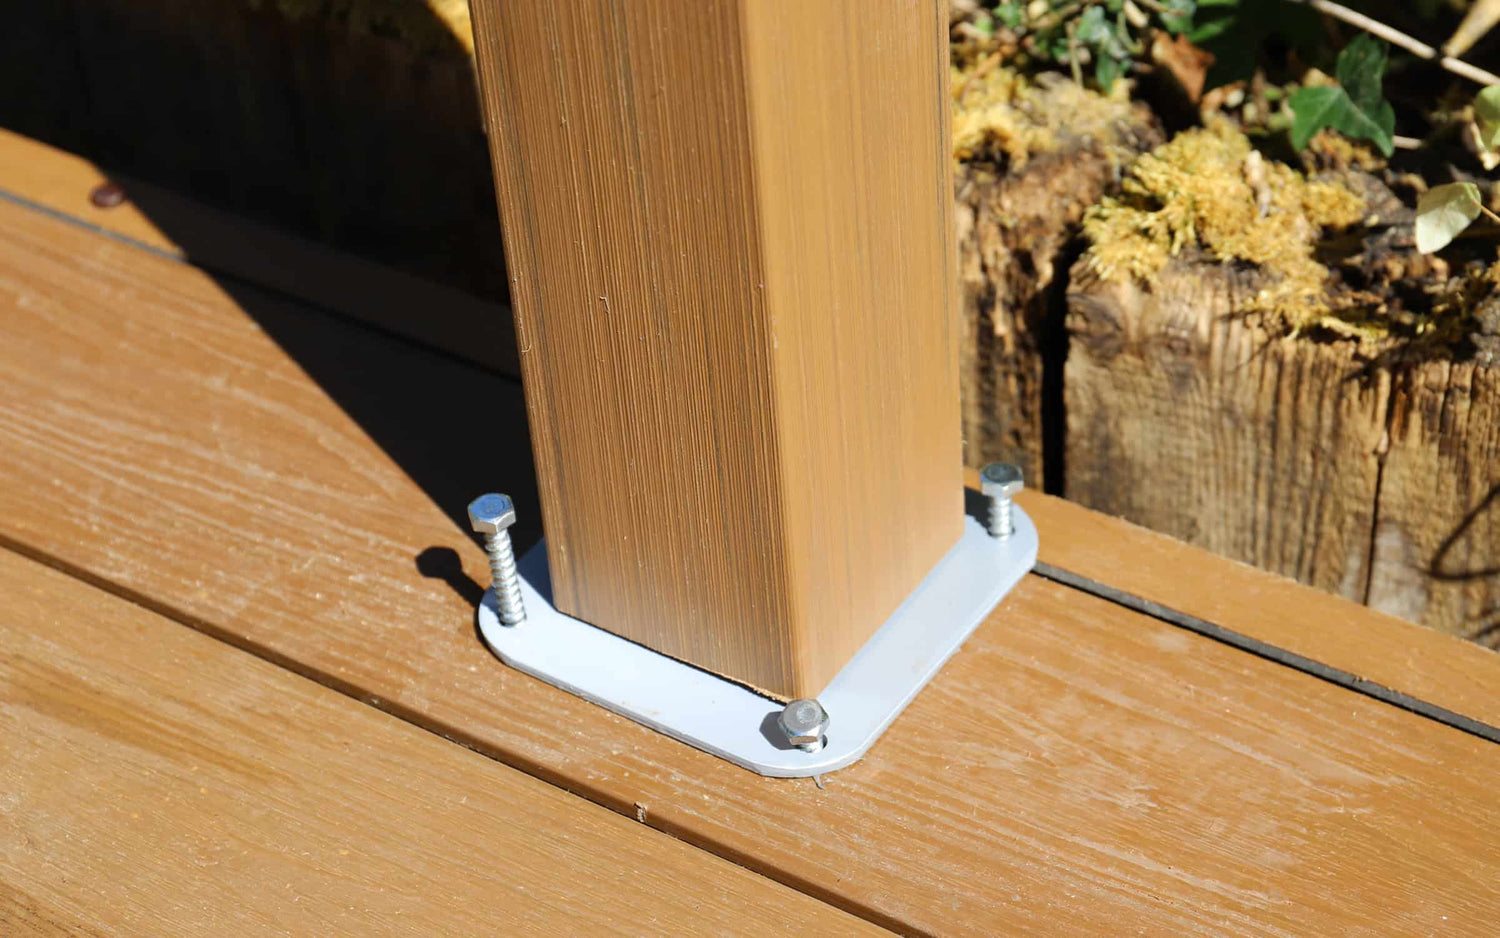
Step #5.
Tighten the lag bolts with washers underneath the substrate, as shown in diagram 40.

Step #6.
The composite post can now be put over the metal insert (N-JM-088), as shown in diagram 41.

Step #7.
Take the post skirt (K-LV-0119) and put it over the post, covering the bottom of the metal insert, as shown in diagram 42. Finally, take the post cap (L-LV-0119) and cover the top of the post as shown in diagram 43.