


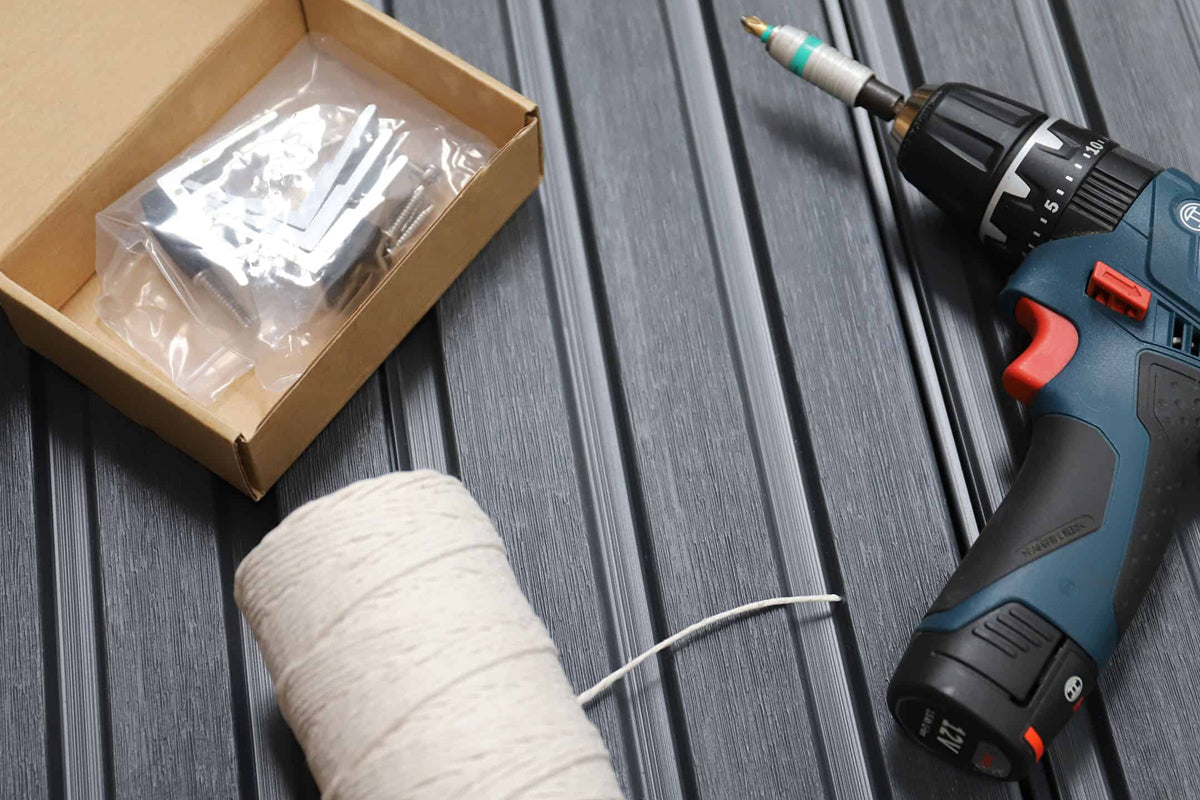
Composite Fencing Installation Resources
Access NeoTimber® composite fencing installation guides, videos, and technical resources. Designed for replacement and new-build projects alike, these resources provide practical guidance, installation best practice, and technical support to help achieve a strong, secure, and professional-quality fencing installation finish.
Installation Guidance Backed By NeoTimber®
No matter the size, style, or location of your project, we want to make installing NeoTimber® composite fencing as straightforward as possible, and we hope the following installation resources do exactly that. We focus on the key stages of the fitting process to provide clear, step-by-step guidance, neatly dividing the installation journey into four key areas: pre-installation information, fence post installation options, installing composite fencing, and installing composite gates.
We hope this resource allows users to navigate directly to the sections most relevant to their project and answer both broad and more specific installation queries. So whether you’re looking for guidance on securing fence posts, fitting composite fence boards, or installing matching gates, our fencing installation resources have you covered.
Step-By-Step Composite Fencing Installation
Stage 1: Pre-Installation Information
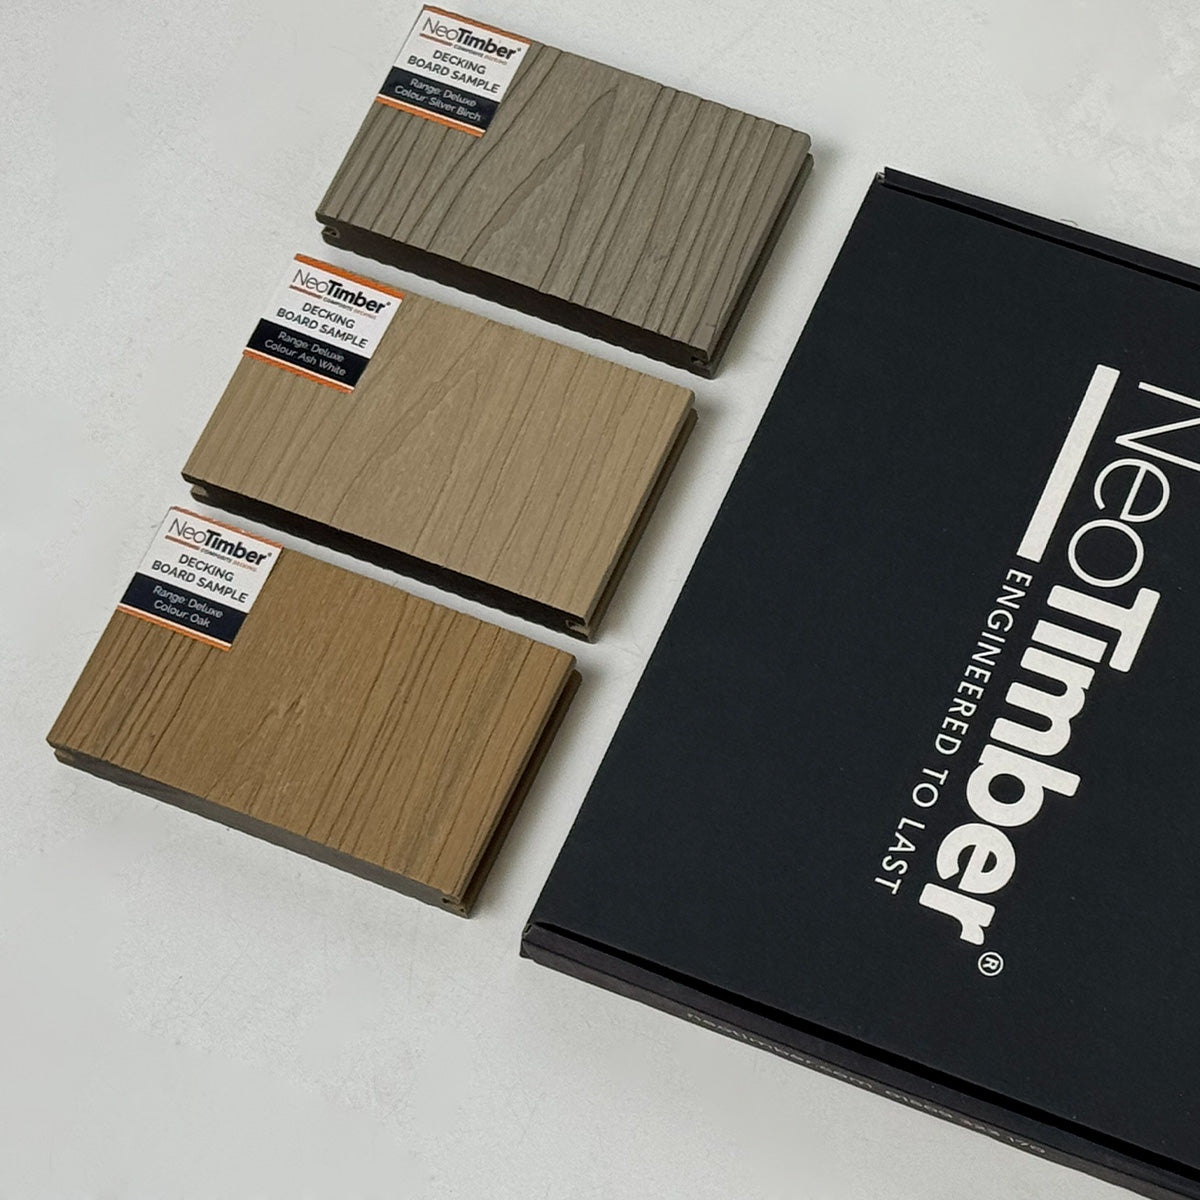
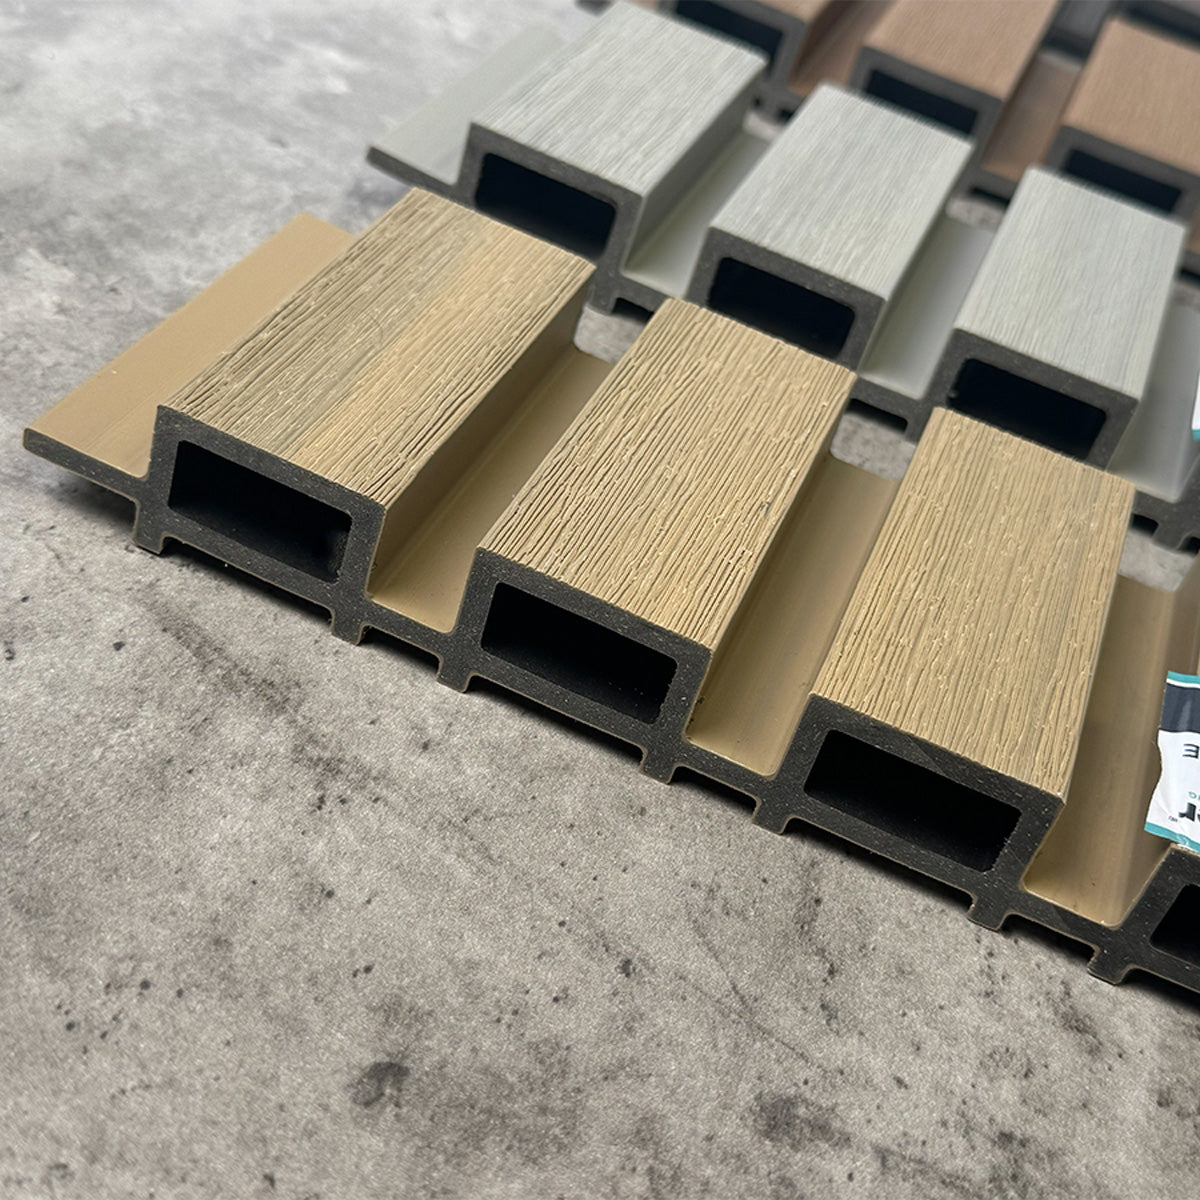
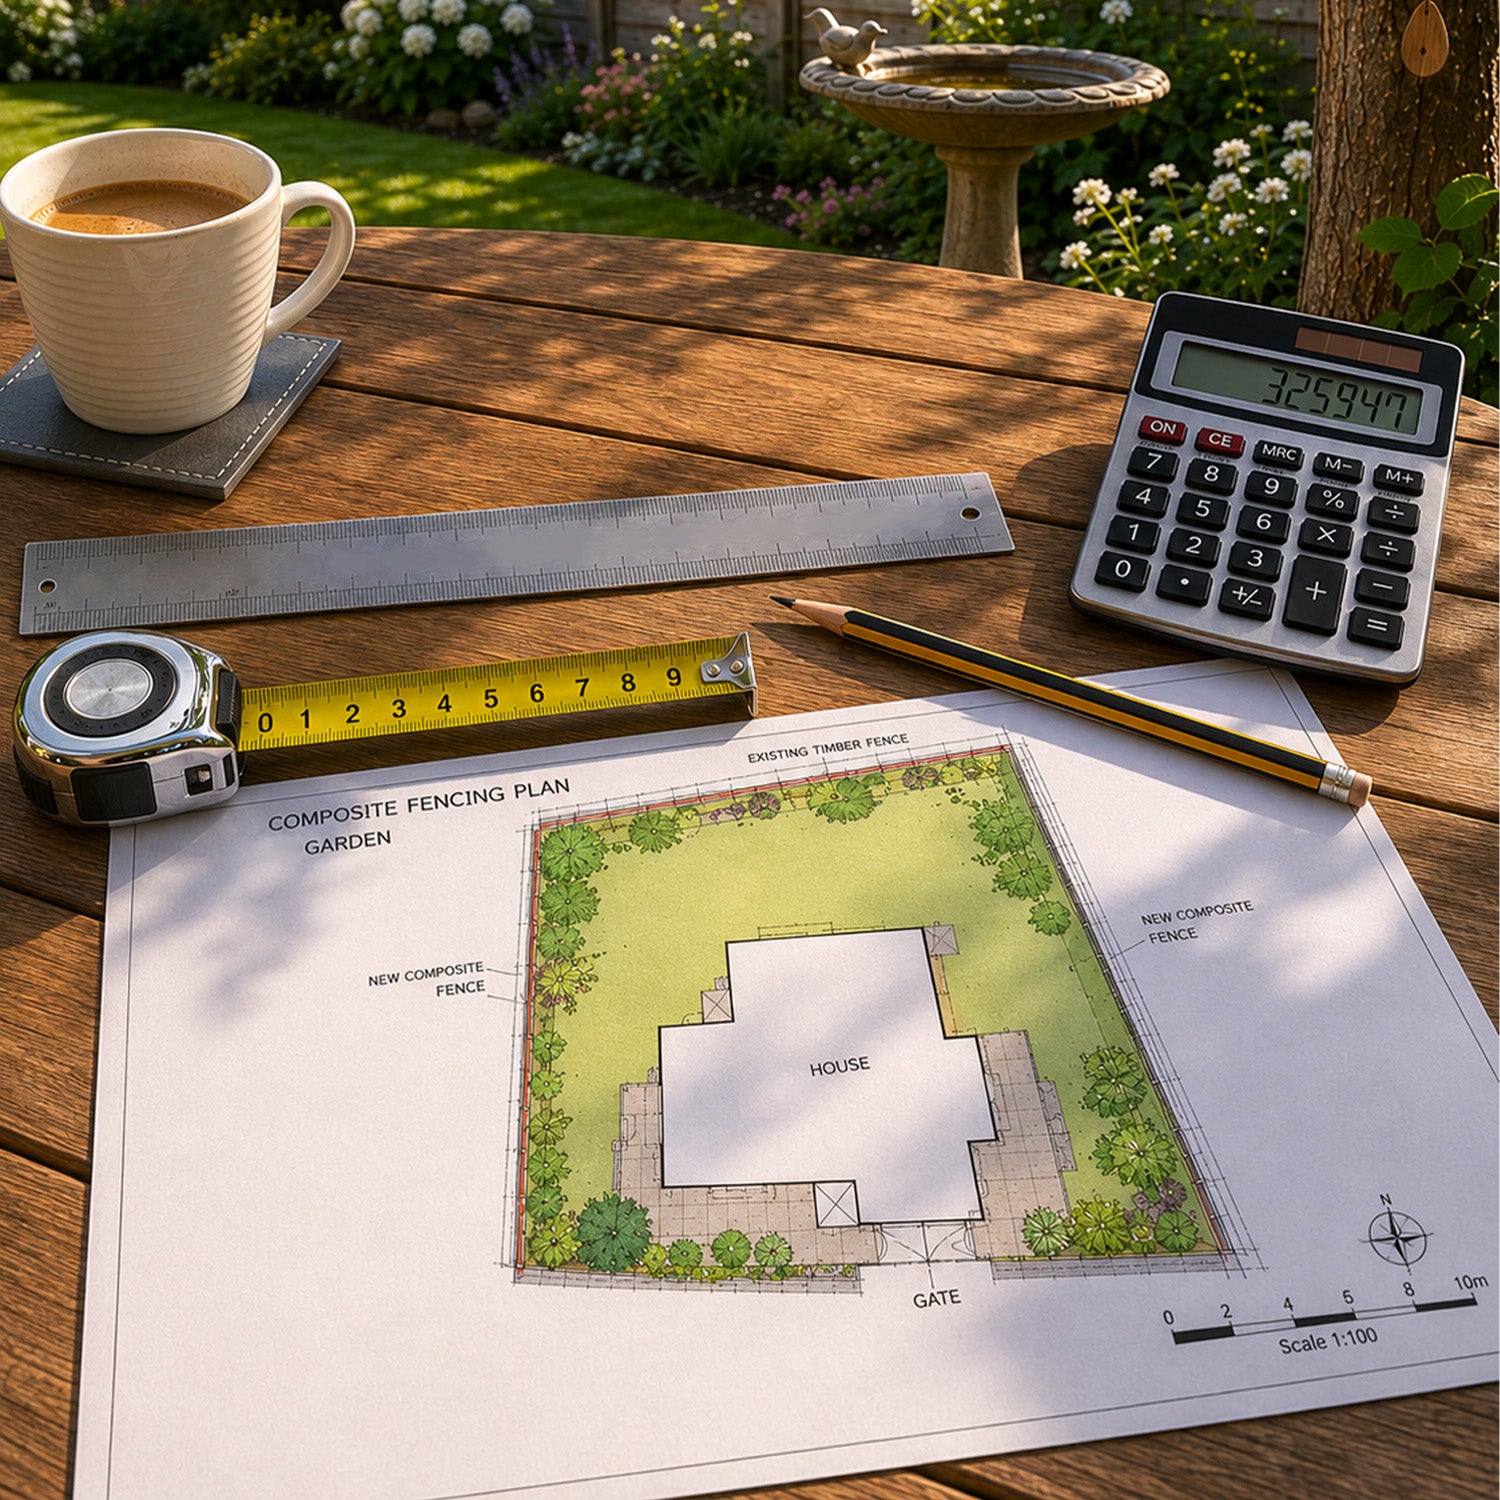
Discover best-practice guidance for correctly storing, handling, and preparing NeoTimber® composite fencing before installation begins. From safe transportation and storage conditions to product checks and site preparation, these recommendations help support smoother installation, improved performance, and a professional long-lasting fencing finish.
Read More
Stage 2 (Option A): Composite Fence Post Installation
Our steel post support systems are designed to securely anchor NeoTimber® composite fencing posts onto solid hard surfaces such as concrete or paved areas. Engineered for strength and stability, they provide a secure fixing method while helping create a clean, durable, and professional-quality fencing installation.
Read MoreStage 2 (Option A): Composite Fence Post Installation
Soft ground inserts are designed to allow NeoTimber® composite fencing posts to be securely concreted into the ground for strong and stable installation. This method provides reliable structural support and helps create a durable fencing foundation suitable for a wide range of residential and landscaping applications.
Read More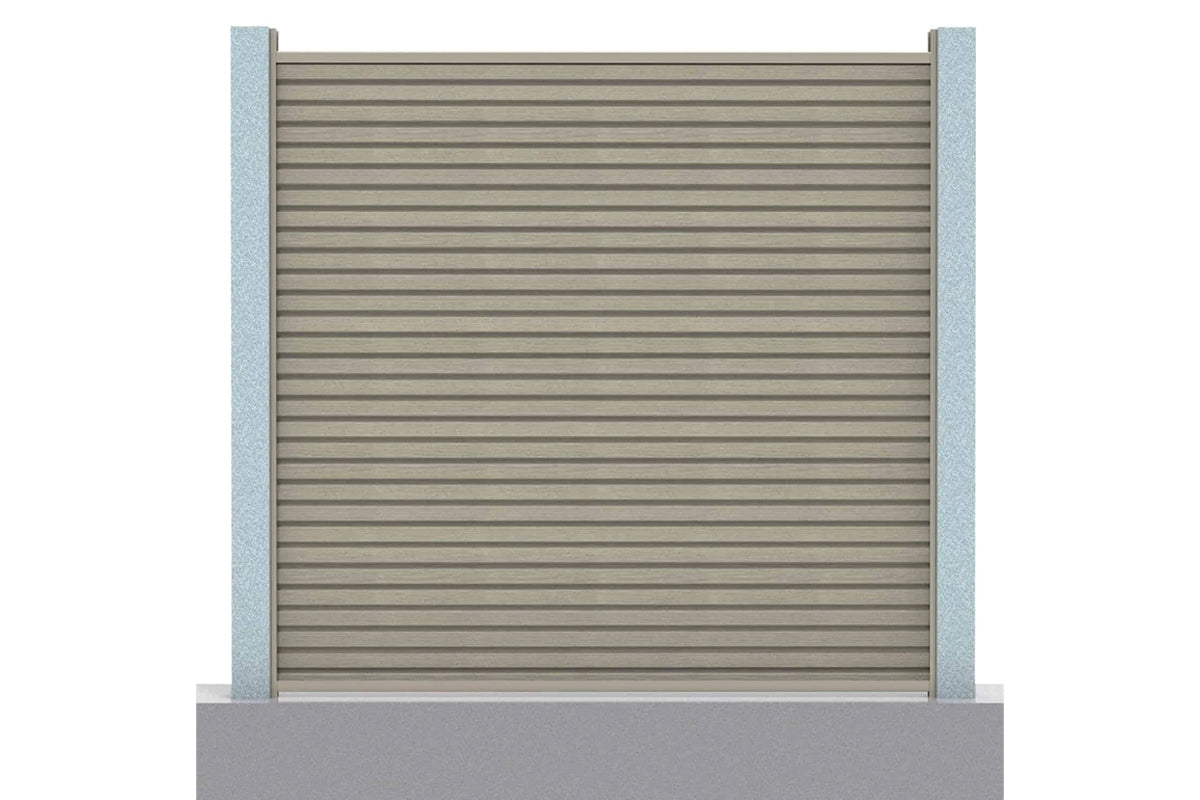
Stage 2 (Option B): Existing Fence Post Integration
Follow our step-by-step guidance for installing NeoTimber® post inserts into existing timber fence posts. This installation method allows you to integrate NeoTimber® composite fencing components with compatible timber structures, helping create a secure, stable, and professional-quality fencing installation finish.
Read MoreStage 2 (Option B): Existing Fence Post Integration
Follow our step-by-step guidance for securely fitting NeoTimber® post inserts into the channels of existing concrete fence posts. This installation method helps integrate composite fencing components with retained concrete structures, providing a stable, secure, and professional-quality fencing installation finish.
Read More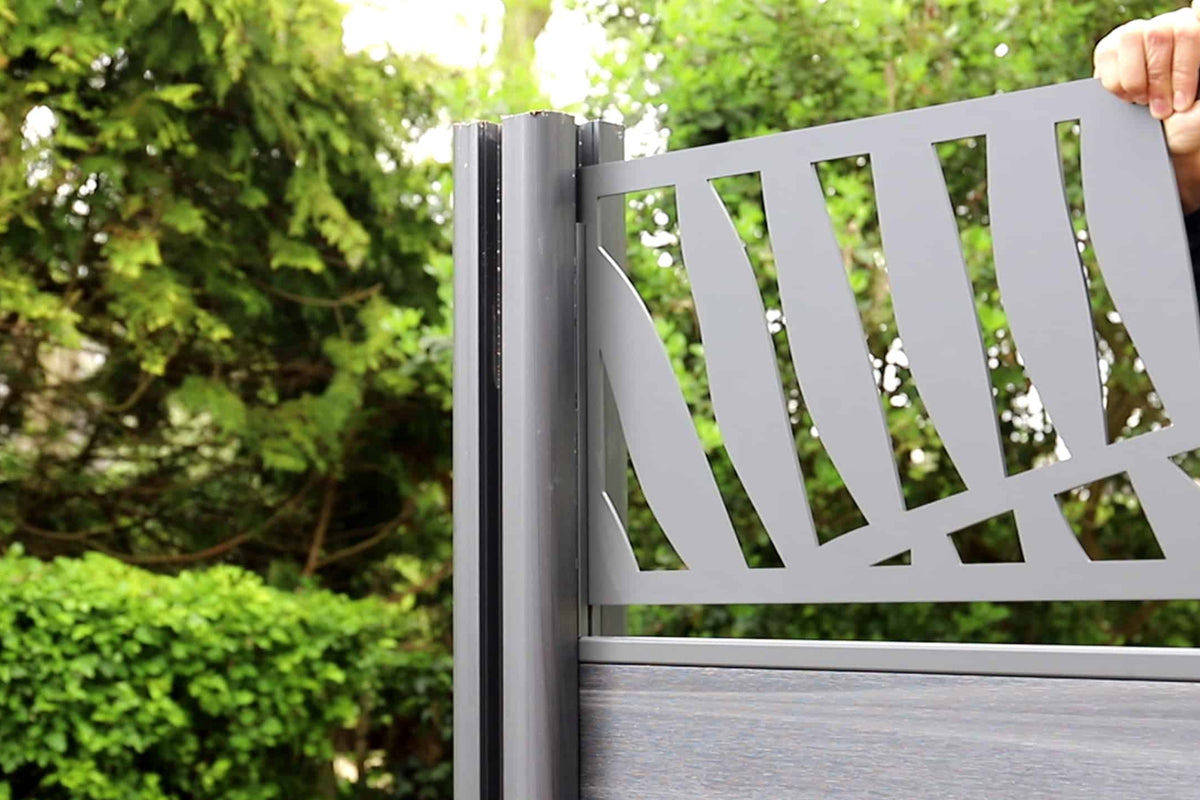
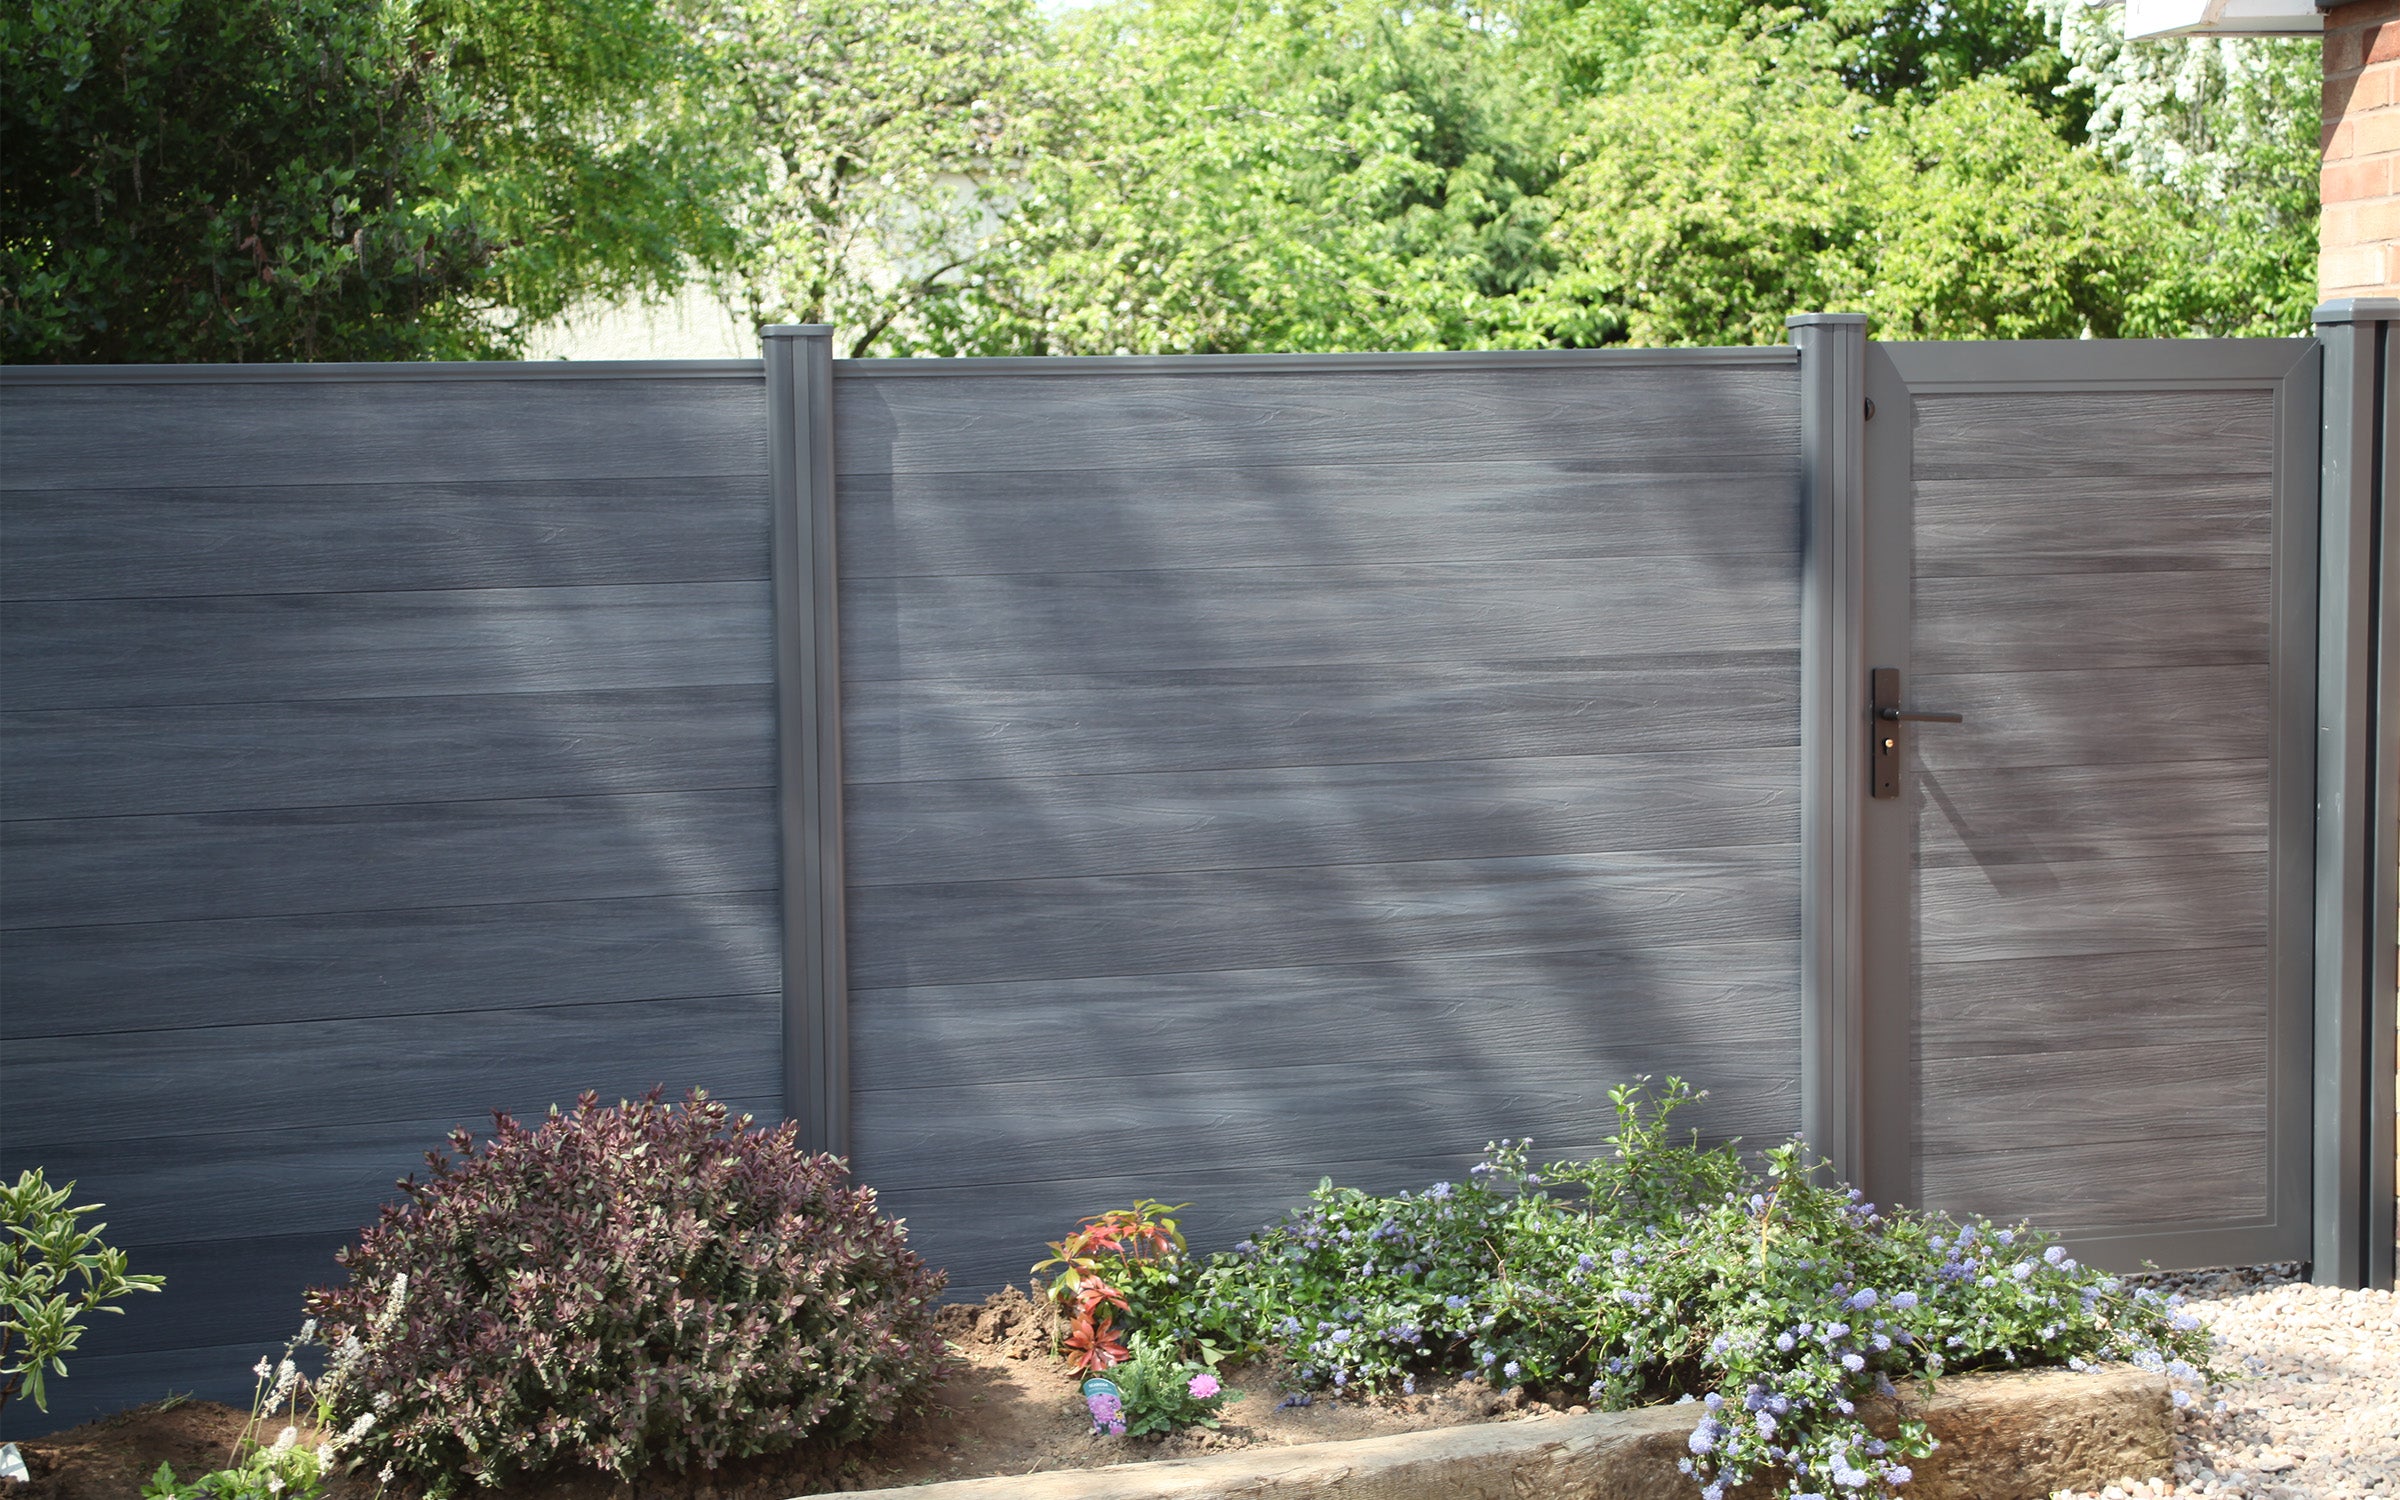
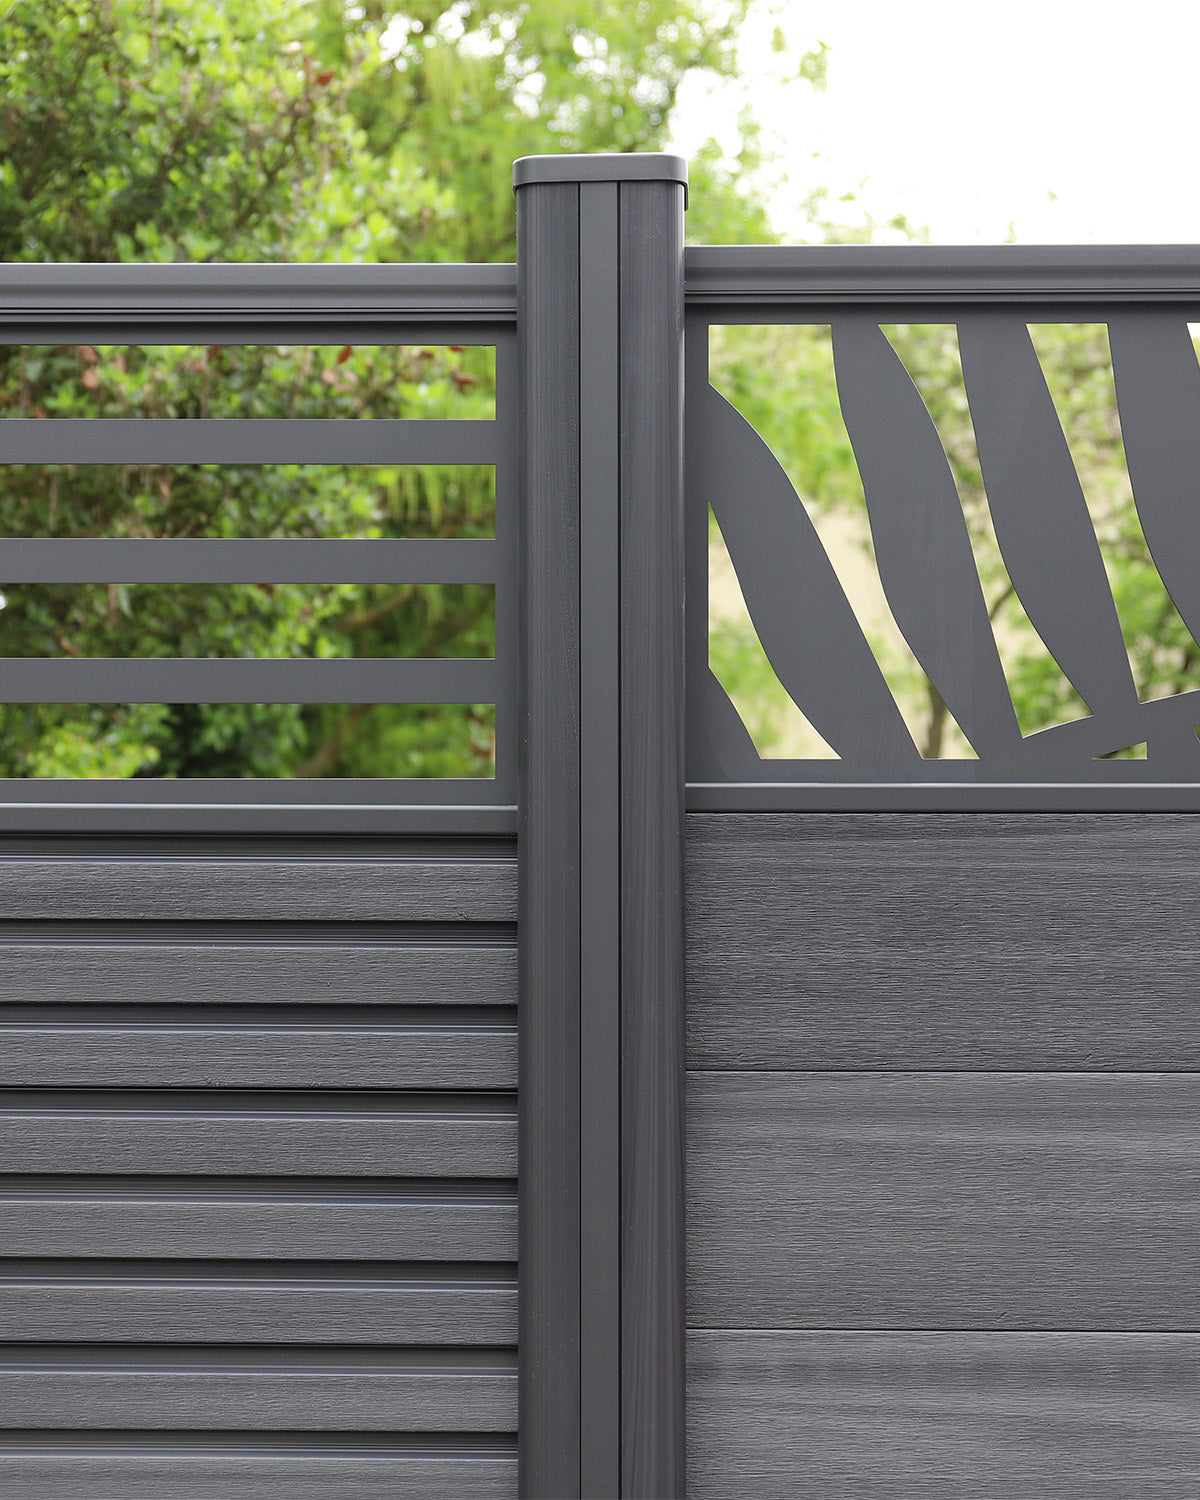
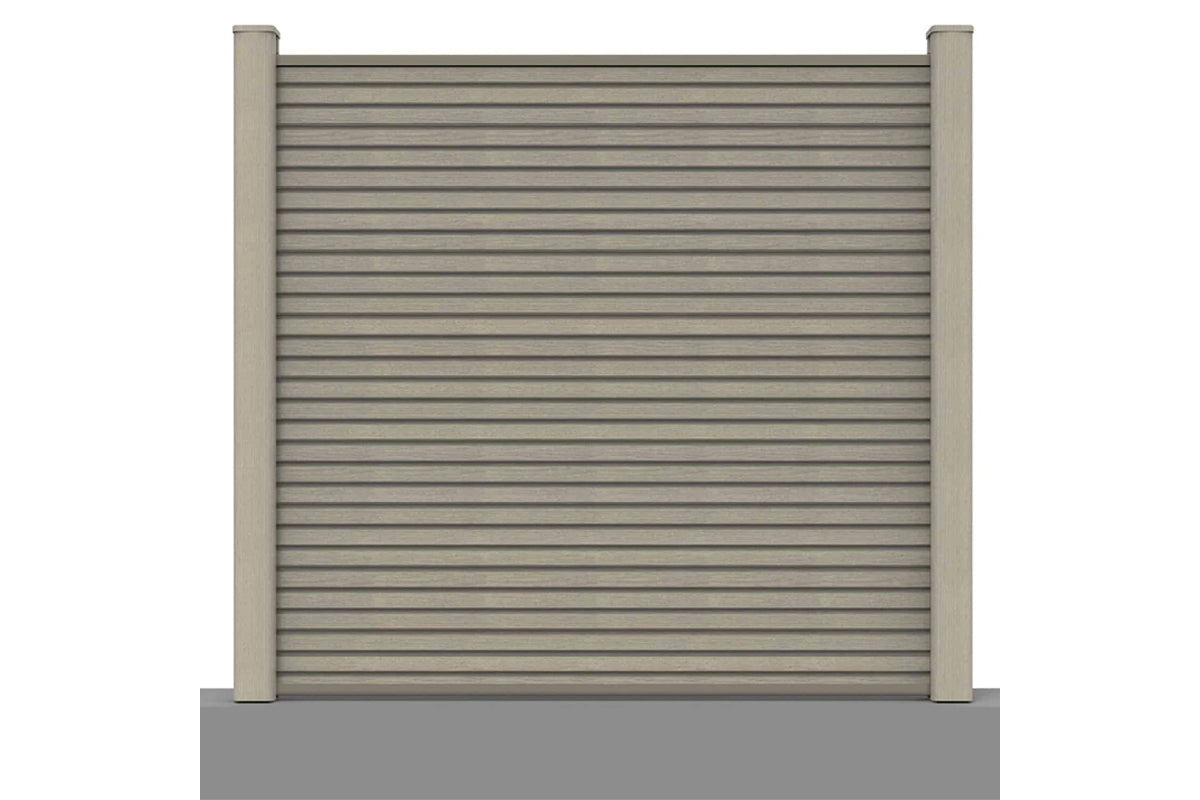
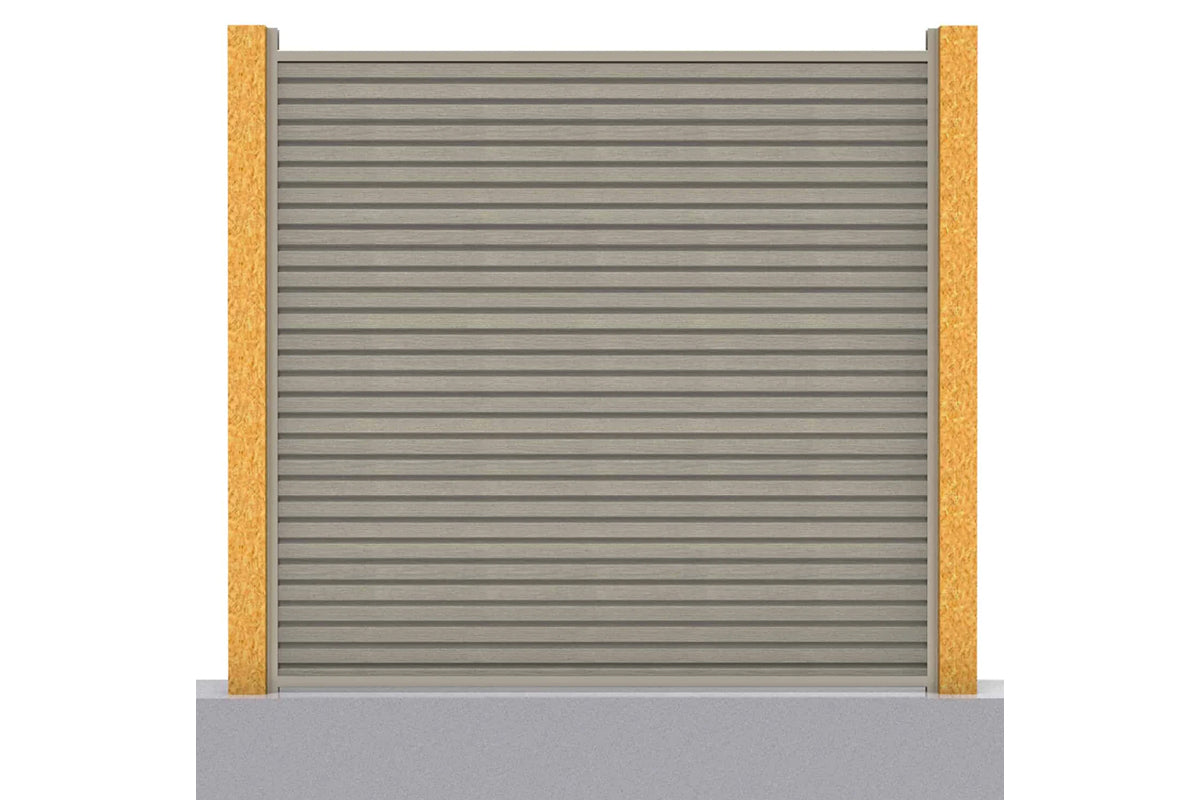
Stage 3: Installing Composite Fence Panels
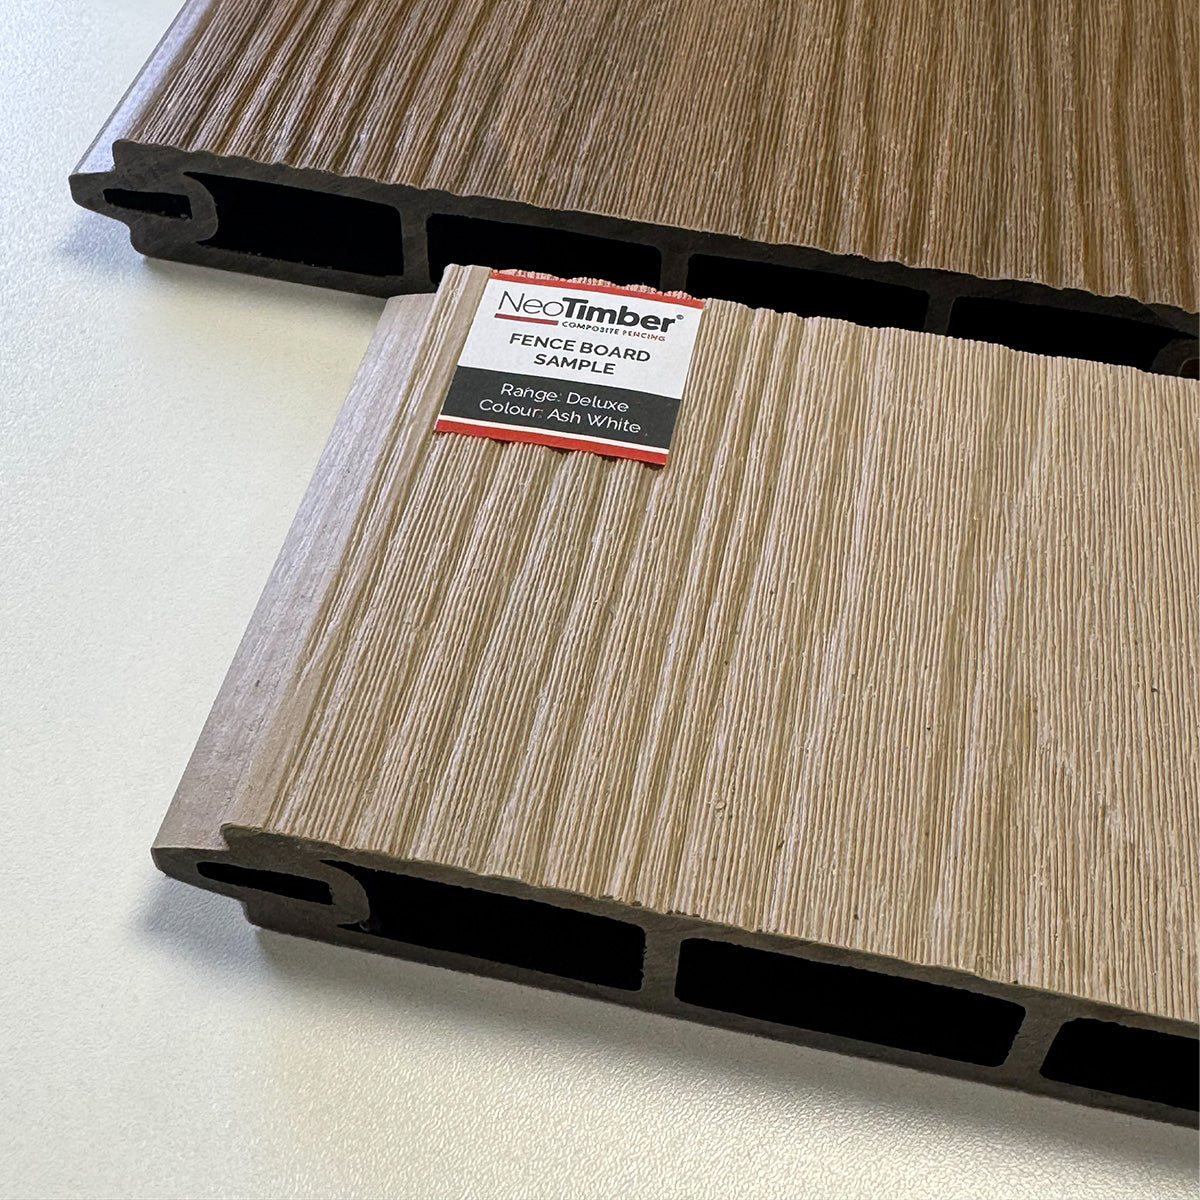
Learn how to build a standard NeoTimber® composite fence panel using our easy-to-install fence boards and capping rails. This guide covers board installation, panel assembly, spacing, and finishing details to help achieve a strong, secure, and professional-quality fencing installation.
Read MoreStage 3: Installing Composite Fence Panels
Follow our step-by-step guidance for constructing a NeoTimber® composite fence panel using composite fence boards and decorative screen inserts. This installation resource covers panel assembly, board positioning, spacing, and finishing considerations to help achieve a strong, secure, and professional-quality fencing installation.
Read More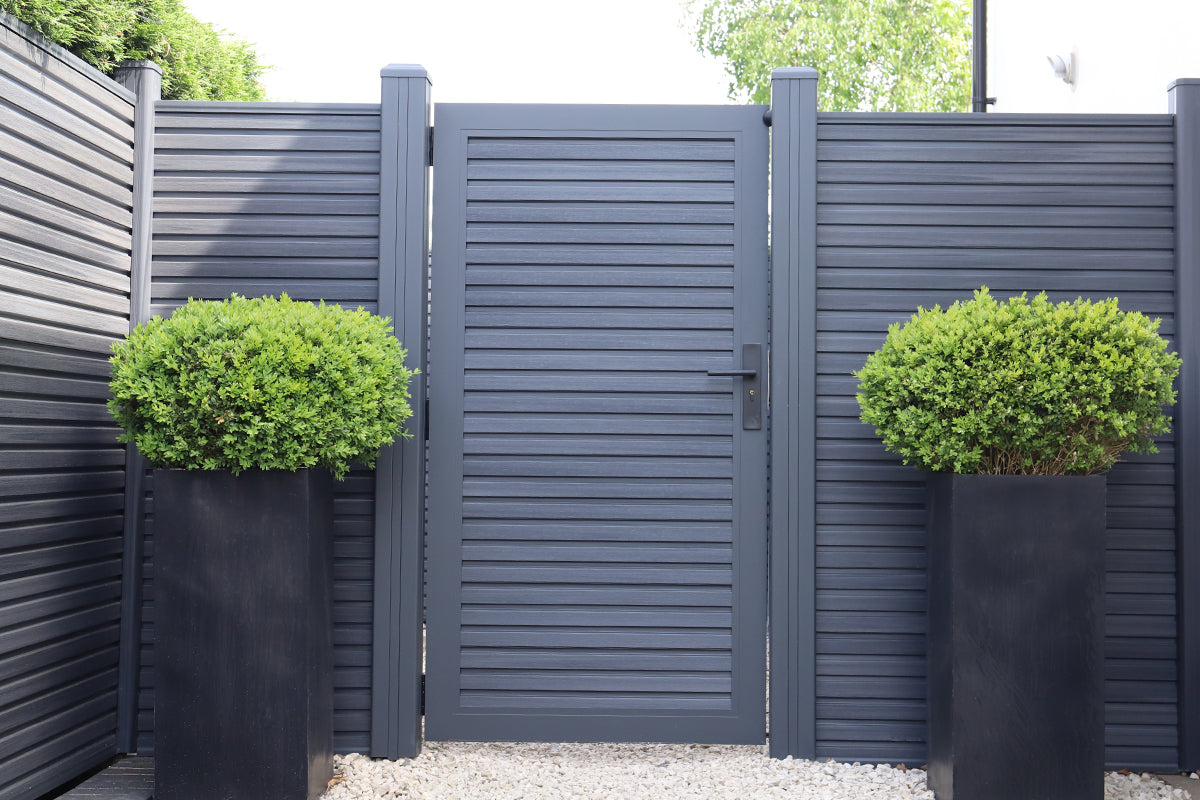
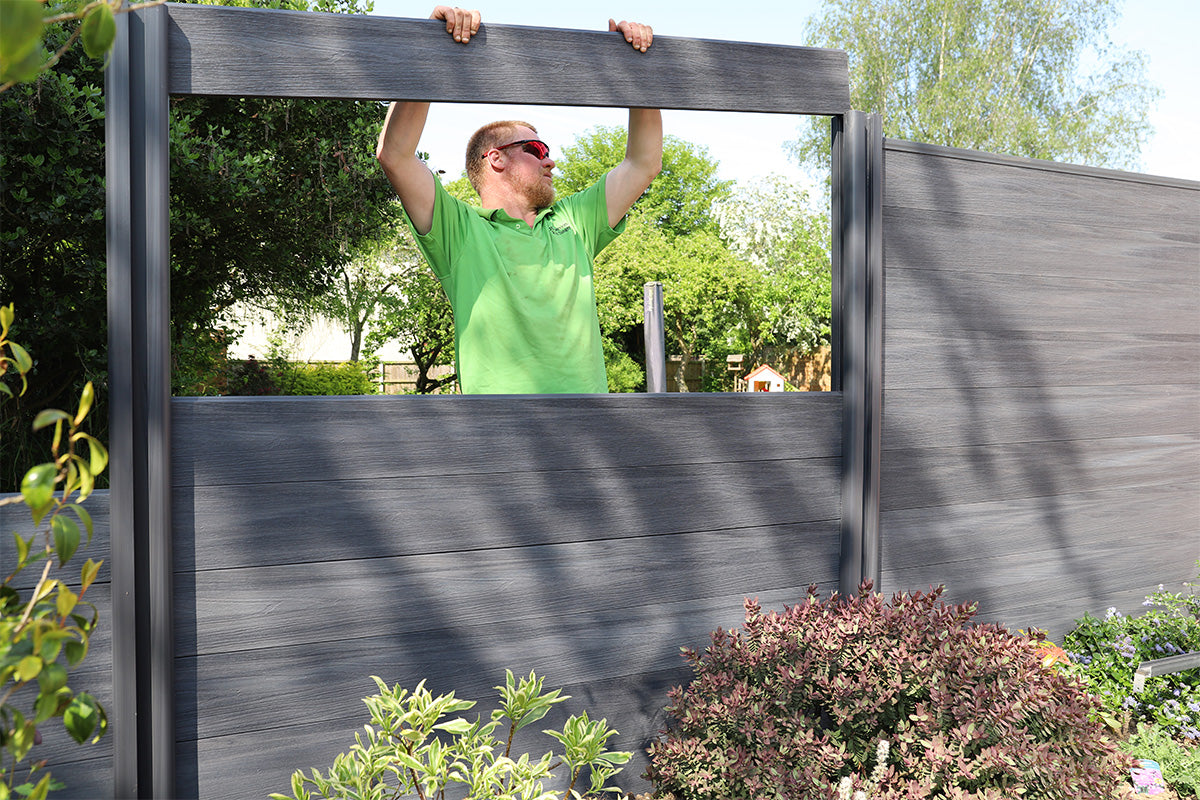
Stage 4: Fitting Composite Gates
Explore the key stages involved in installing NeoTimber® composite gates, including securing gate posts, positioning and hanging the gate frame, and fitting essential hardware such as the gate keep, lock, and handle. This guidance helps support a secure, aligned, and professional-quality gate installation finish.
Read MoreHow-To Installation Videos

Install Composite Fencing Onto Hard Ground
Ideal for fencing installations onto solid surfaces such as concrete or paving, this method uses galvanised steel post supports to create a strong, stable foundation while keeping the installation secure and straightforward.

Install Composite Fencing Onto Soft Ground
Designed for fencing installations into soil or landscaped areas, this method uses galvanised steel ground supports concreted into place to create a strong, secure foundation for your composite fence panels.

Install Composite Fencing Onto Existing Timber Posts
Suitable for retrofitting composite fencing onto existing timber posts, this method uses aluminium post inserts fixed directly into the timber to create a secure frame before installing the fencing panels and capping rails.

Install Composite Fencing Onto Existing Concrete Posts
Ideal for installations onto existing concrete posts, this method uses aluminium insert channels fixed within the post void to provide a secure frame for aligning and slotting in composite fence boards and capping rails.

Install A Composite Fencing Panel With A Decorative Screen
Designed to incorporate decorative screen panels within your fencing layout, this approach combines composite fence boards with integrated aluminium screens to create added privacy, airflow, and visual interest.

Install NeoTimber's Composite Gate
Created to complete your fencing installation with a matching access point, this method shows how to securely install NeoTimber® composite gates using durable posts, hinges, and aluminium framing components.

Prefer Professional Installation Support?
Find An Approved NeoTimber® Installer
NeoTimber® can connect you with an Approved Installer in your local area to help ensure a high-quality installation and professional finish. Simply complete the enquiry form and our team will match you with an experienced installer from our trusted nationwide network of fencing and landscaping professionals.
Search Installation Experts