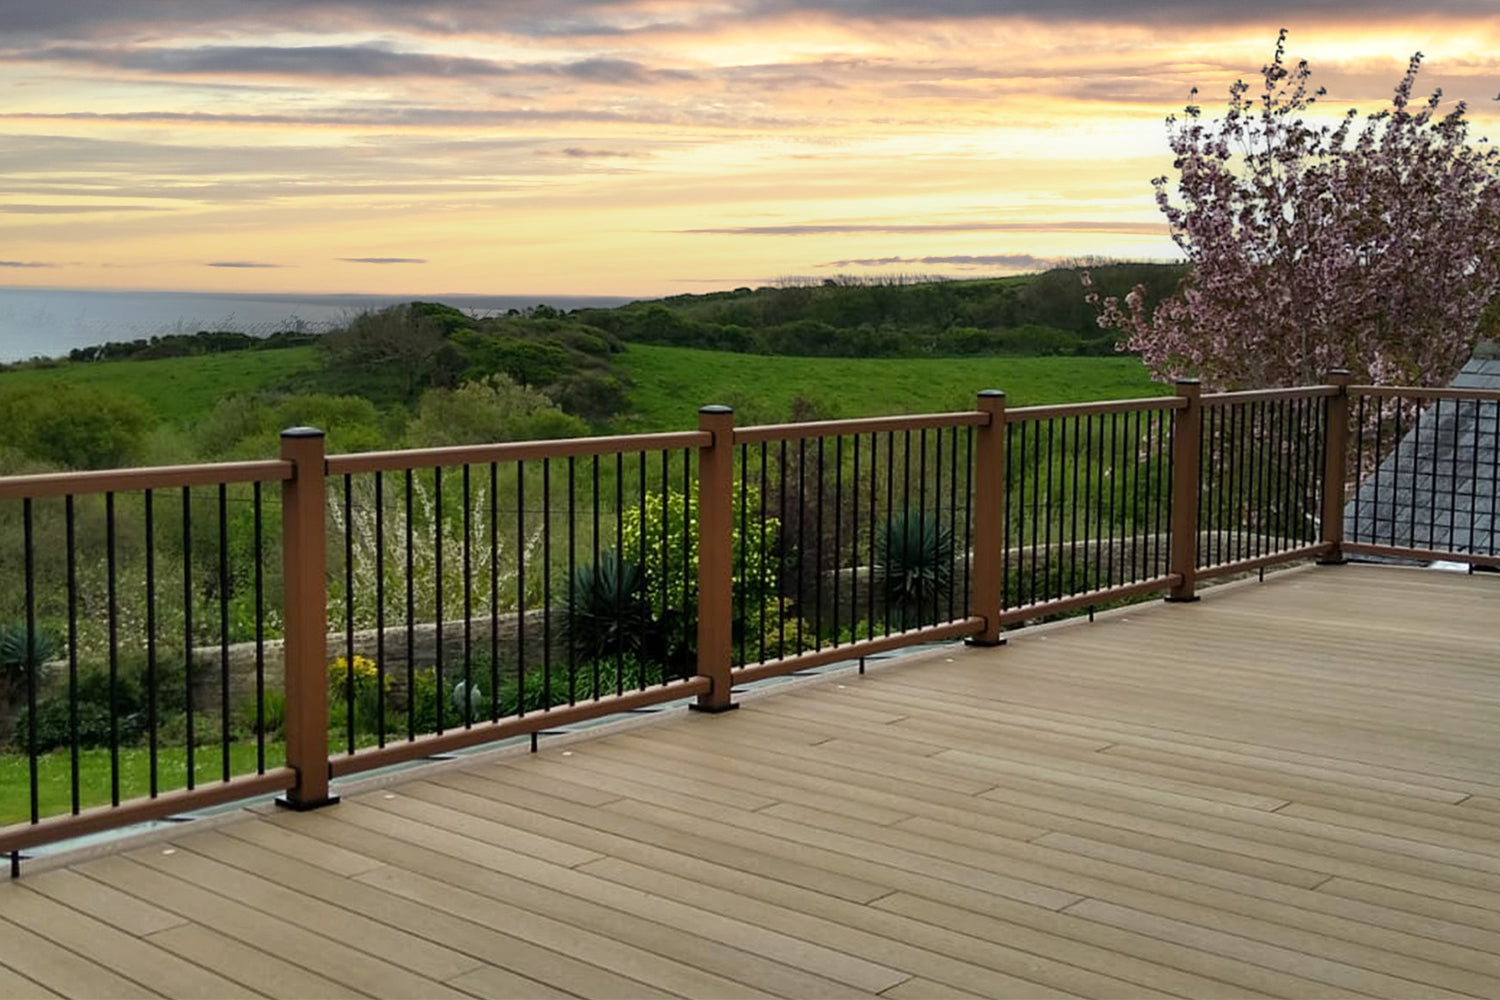


Make light work of installing composite railing up a series up steps using NeoTimber's hybrid balustrades.
Our hybrid balustrade system makes it easier than ever to adapt to the specificities of your project. This includes angling the railing to work as a handrail for a series of stairs. With these resources, we will guide you through installing composite balustrades and explicitly, how to create an angled handrail for your steps.
Step #1.
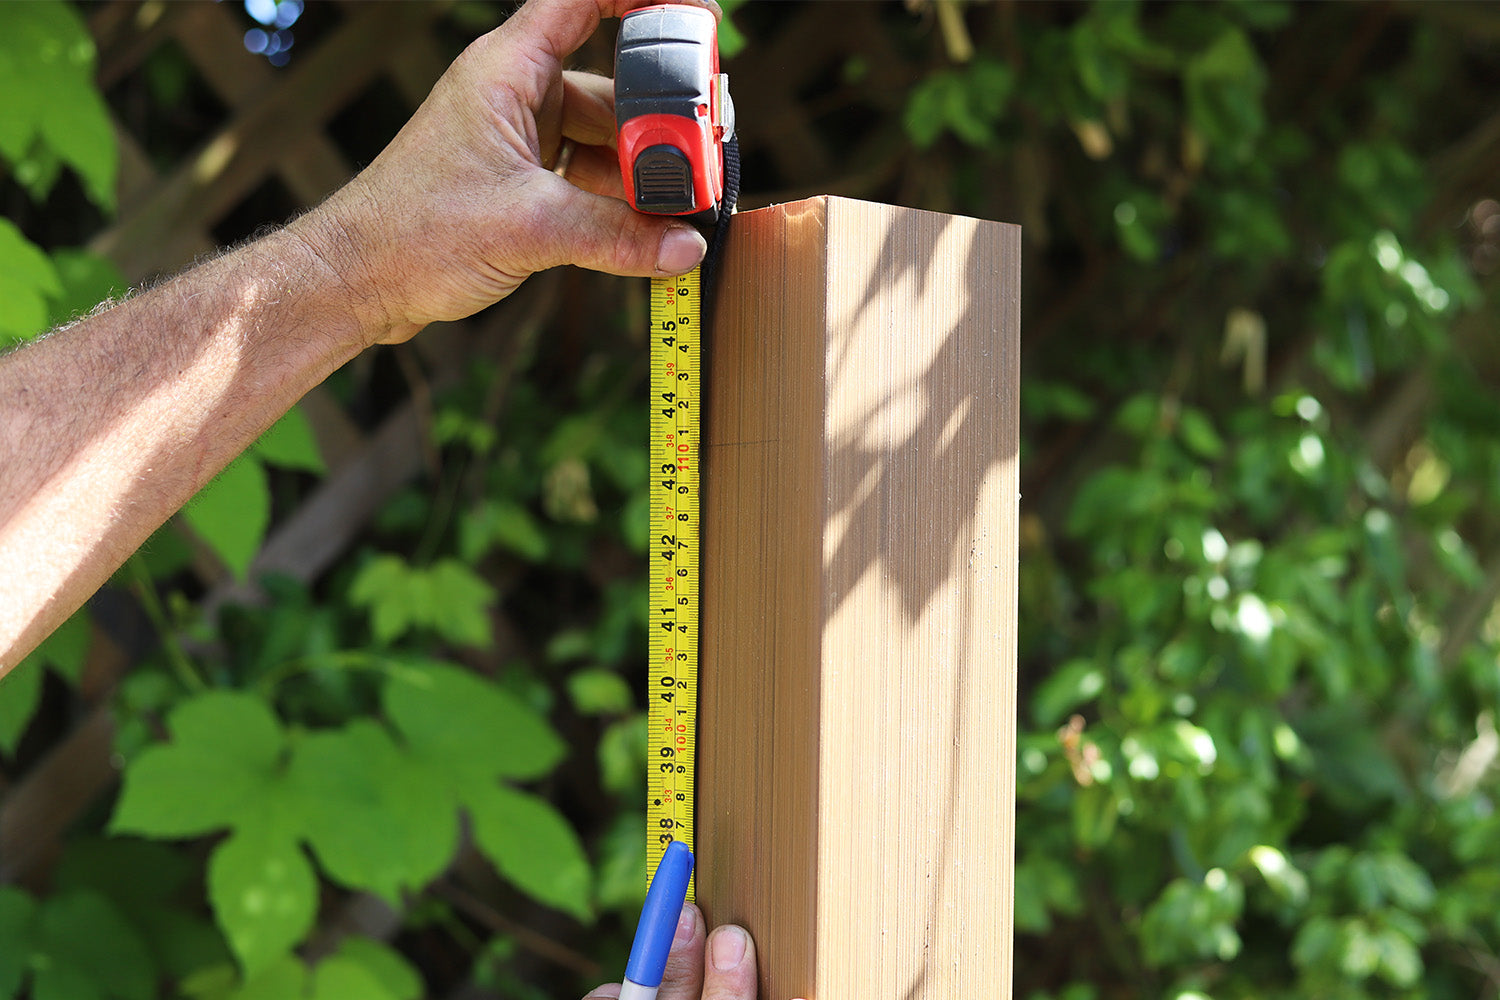
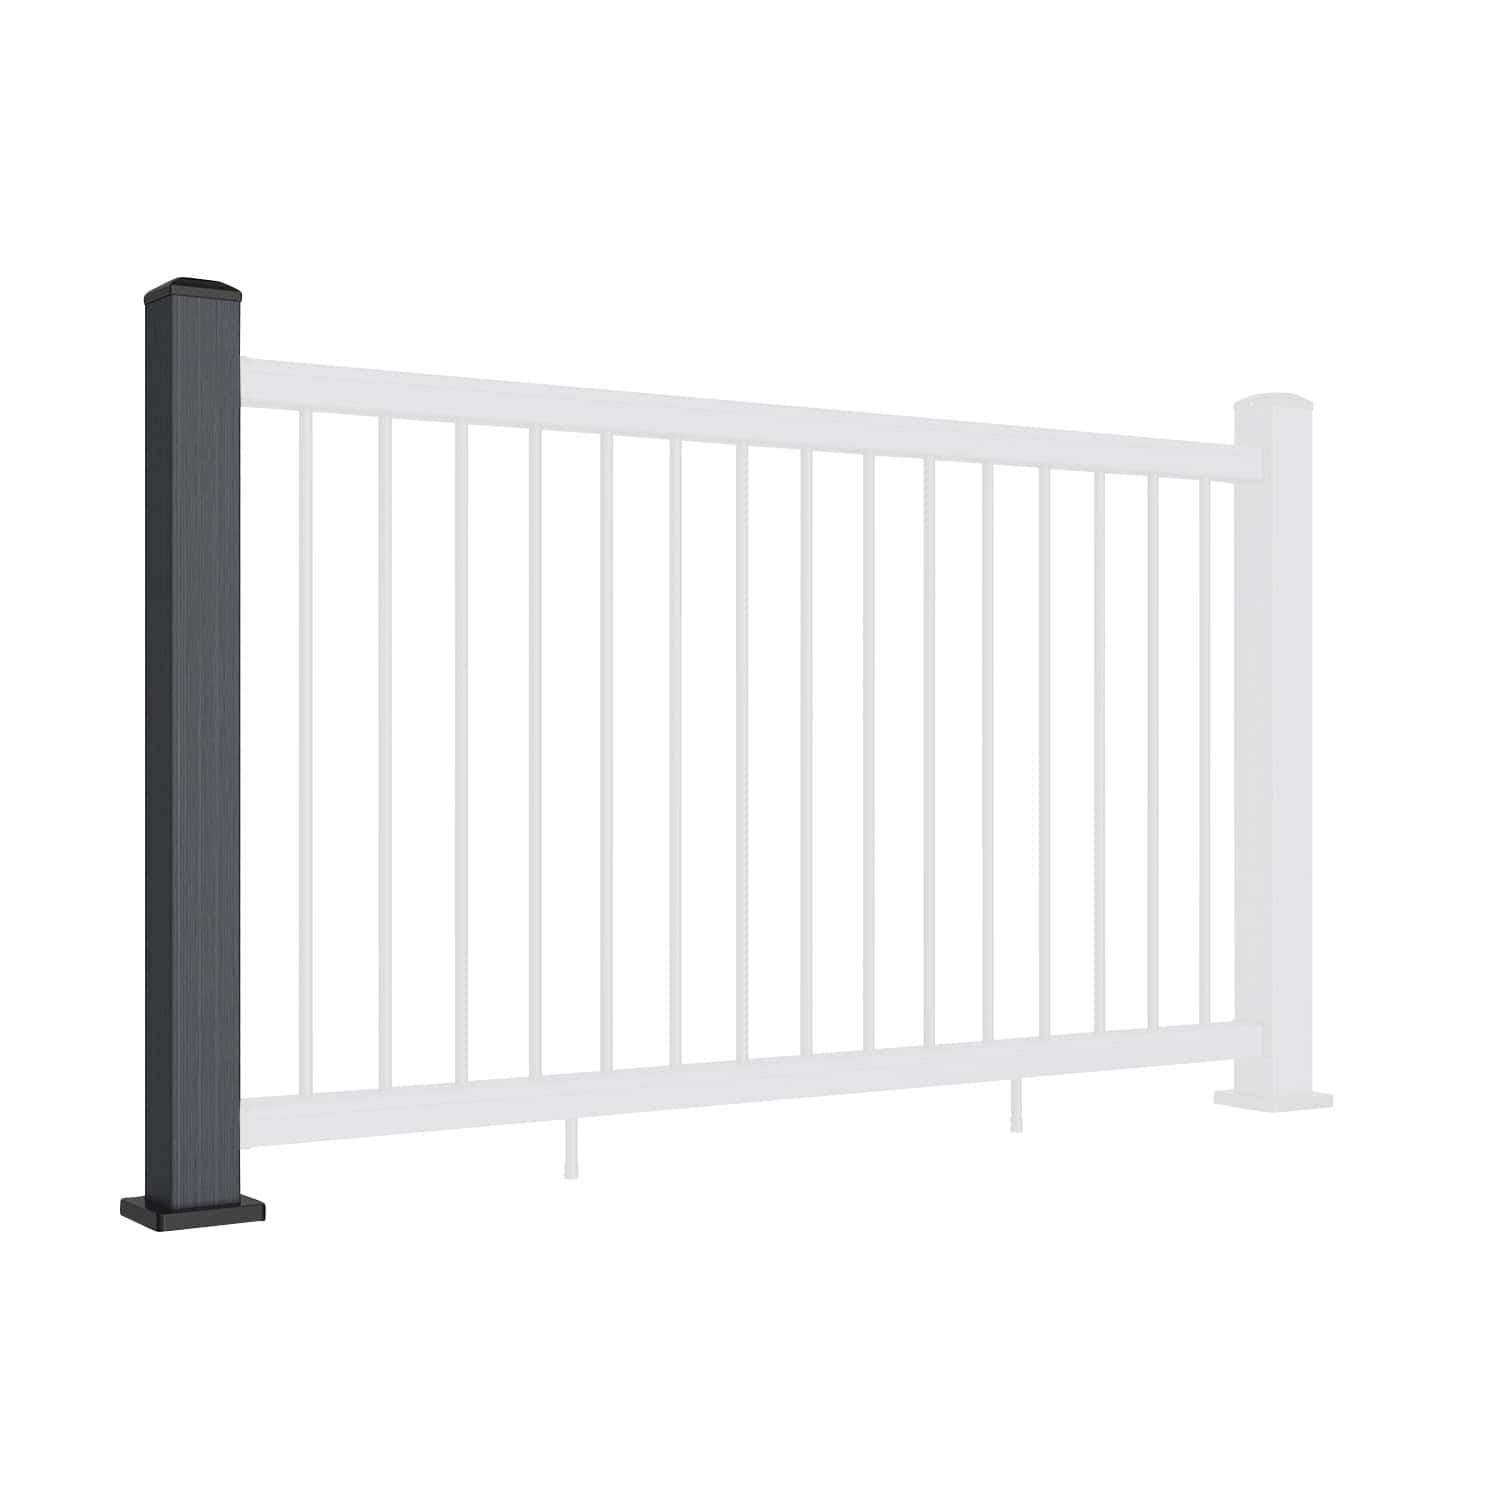
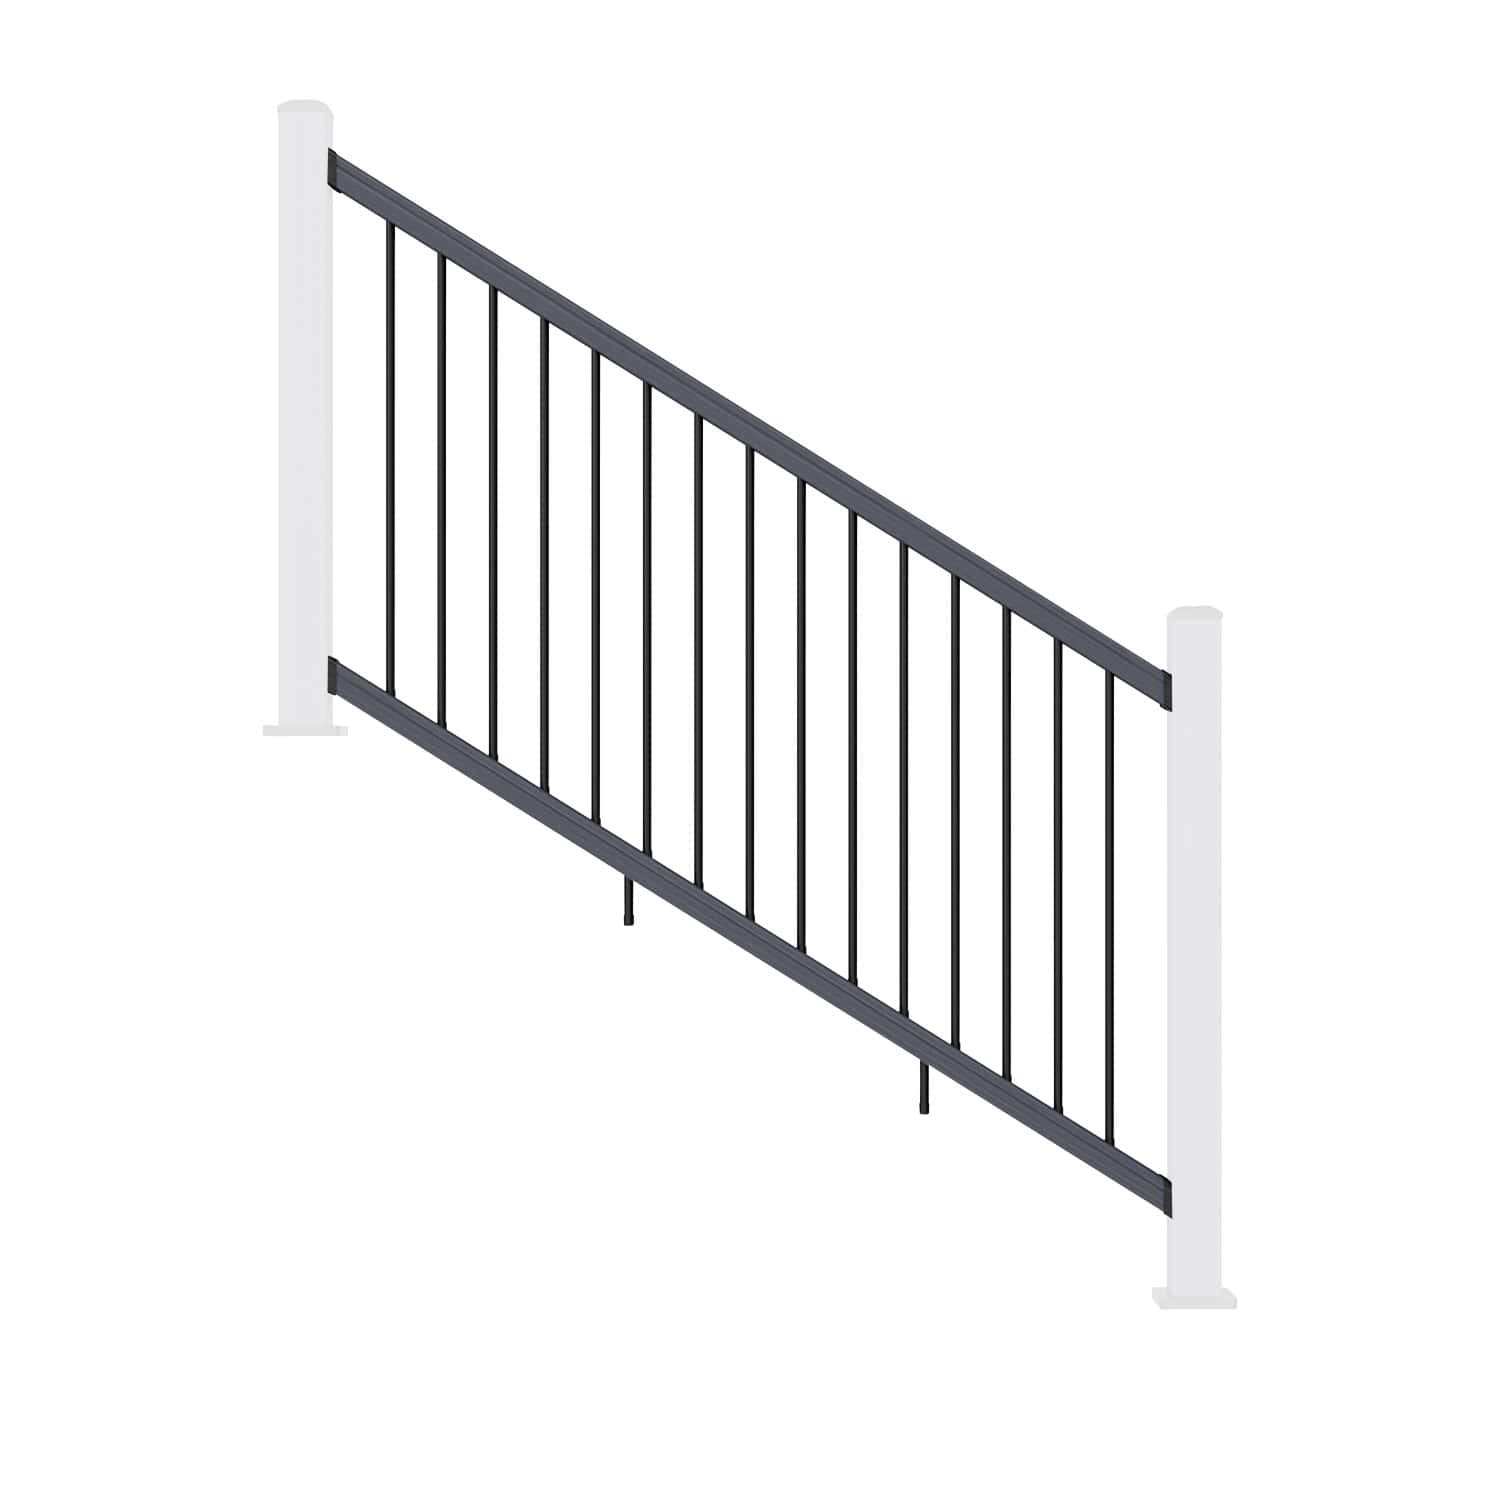
Mark where the post mount (J-LV-0215-36) will be installed. The maximum distance between the post mounts should be 1646 mm (64.803") as shown in diagram 1.

Step #2.
Cut post mount (J-LV-0215-36) to the length of 1130mm (44.49") as shown in diagram 2. The lower post mount does not need to be cut. Cut post sleeve (N-JM088) to the length of 1160 mm (45.66") as shown in diagram 3. The lower post sleeve does not need to be cut.

Step #3.
Install the post mount (JOLV-0215-36) and fix with screws WJ0133, as shown in diagram 4. Then, install the post sleeve (N-JM088) as shown in diagram 5.

Step #4.
Mark the post at the top of the stairs using the "stairs - top post" cardboard template. Use the top 4 holes for the top post brackets, and the bottom 2 holes for the bottom post brackets. To accurately mark the angle of the banister, pull a string from both the top and bottom marks from your cardboard template at a 32-degree angle as shown in diagram 6. The cardboard template location should be measured from the bottom. Use the cardboard template to leave a mark to outline where you will need to pre-drill. Remove the cardboard template before pre-drilling.

Step #5.
Pre-drill post bracket holes with a 3 mm (5/32 inch) bit as shown in diagram 7. Lower the post skirt (K-LV-0119) over the post sleeve (N-JM088) as shown in diagram 8.

Step #6.
Drill in the top post brackets (D-R0203) with screw WJ0130 as shown in diagram 9. Drill in the bottom post brackets (G-R0205) with screw WJ0131 as shown in diagram 10.

Step #7.
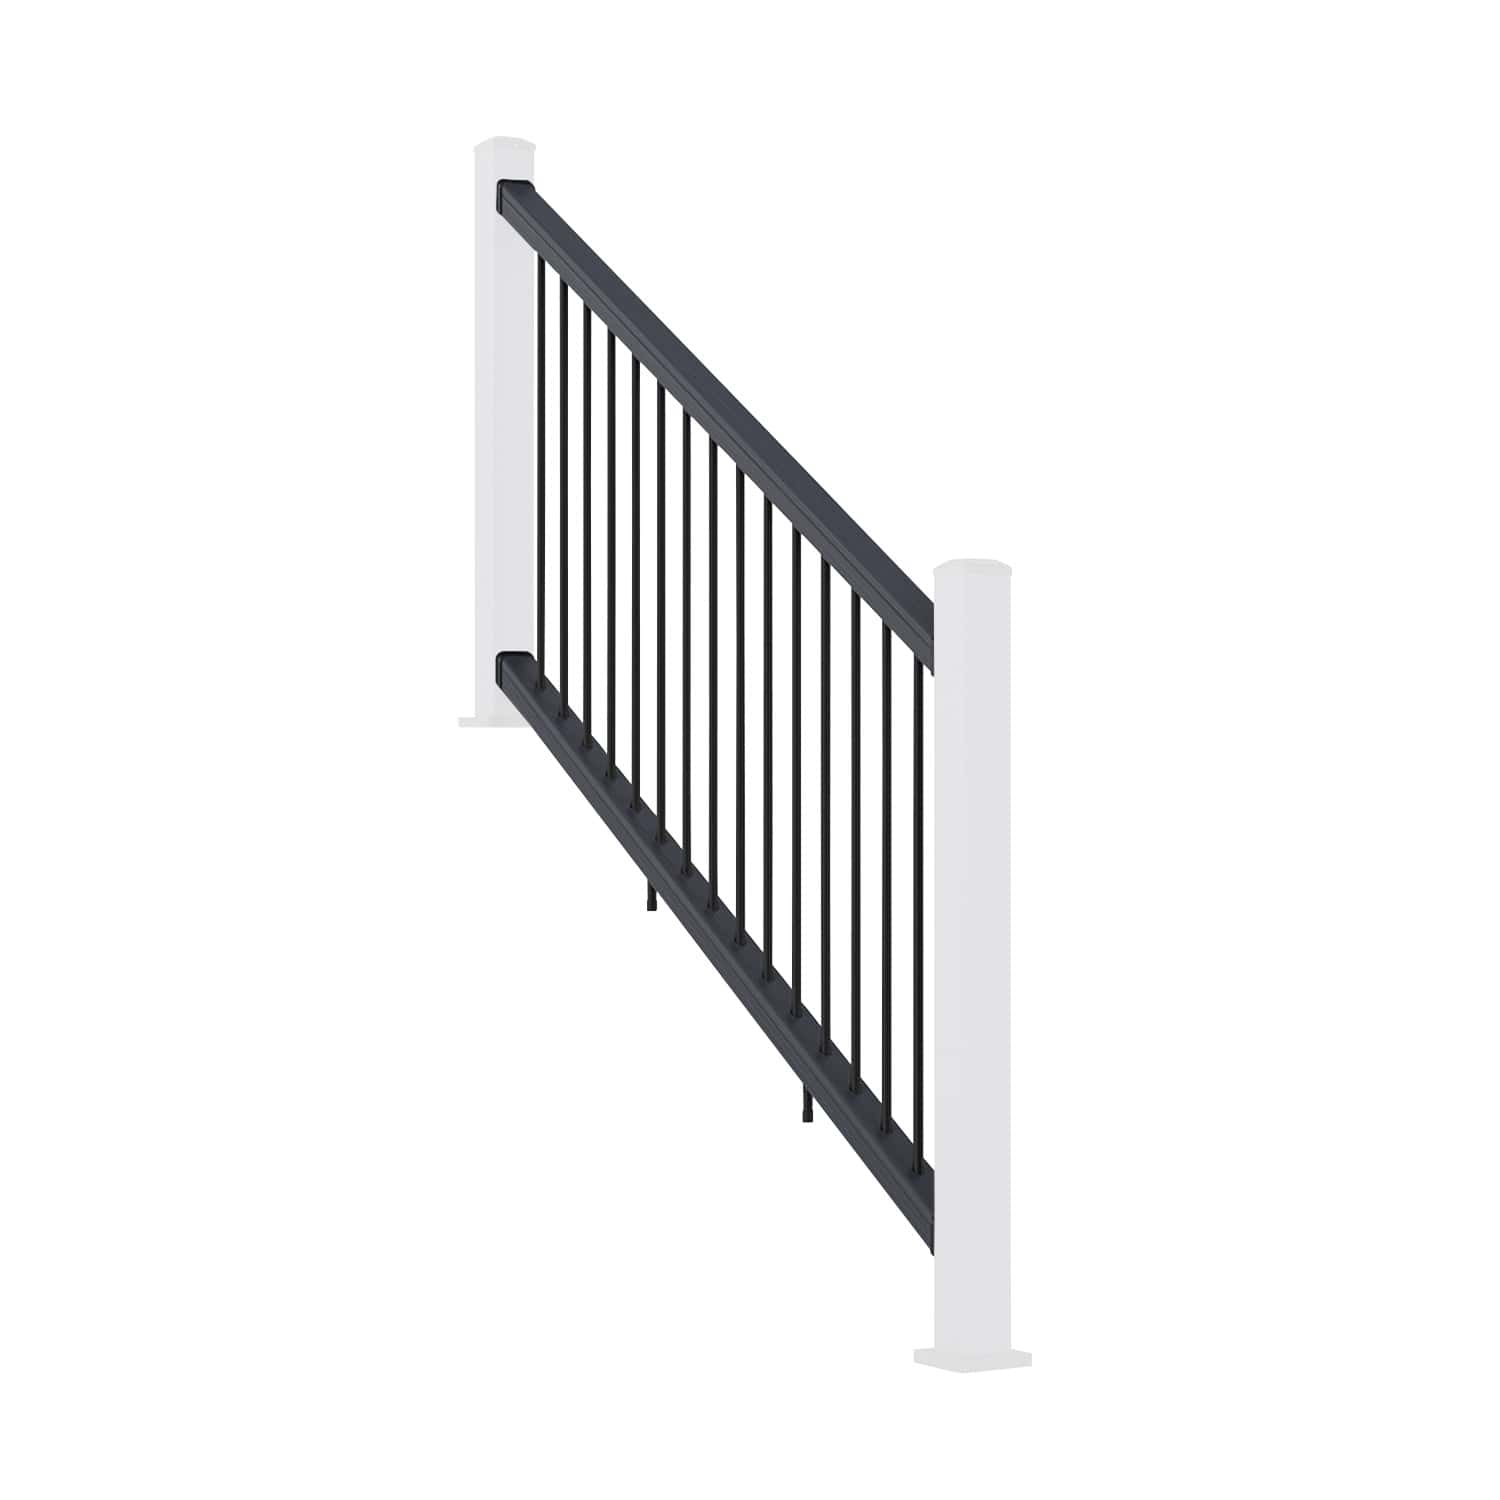
Cut rails (AJM087) to the length (L1 in diagram 11) between the post sleeve (N-JM088) minus 3 mm (0.118") on each side for inserting gaskets (F-R0102) at a 32-degree angle. L1 can be measured like L minus 3 mm (0.118") on each side. Remember to take out galvanised insert (B-LV-0209) before cutting rails (A-UR02). The galvanised insert (B-LV-0209) should be cut 6mm shorter than the rail (A-JM087).

You need to leave at least 83mm (3.3") between the ends of the rail and the first hole of each end as shown in diagram 12.

The galvanised insert (B-LV-0209) is designed for a maximum of 1825.7 mm (71.9") as shown in diagram 13. The railing is designed for a maximum of 1857.5 mm (73.1") as in diagram 14.

Step #8.
The bottom bracket (H-R0204) should be installed with screw WJ0020 at 32.5 mm (1.28") and 24 mm (1") from the end of the rail which will be placed on the higher side of the stairs as shown in diagram 15. The bottom bracket (H-R0204) should be installed with screw WJ0020 at 28 mm (1.1") and 24 mm (1") from the end of the rail which will be placed on the lower side of the stairs. A flat board can be used to press the bracket up against the end of the rail to line up the correct distance.

Step #9.
Pre-drill and install the foot blocks (I-LV-0217) with screw WJ0020 on the bottom rail as shown in diagram 16. Foot blocks should be evenly spaced out depending on the length of the final rail and cannot be installed underneath a pre-drilled baluster hole. The hole in the top rail (A) in digram 17 should be facing downwards. The holes in the bottom rail (B) should be facing upwards.


Step #10.
Attach the galvanised adaptors (C-LV-0210) on both ends of the galvanised insert (B-LV-0209) as shown in diagram 18.

Step #11.
Slide the galvanised insert (B-LV-0209) into the top rail (A-JM087) as shown in diagram 19.

Step #12.
Cut aluminium balusters (M-LV-0218-A-36) to the length of 896 mm (35.28") as shown in diagram 20.

Step #13.
Attach the bottom rail (A-JM087) onto the bottom post brackets (G-R0205) as shown in diagram 21.

Step #14.
Install the baluster plugs (E-LV-0218-C) and aluminium balusters (M-LV-0218-A-36) as shown in diagram 22.

Step #15.
Attach the top rail (A-JM087) to the top brackets (D-R0203) as shown in diagram 23.

Step #16.
Pre-drill and fix the top rail with screw WJ0143 as shown in diagram 24. WJ0143 does not need to be completely fixed through the galvanised adaptors (C-LV-0210).

Step #17.
Fix the post cap (L-LV0120) with WJ2020 and gaskets (F-R0113, O-R0115) as shown in diagram 25.

Step #18.
If needed, adjust the foot blocks (I-LV-0217) to the correct height as shown in diagram 26.