


NeoTimber’s how-to installation videos make building composite fencing simple, whether it’s for a garden, patio, or commercial setting.
Our how-to installation video guides are designed to offer a helping hand during your composite fencing build. Giving clear, visual steps, you can familiarise yourself with NeoTimber’s component-based fencing solution and get a feel for what installation entails.
Our video guides offer guidance on a wide range of applications and will provide useful tips for a number of different installation settings: from installing a full composite fence panel onto both hard and soft ground; to retrofitting either timber or concrete fence posts using NeoTimber’s aluminium inserts. So, whether you’re a professional installer, or you’re turning your hand to a DIY composite fence installation, take a scroll through our video library to get clued up on the specifics before commencing with your project.
How To Install Composite Fencing Onto Hard Ground
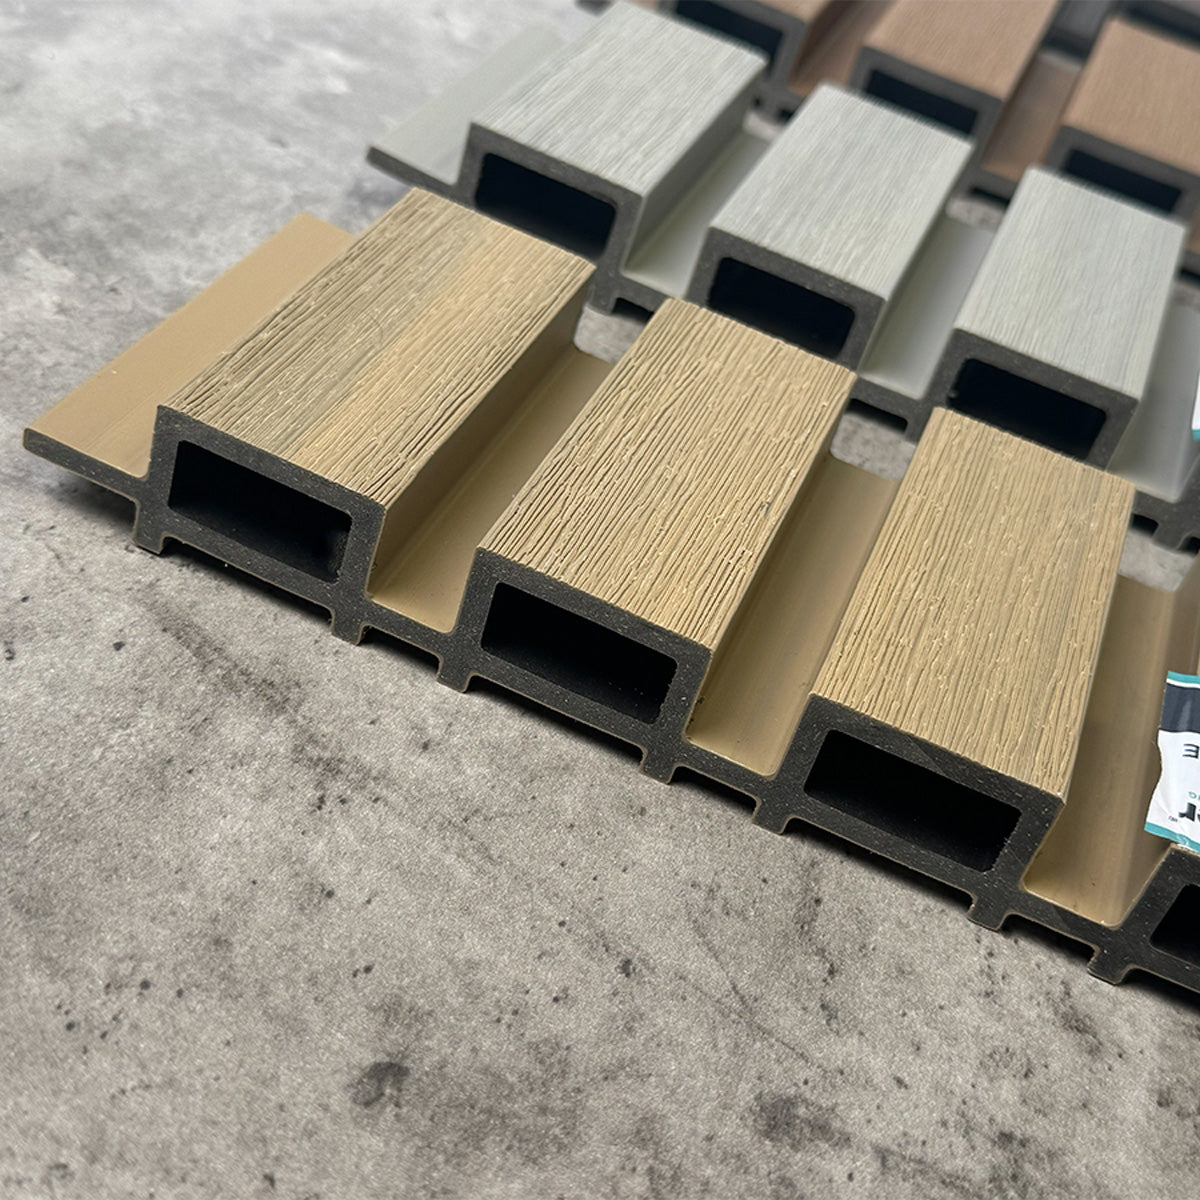
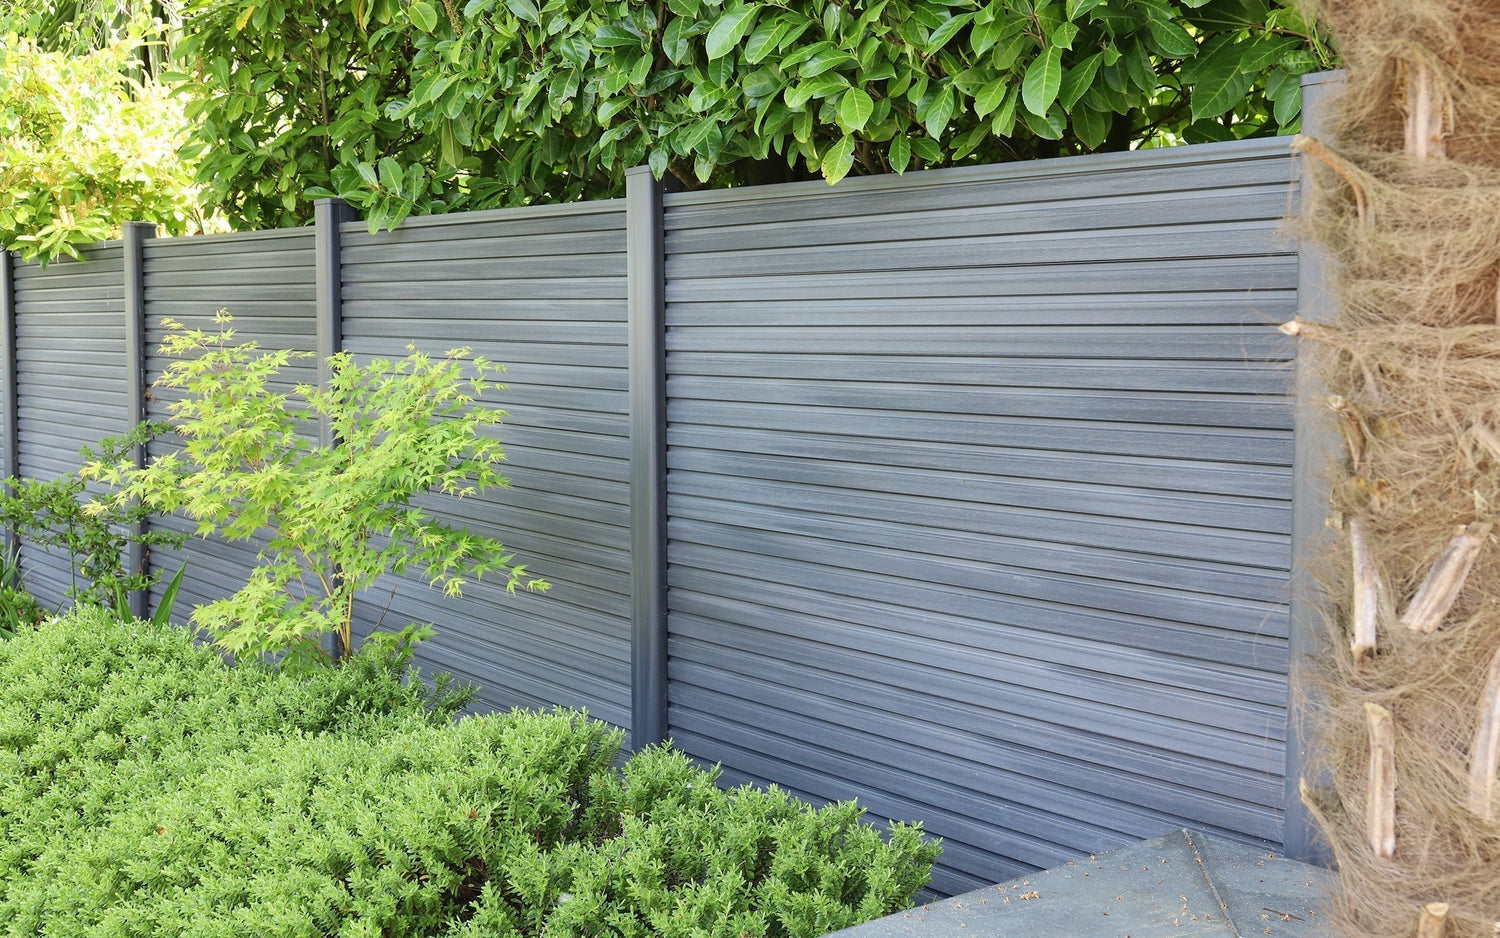
When installing composite fencing onto hard ground, the galvanised steel post supports anchor the composite fence posts into place and offer a sturdy foundation for your completed fencing panels. Once the post supports are securely fixed into place, they are then covered by our plastic fixing sleeves and our composite posts are placed over the support. These posts are spaced evenly along the proposed fence line and spaced at 1800mm centres, should full length fence boards be installed.
Once in place, the erected posts act as a channel for our tongue-and-groove fencing boards, which are held securely into place with our capping rails, fixed at both the base and top of the completed composite fence panel. Though our modular fencing system is designed to be intuitive and easy to build, our installation video on how to install composite fencing onto hard ground can be used to clearly show you the step-by-step process of installing NeoTimber’s composite fencing into this type of setting. To get a more in-depth understanding of the exact steps required to install NeoTimber’s composite post set for hard ground, please check out our full installation guide here.
Our step-by-step video guide on how to build a panel using our hard ground post supports.
How To Install Composite Fencing Onto Soft Ground
When installing NeoTimber’s composite fencing onto soft ground, you first concrete the soft ground inserts into the earth, securing the foundational structure of your composite fence panel into place. Once the concrete is dry and the post supports are fixed firmly in position, your plastic fixing sleeves and composite posts can be fitted over them. If the panel you wish to install is utilising the full length of NeoTimber’s fence board, these posts should be spaced evenly at 1800mm centres, along the desired fence line for your outdoor build. Once the composite posts are in place, simply slide and fix the base capping rail and stackable tongue-and-groove fencing boards into place to build your completed panel, then finally lock all into place using the top capping rail.
Although we have designed our composite fencing to be easy to install and intuitive, we understand that many people need more of a visual aid. To help with this, we have created a helpful installation video, to display the steps you need to take when installing composite fencing onto soft ground more clearly. If you still need more detailed instructions on how to install NeoTimber® fencing onto soft ground, we recommend reading through our full installation guidelines here.
Learn how to install our soft ground inserts to build your composite fence panel into earth.
How To Install Composite Fencing Onto Existing Timber Posts
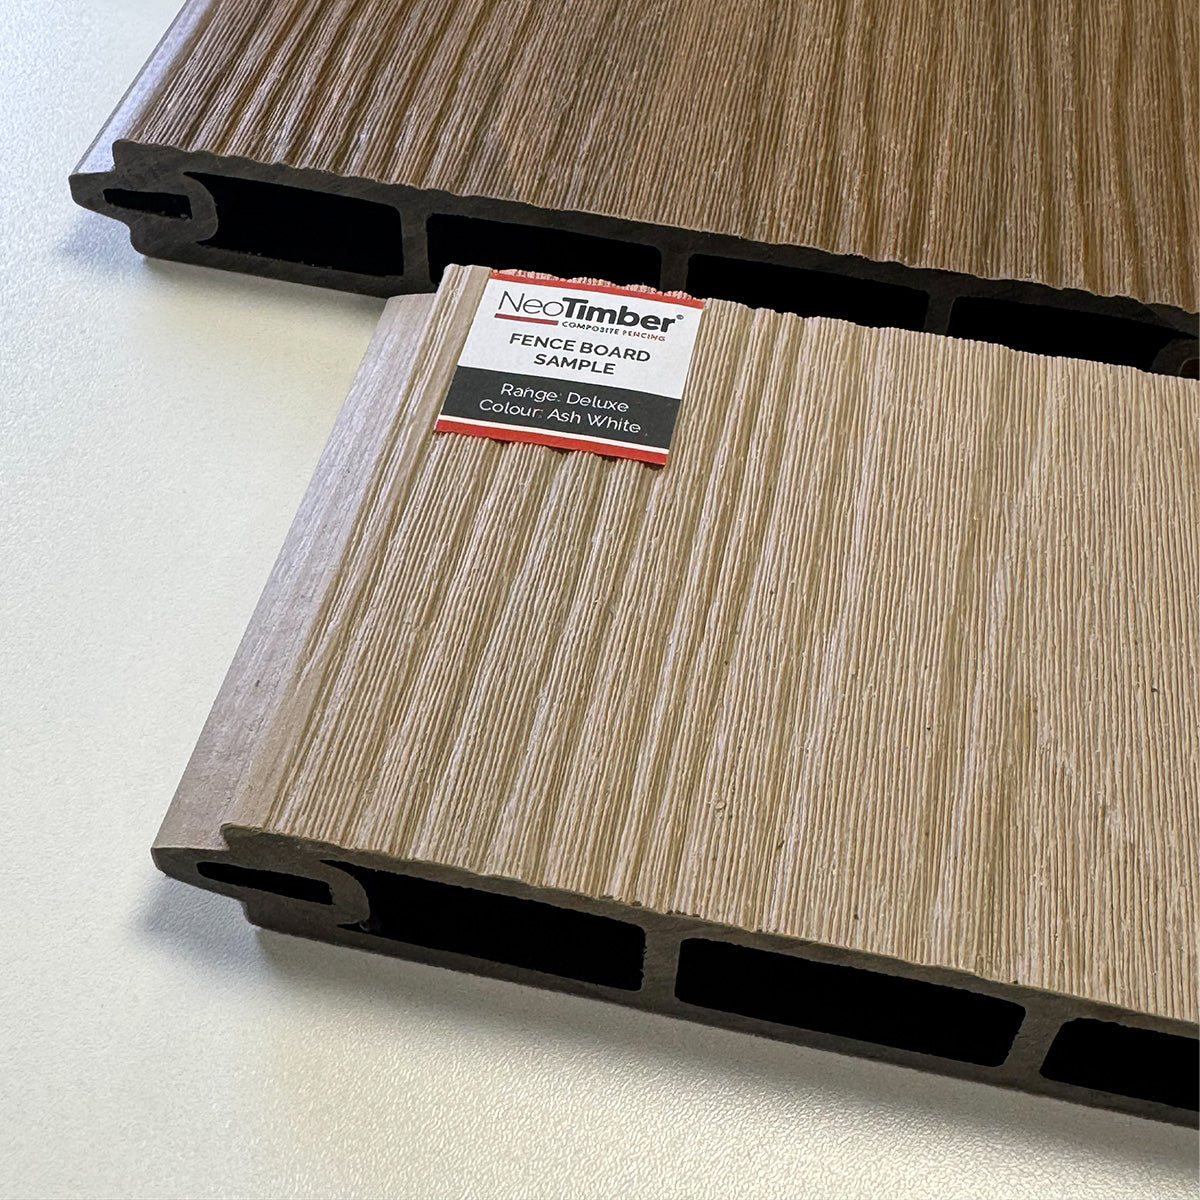
We have designed our composite fencing so it can be retrofitted onto pre-existing timber posts, providing you with greater customisation options for your outdoor projects. To fix your fencing panels to timber posts, you will first need to position and drill our wooden fence post inserts in place, before securing the base of the panel with the bottom capping rail. Once this has been completed, you can simply stack your tongue-and-groove fencing boards on top of one another to make the finished panel, just as you would with our composite posts. Cap each panel off using the top capping rail. Helpfully, our individual fencing boards can be cut down to size just like real timber, making sure they fit exactly between the spacings of your existing timber posts.
We have aimed to create a fencing system that is uncomplicated and easy to construct. However, we acknowledge that some people may need more of a visual guide to help with their own builds. With this in mind, we have created the below installation video, designed to show you a clear visual guide of the process to help guide your own projects. Should you need any more information surrounding installing composite fencing onto timber posts, we recommend reading through our comprehensive installation guide, which can be found here.
Build your NeoTimber® fencing between timber posts using our timber post inserts.
How To Install Composite Fencing Onto Existing Concrete Posts
At NeoTimber®, we have opted to design our fencing in such a way that it can be fitted to pre-existing concrete posts. This gives you greater options for customisation, making it easier to fit our composite fencing panels into any space. Should you choose to use existing concrete posts, you will be pleased to know that the installation process for fixing our panels between the posts is much the same as the standard installation, aside from the concrete fence post inserts that must be first secured into place against your concrete posts. Our fencing boards can be cut down to size like real timber, helping them to fit perfectly within the confines of your existing concrete posts.
Although we have created our fencing system to be easy to install, we understand that some people may need more of a visual prompt to help guide the build. In recognition of this, we have created the below video to outline these additional steps, providing you with a clearer understanding of the process. For more information surrounding installing NeoTimber® composite fencing onto concrete posts, we recommend reading our full installation guide, which can be found here.
See how simple post inserts can be used to retrofit your existing concrete post fencing.
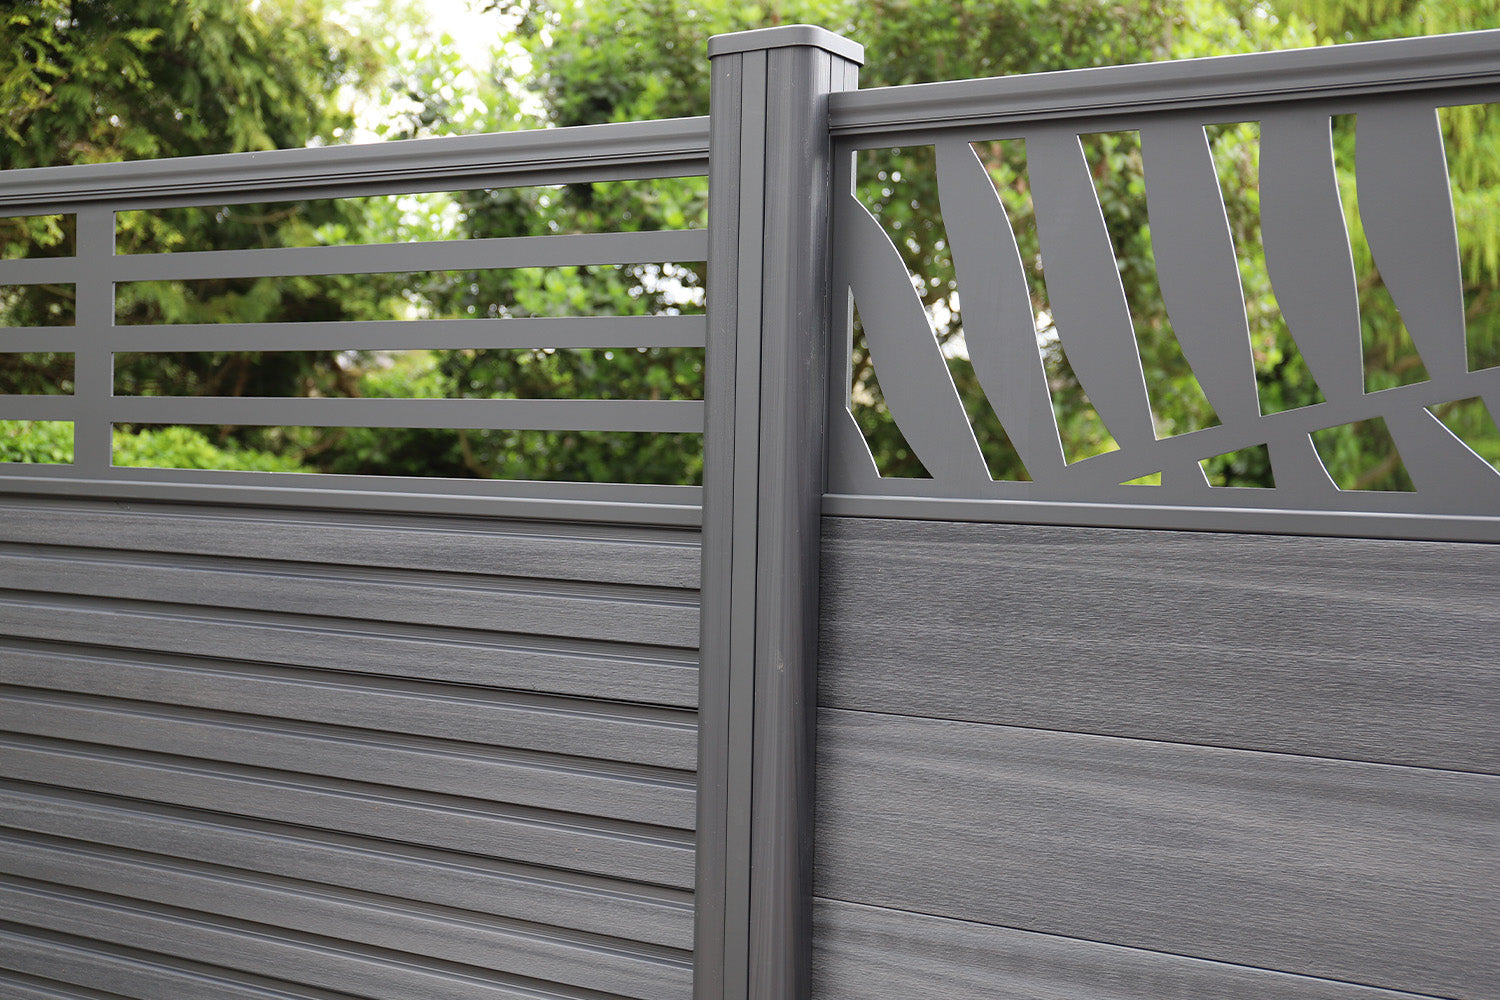
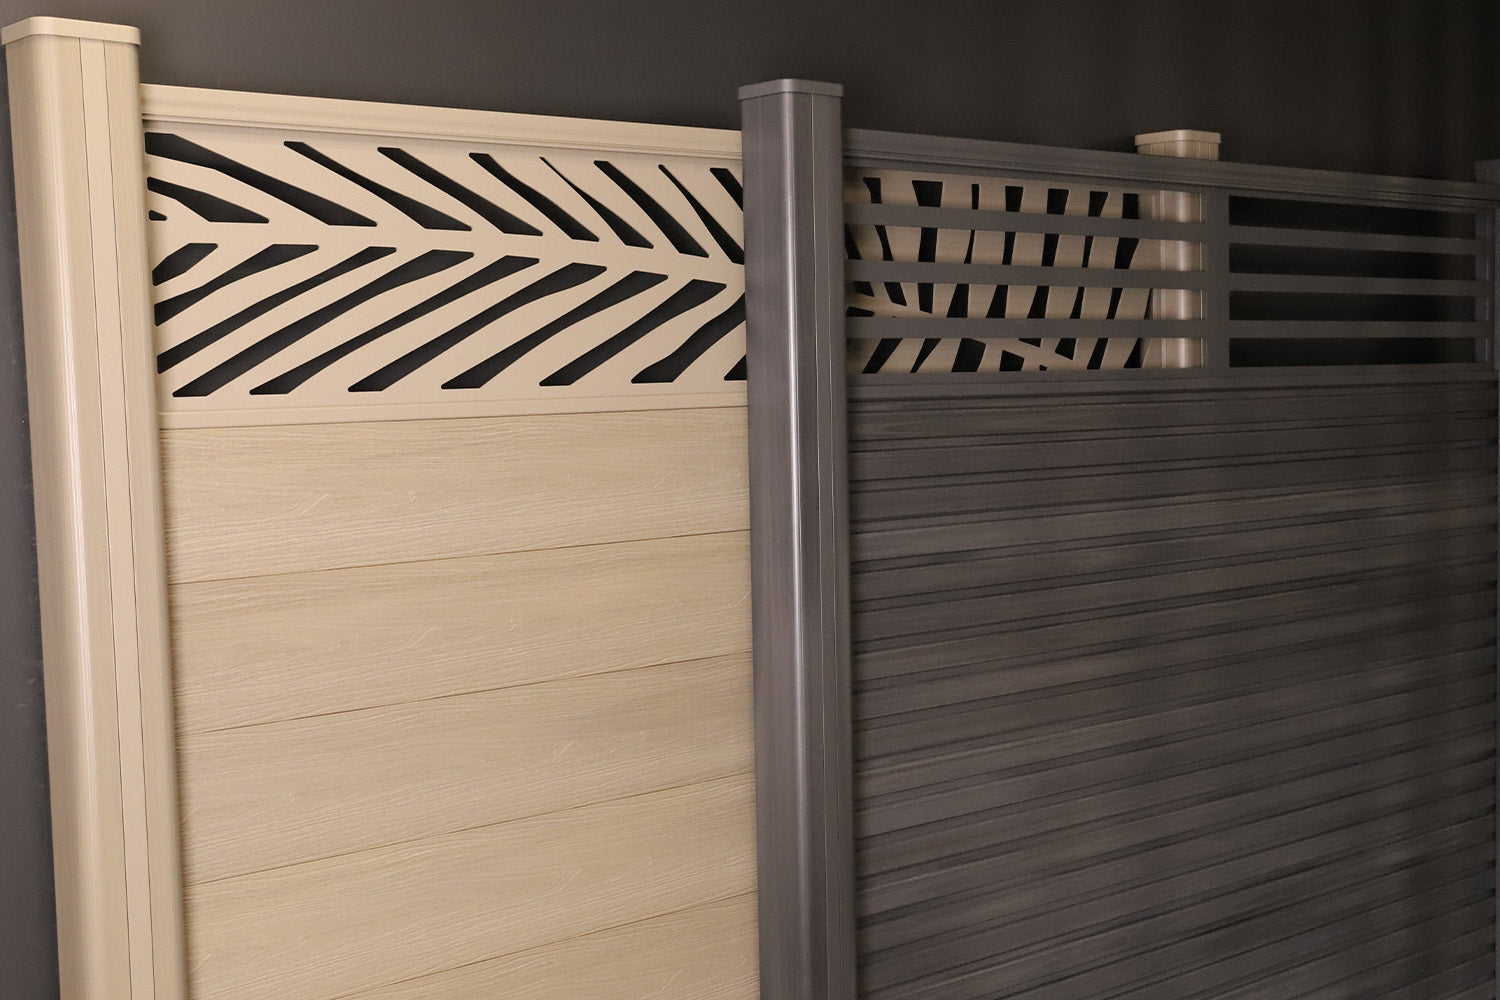
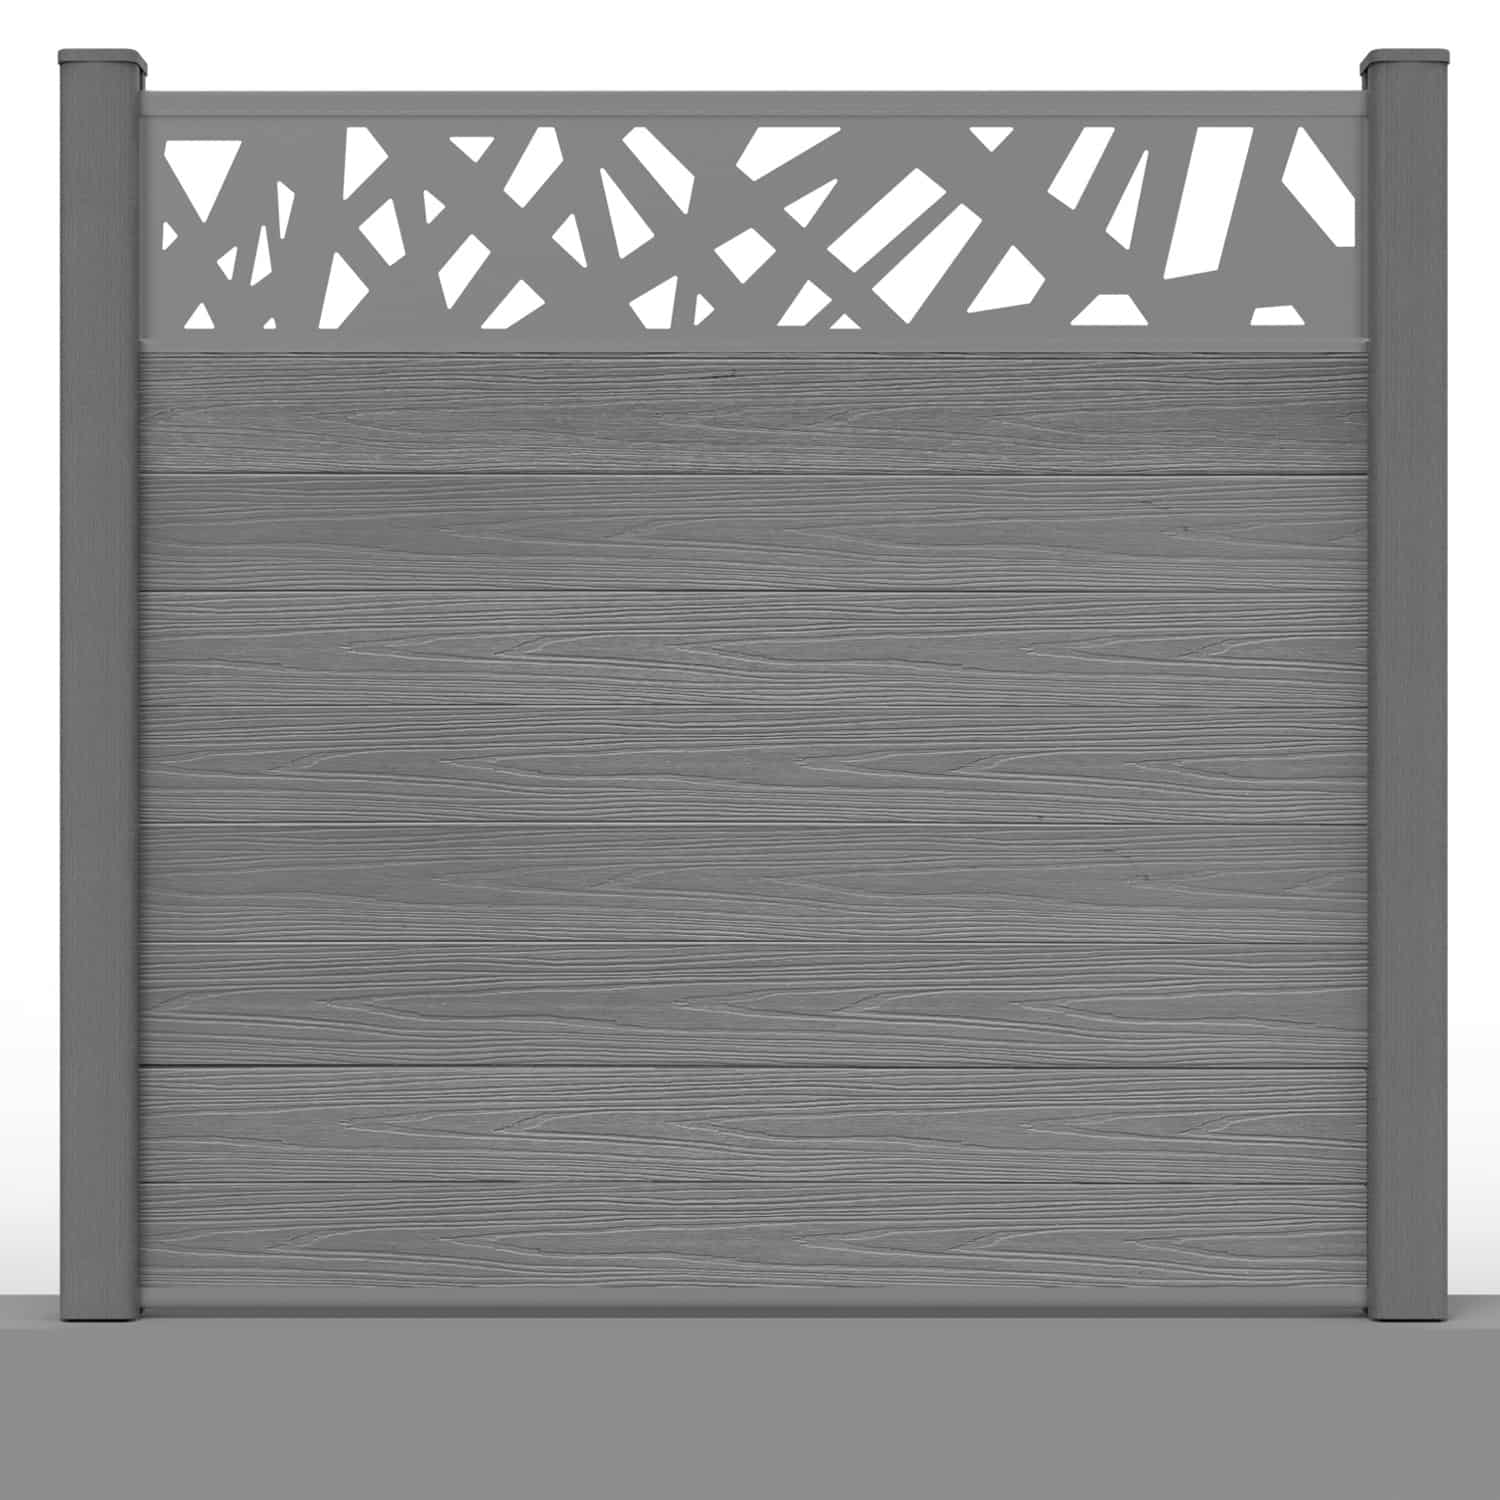
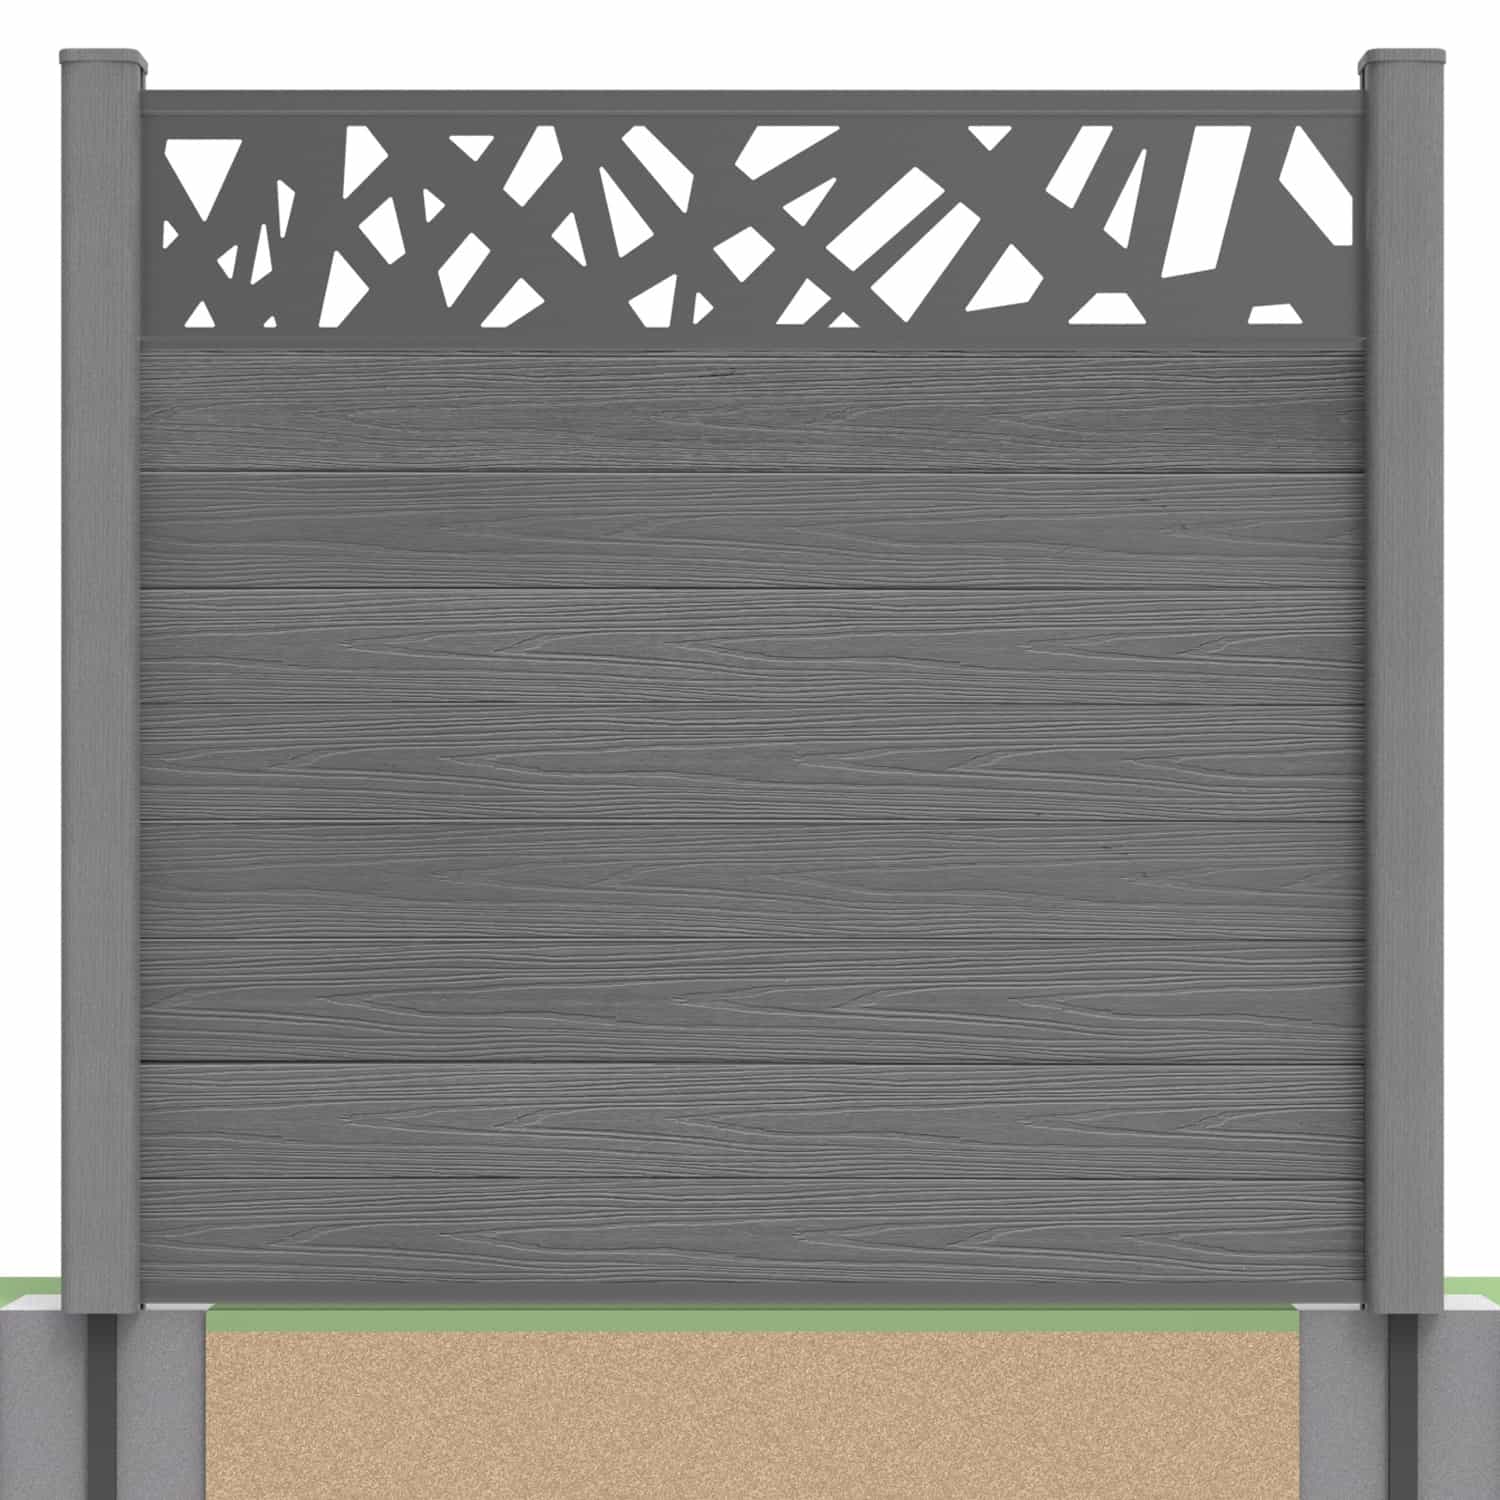
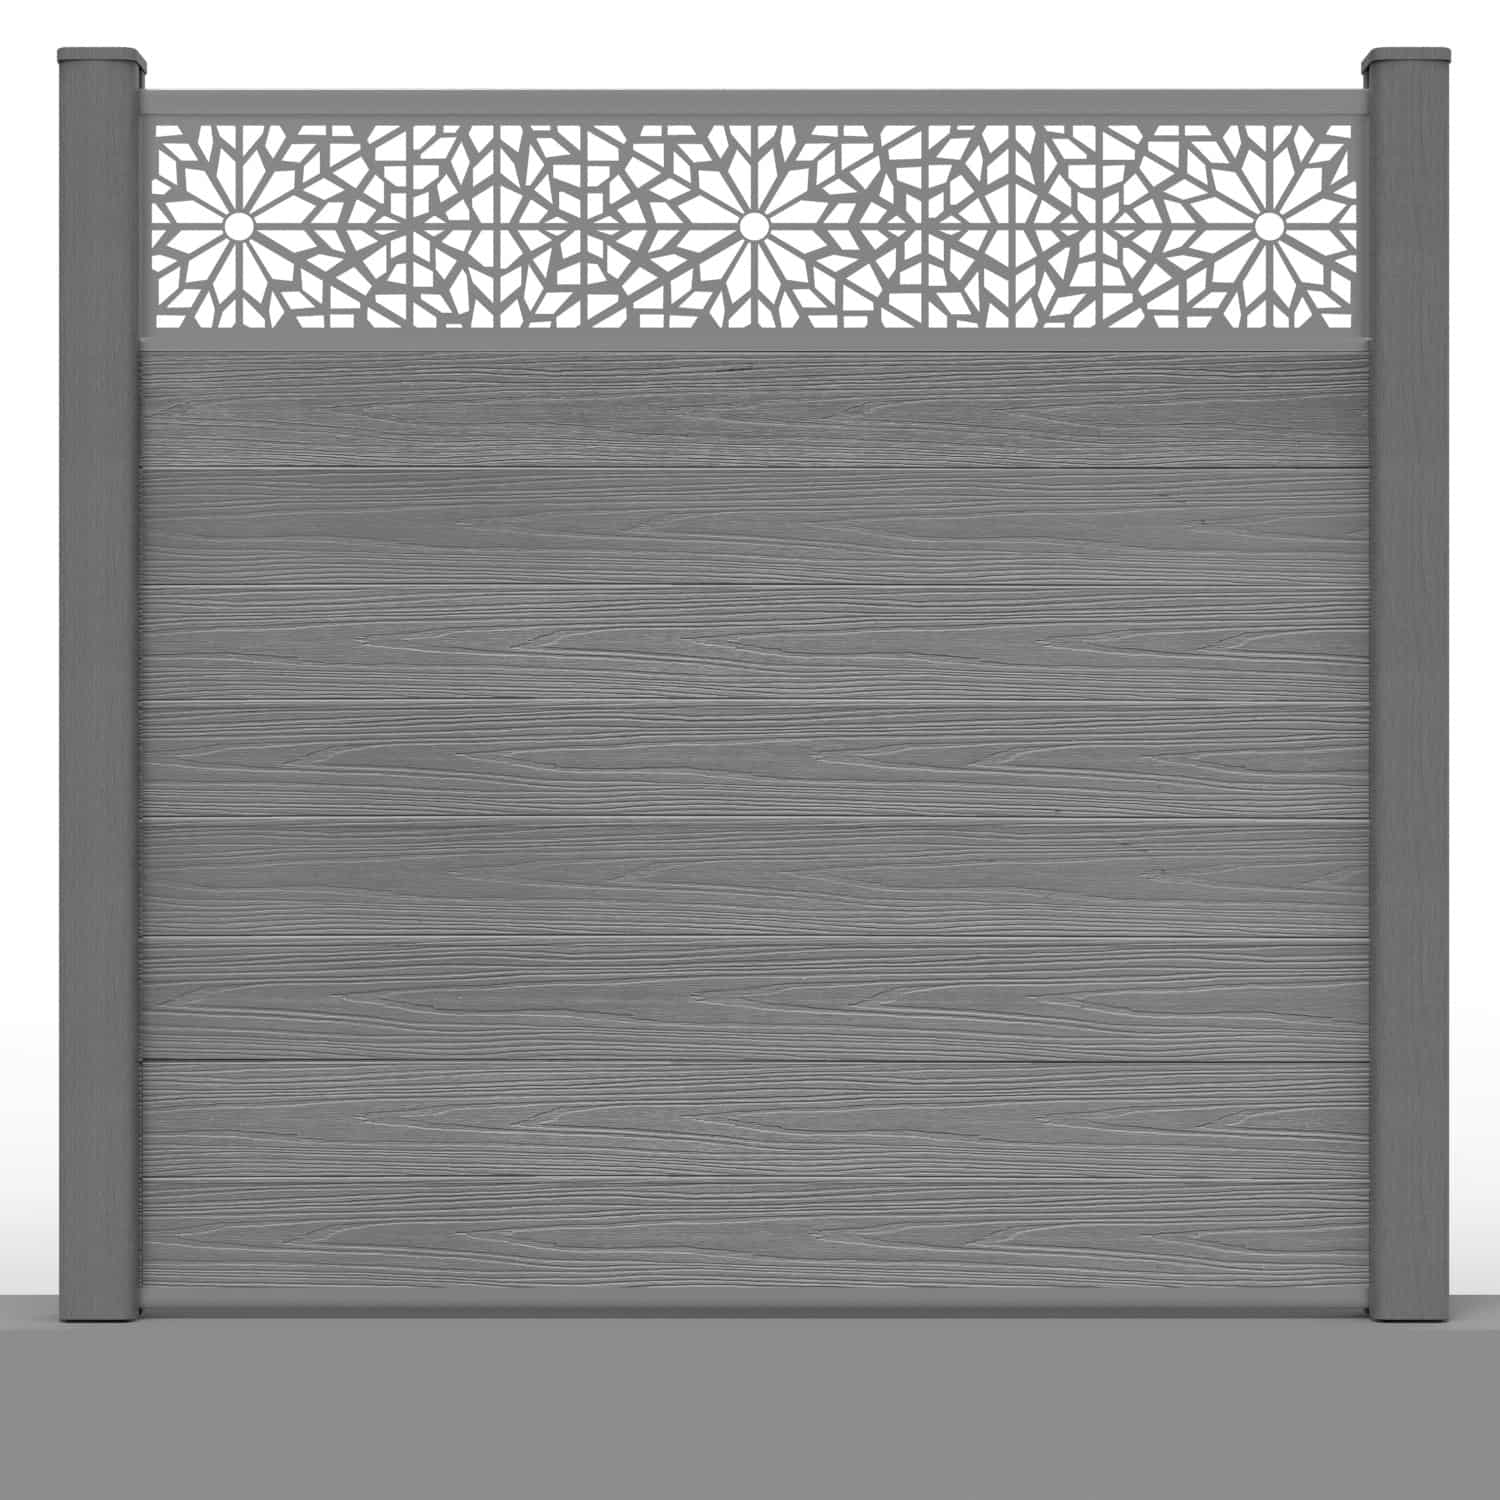
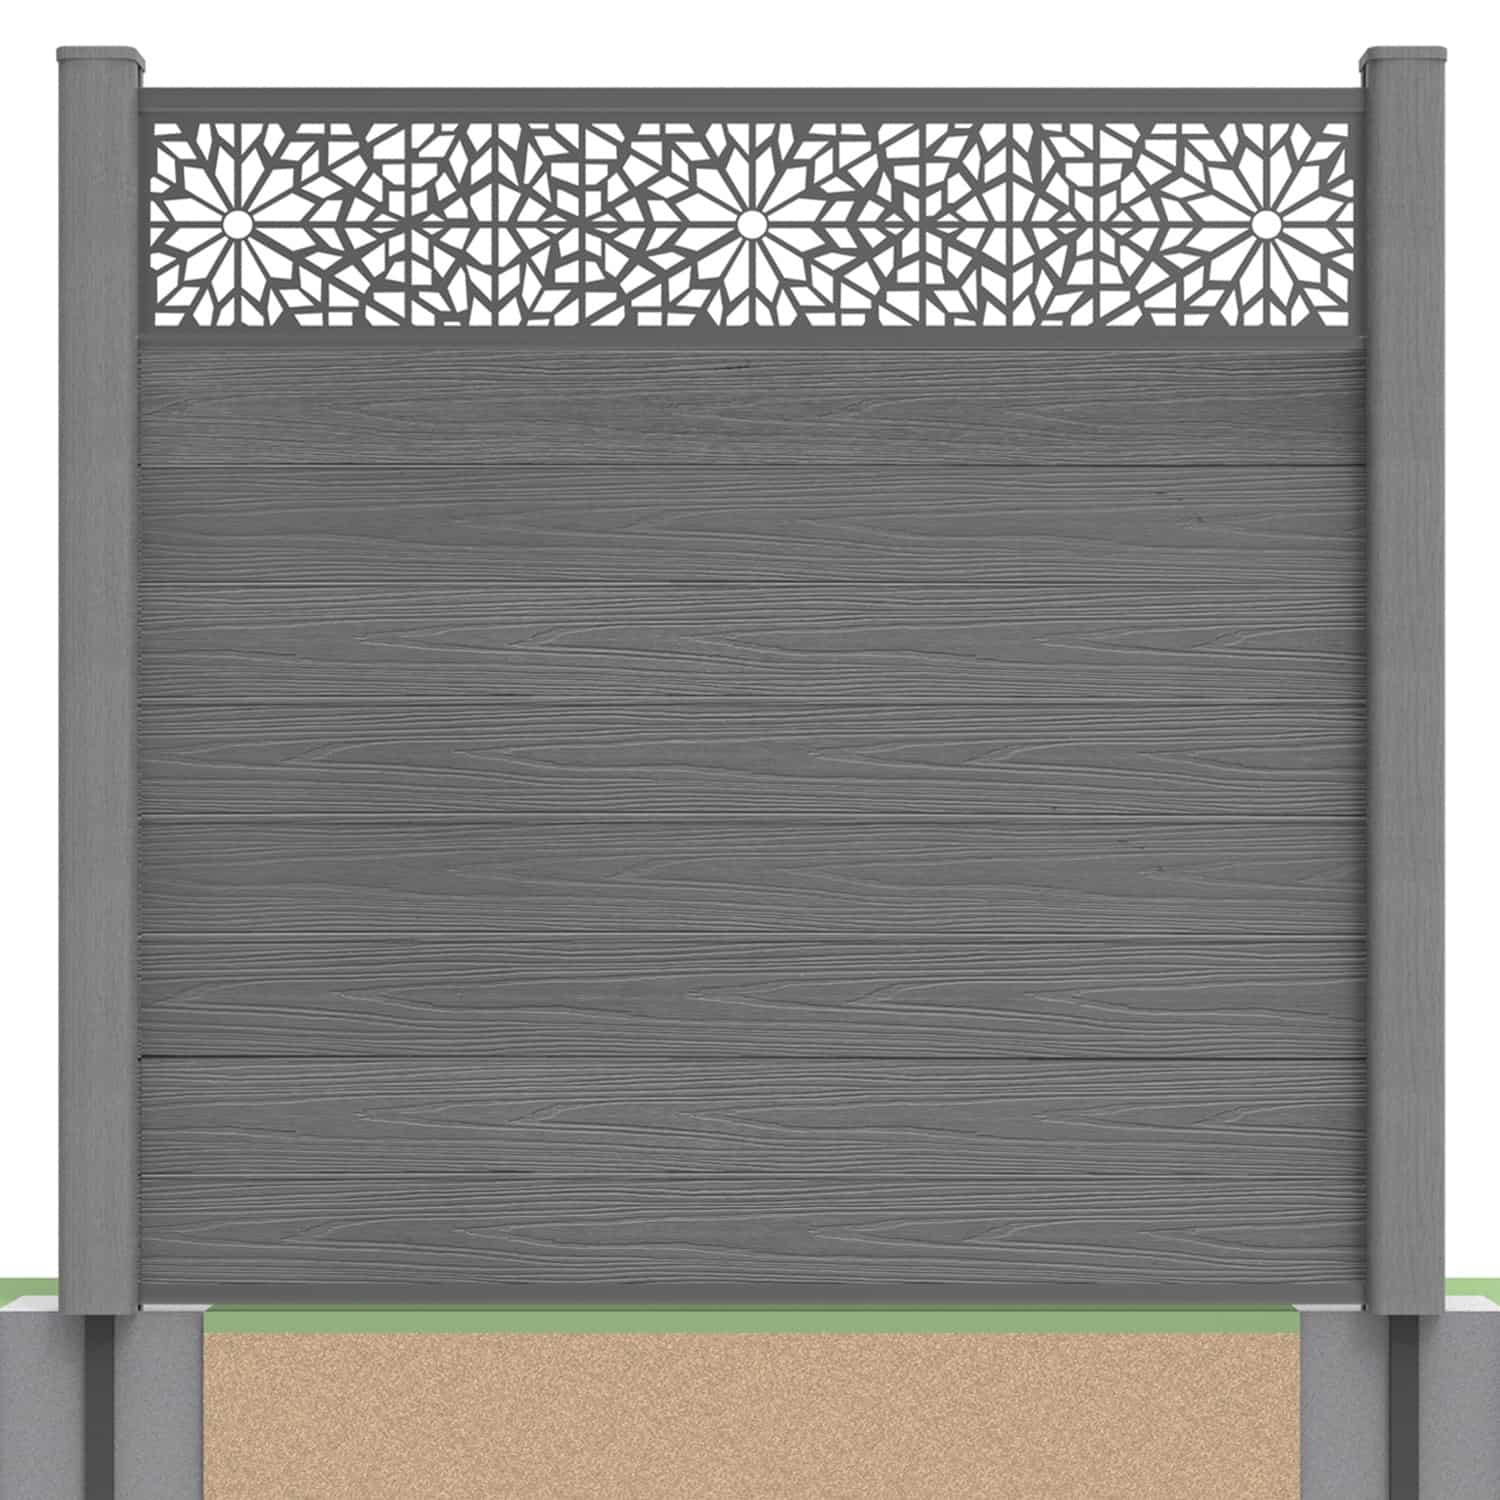
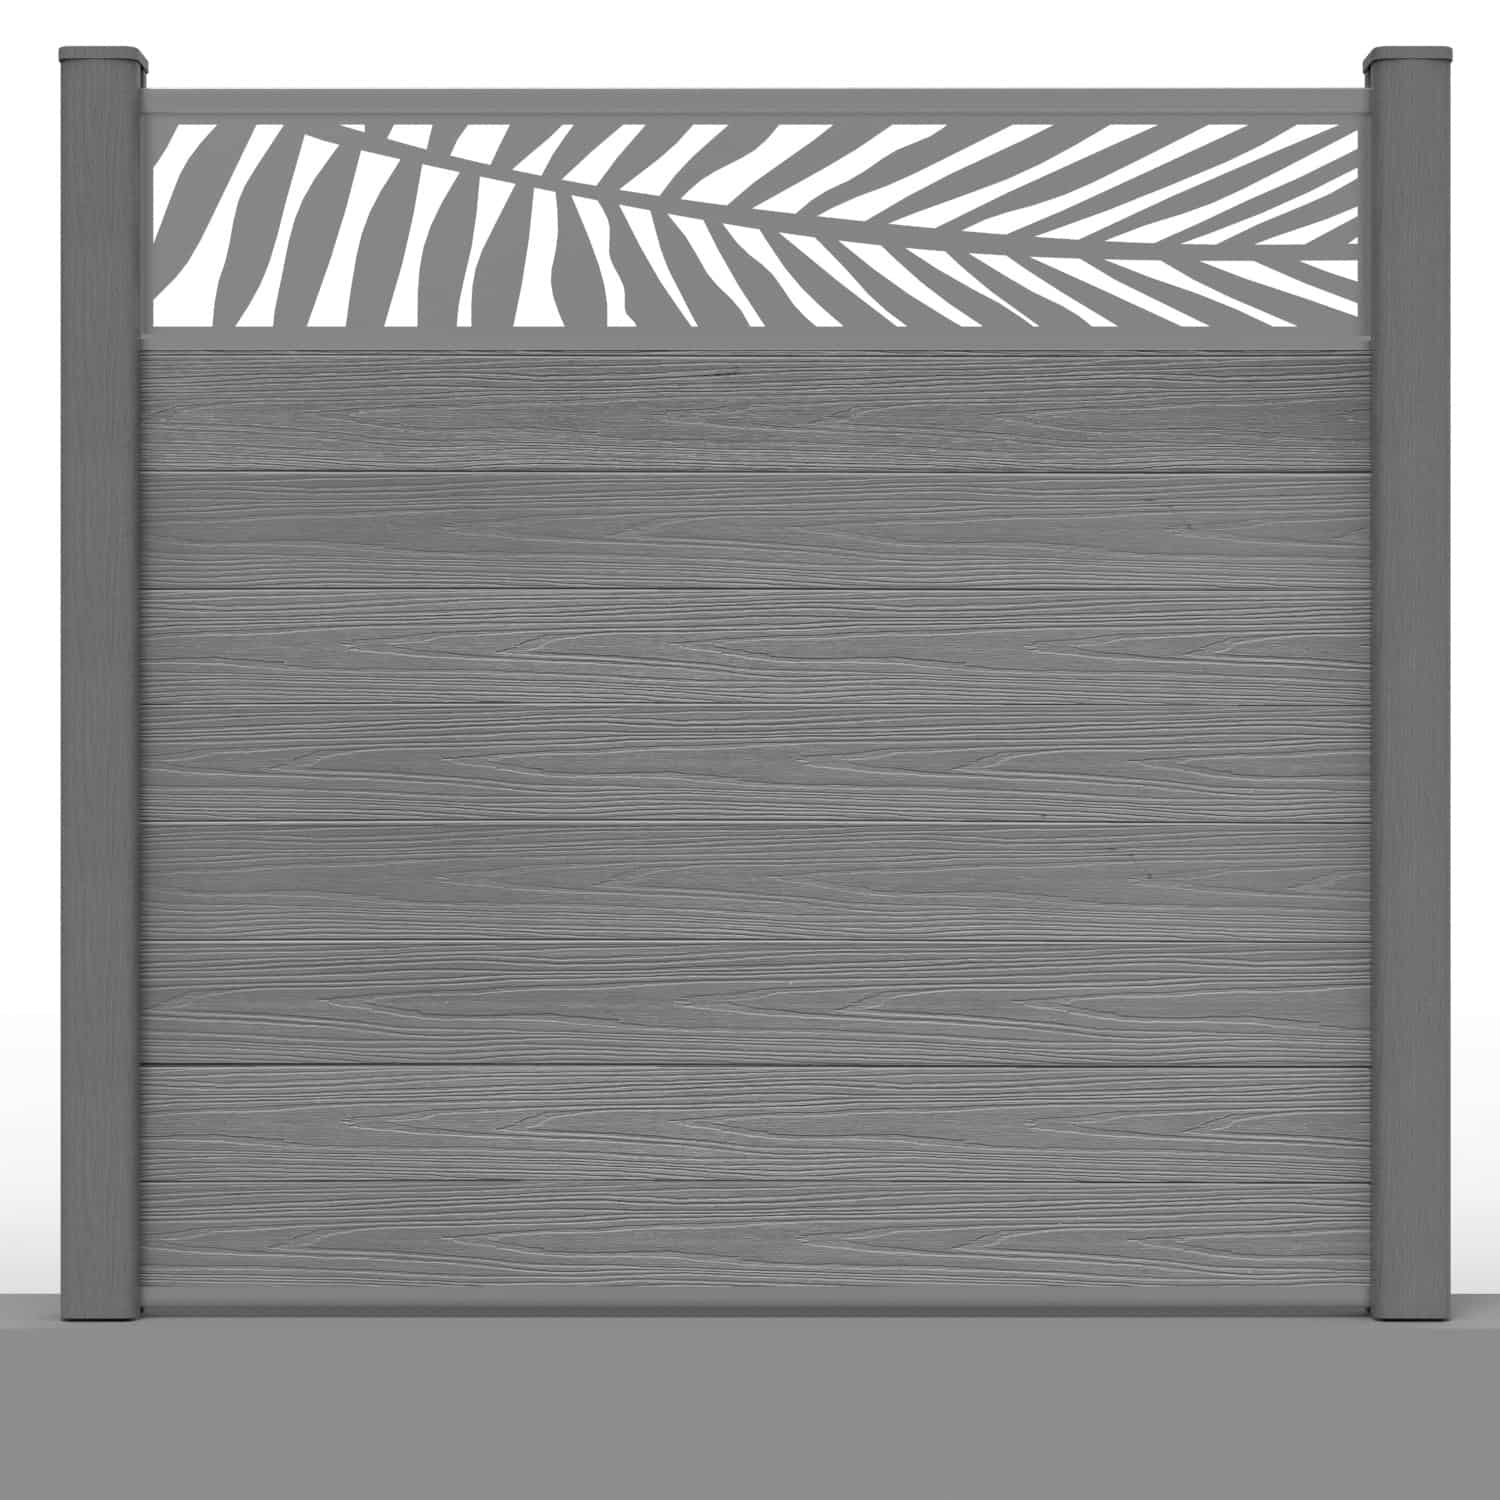
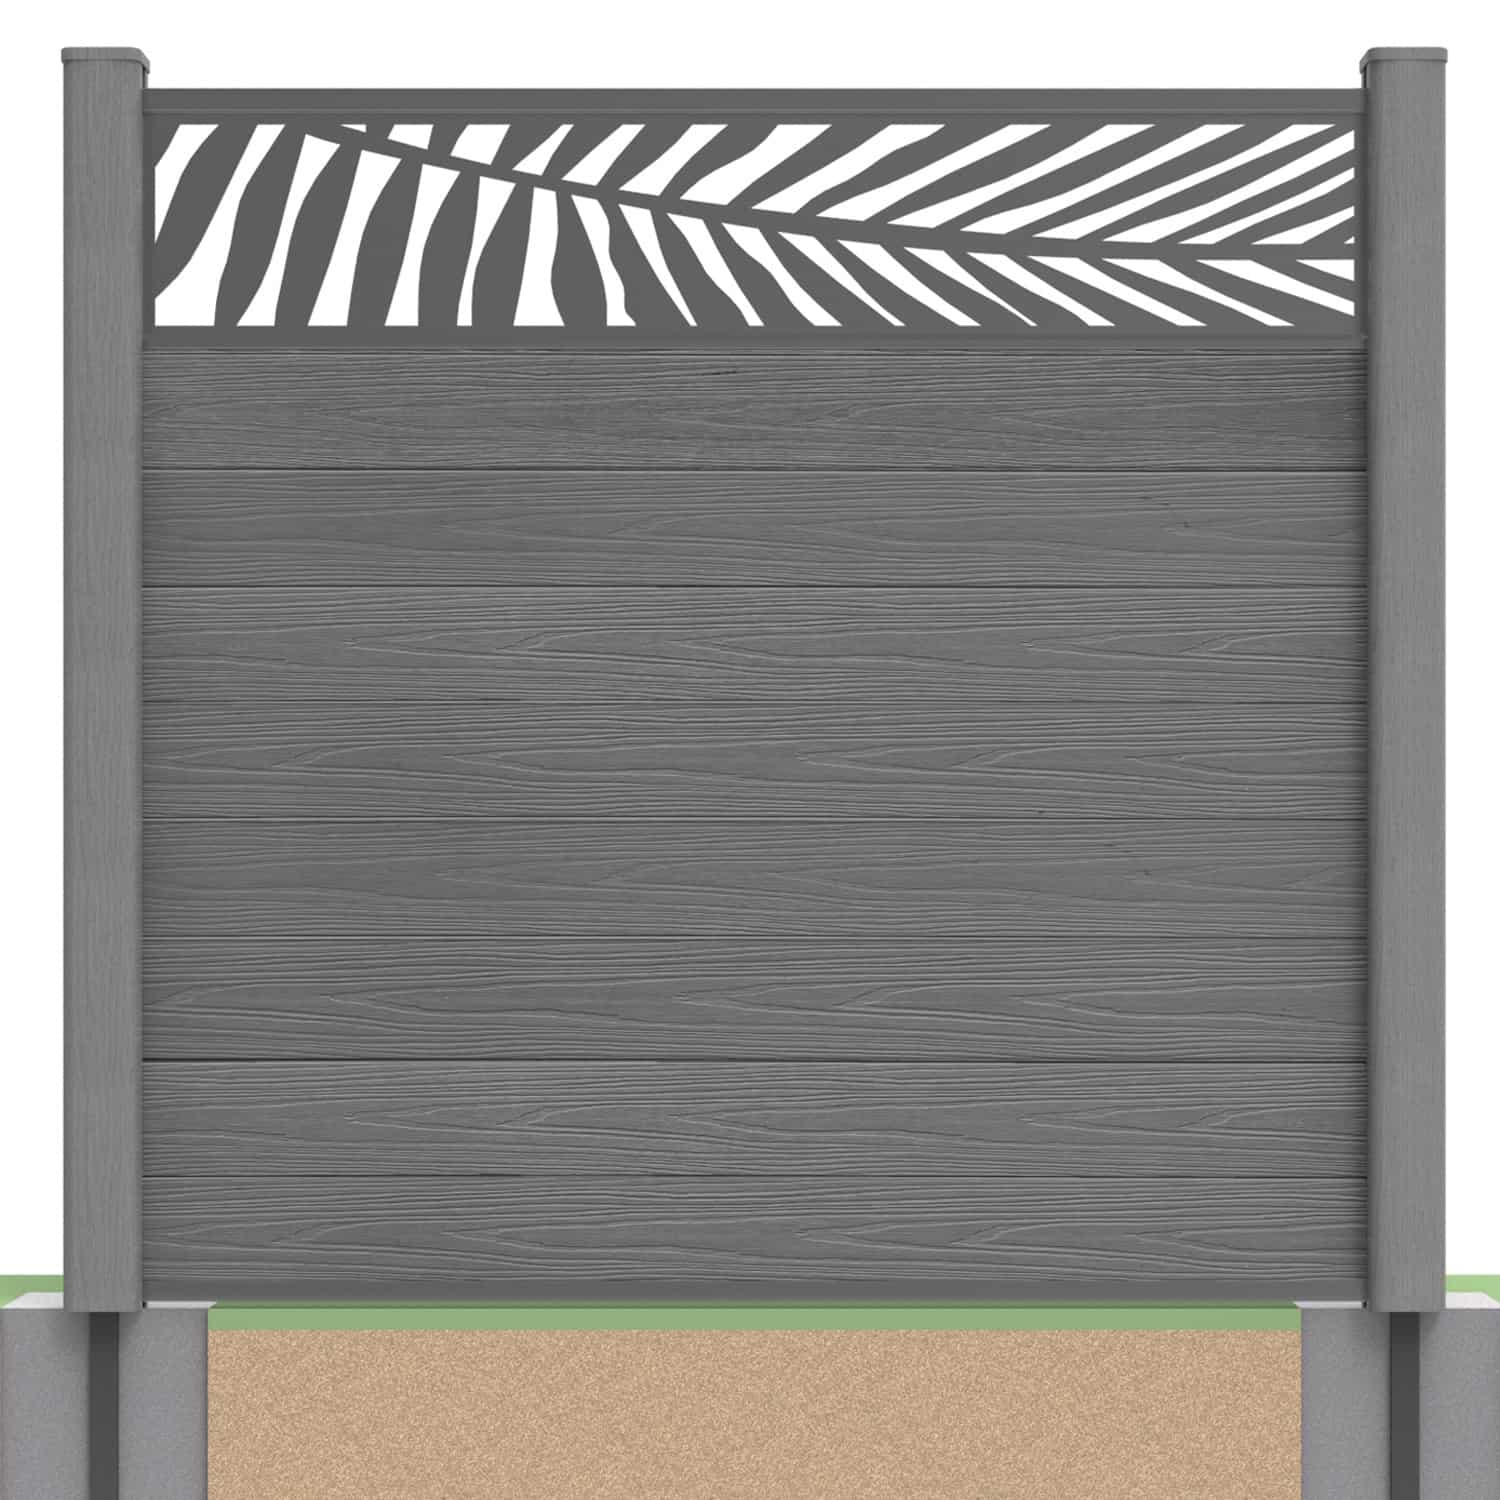
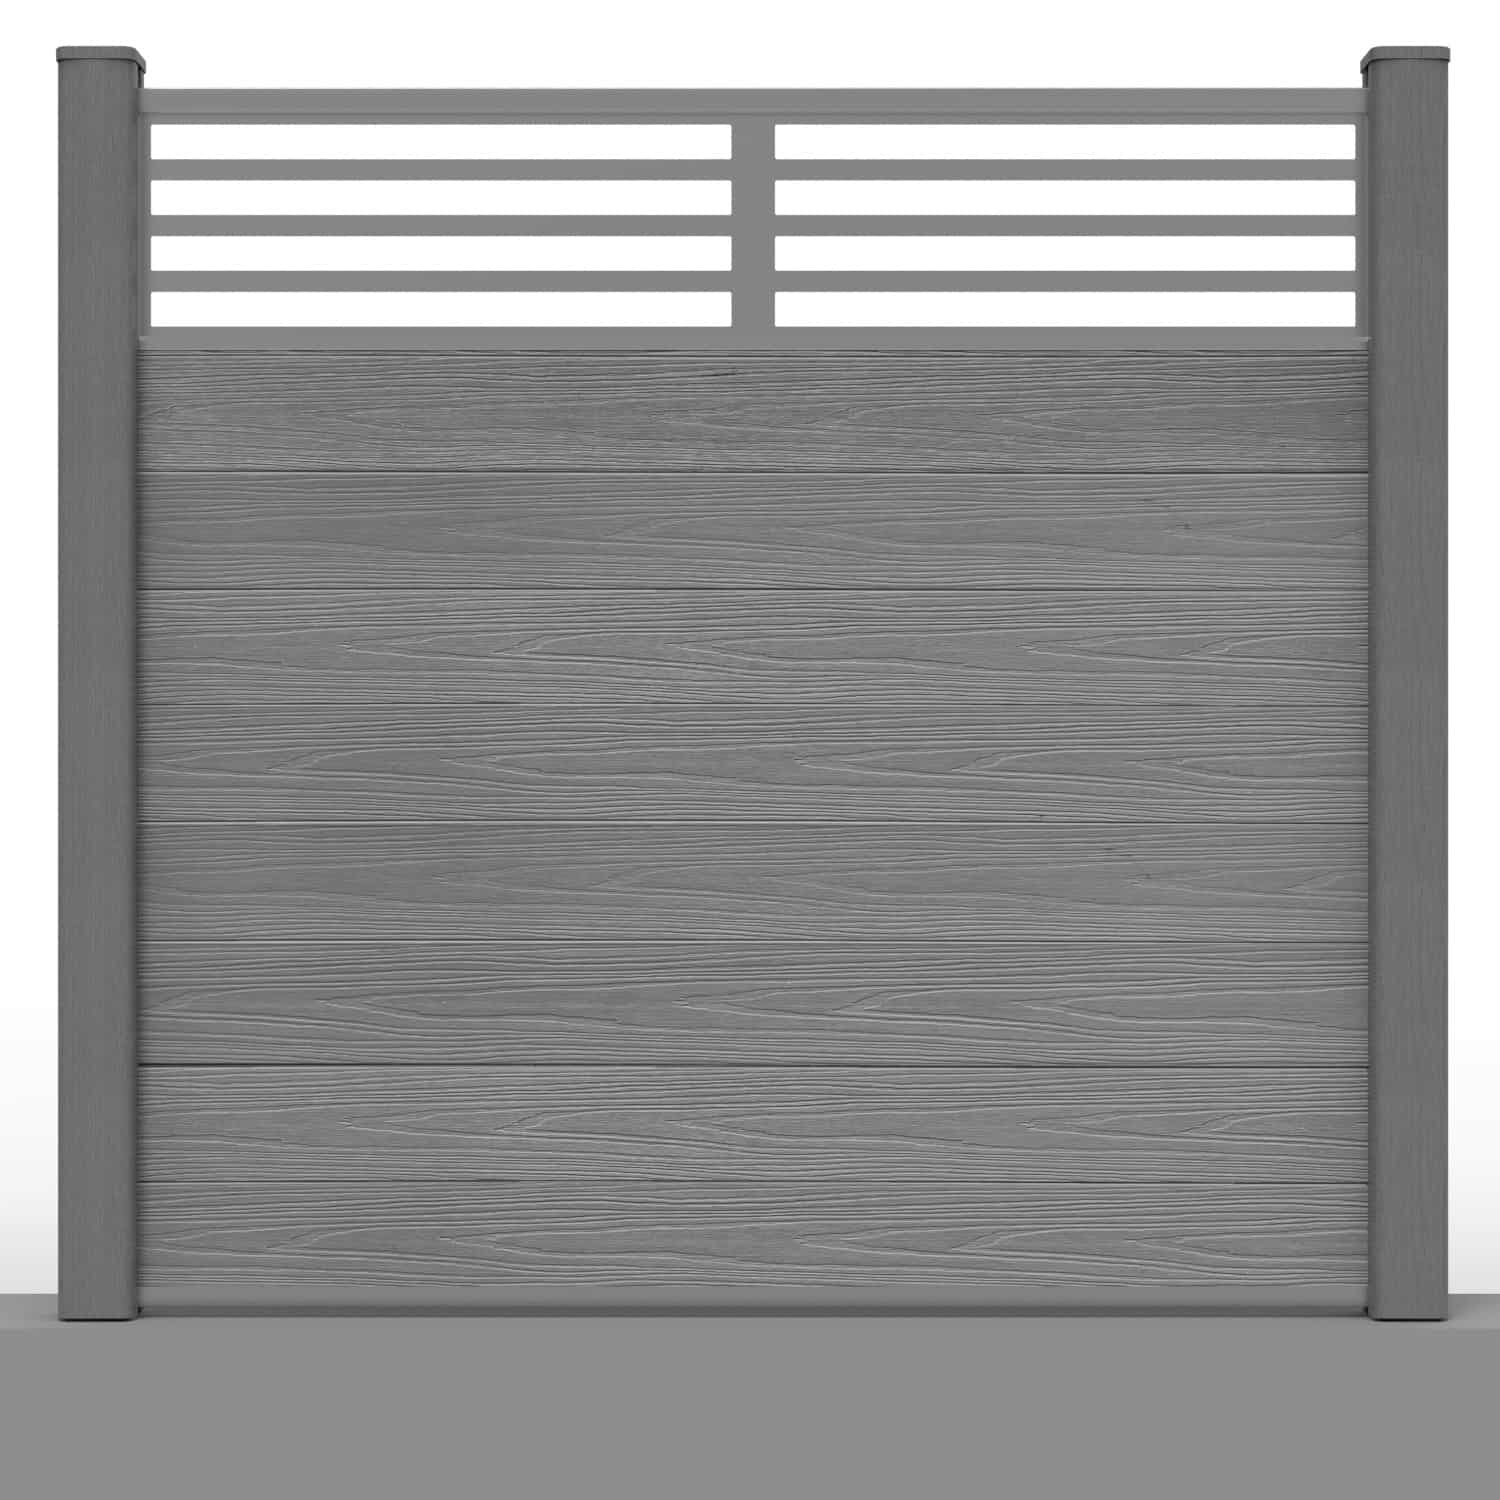
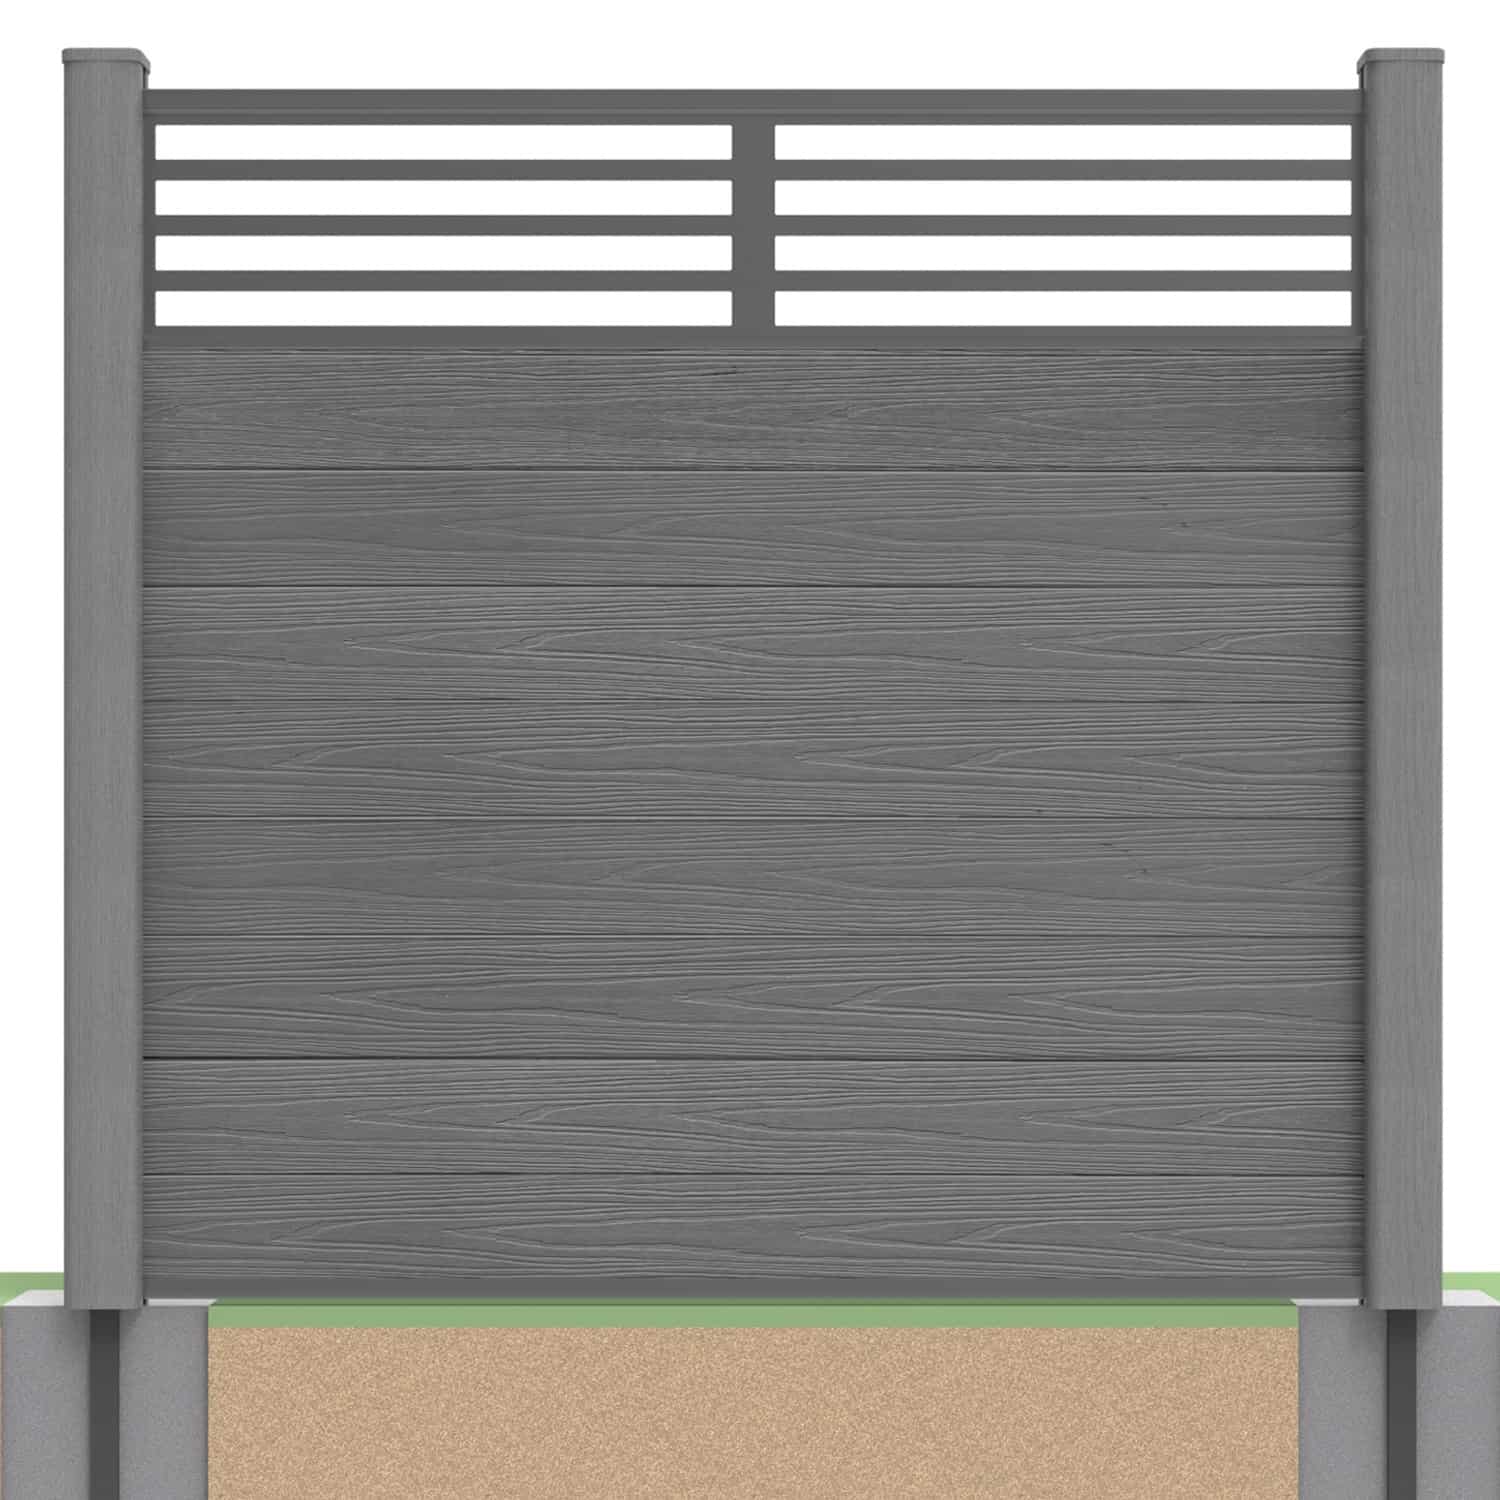
How To Install A Composite Fencing Panel With A Decorative Screen
Installing a fencing panel with a decorative screen follows much of the same process as the standard panel. The fence posts should be spaced evenly along your proposed fencing line at 1800mm centres, should you choose to install full length fence boards. The individual stackable tongue-and-groove boards will then slide seamlessly into the channel of the composite posts or post inserts. However, the decorative screen takes the place of the final two boards in each panel.
Although the stackable nature of our fencing boards make the construction of a completed panel relatively easy, a little helping hand never goes amiss. We have created the below installation video to guide you through this process from start to finish. This will give you a clearer understanding of how to slot your decorative screen into position and secure it into place with the capping rails. Should you need any more information about installing our decorative screens, we recommend reading through our detailed installation guide.
Mix and match your fencing design with decorative screens in place of NeoTimber® fence boards.
How To Install NeoTimber's Composite Gate
NeoTimber’s composite gate acts as the ideal entrance to your outdoor space. The gate is composed of a completed aluminium frame and post set, housing stacked fencing boards within, perfectly colour matched to the rest of your composite fence panels. Your gate posts should be spaced evenly at 1040mm centres. Use a spirit level to make sure that the post supports sit perfectly flat on the surface of the ground. The metal gate posts will then fit over these supports and can be attached to the gate itself with hinges.
The video below is designed to help explain the process of fitting the gate to your 2 metal gate posts and completed composite fencing. For more information regarding the installation of our fencing gates, including the exact dimensions of the locking mechanism, we recommend reading our composite fencing installation guide.
Simplify Your Project With NeoTimber’s How-To Installation Videos For Composite Fencing
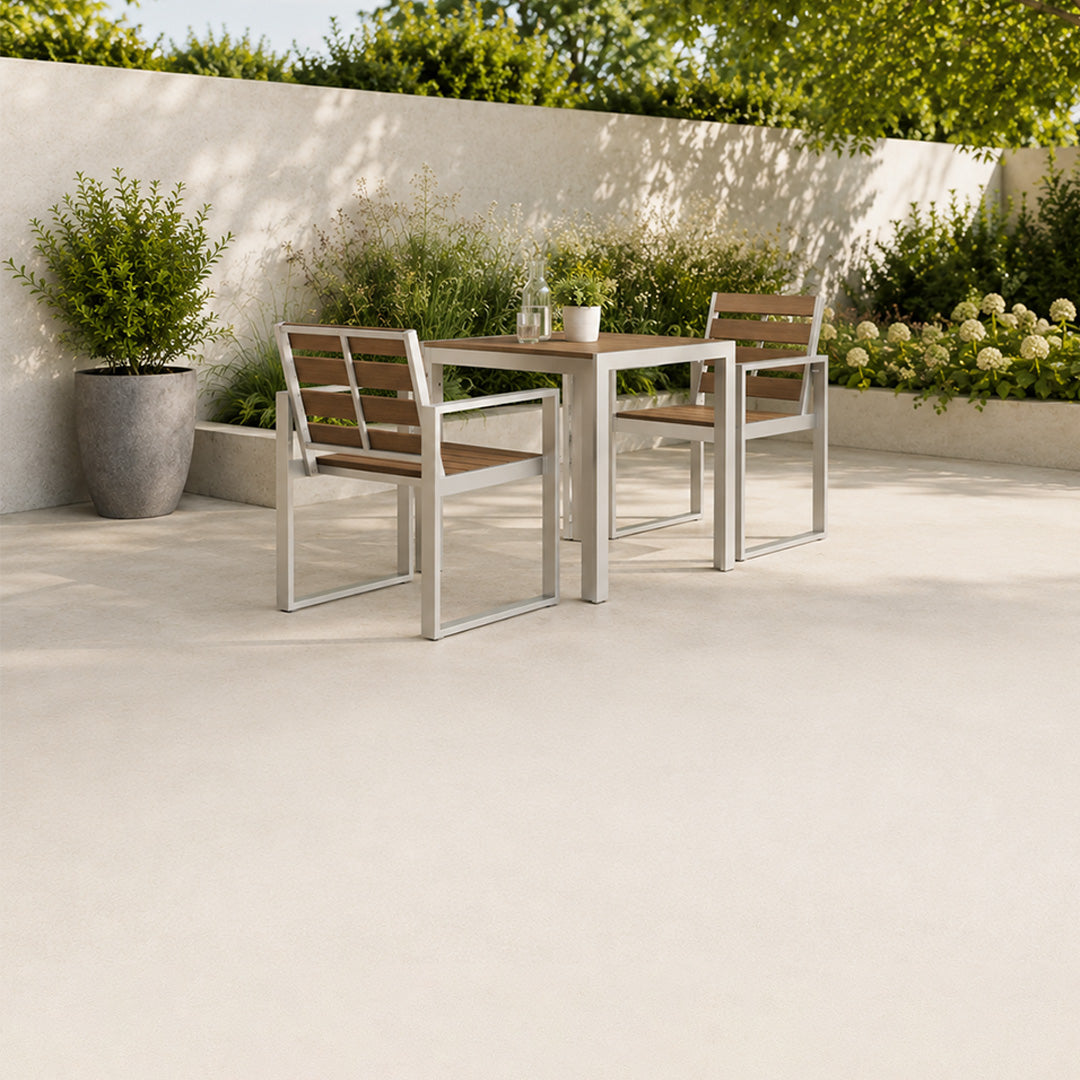
NeoTimber’s how-to installation videos make building composite fencing simple, no matter the setting. Whether you’re creating a boundary for a garden, patio, or commercial space, our step-by-step visual guides complement our written installation instructions to ensure a smooth, professional finish. Learn how to assemble panels, secure posts, and align fencing boards with confidence, reducing errors and saving time. With NeoTimber’s guidance, you can enjoy a durable, low-maintenance, and stylish fencing solution that transforms your outdoor space while giving you the know-how to tackle your project efficiently.