


Step-By-Step Guide To Install Composite Fence Panels With Screens For A Stylish Finish
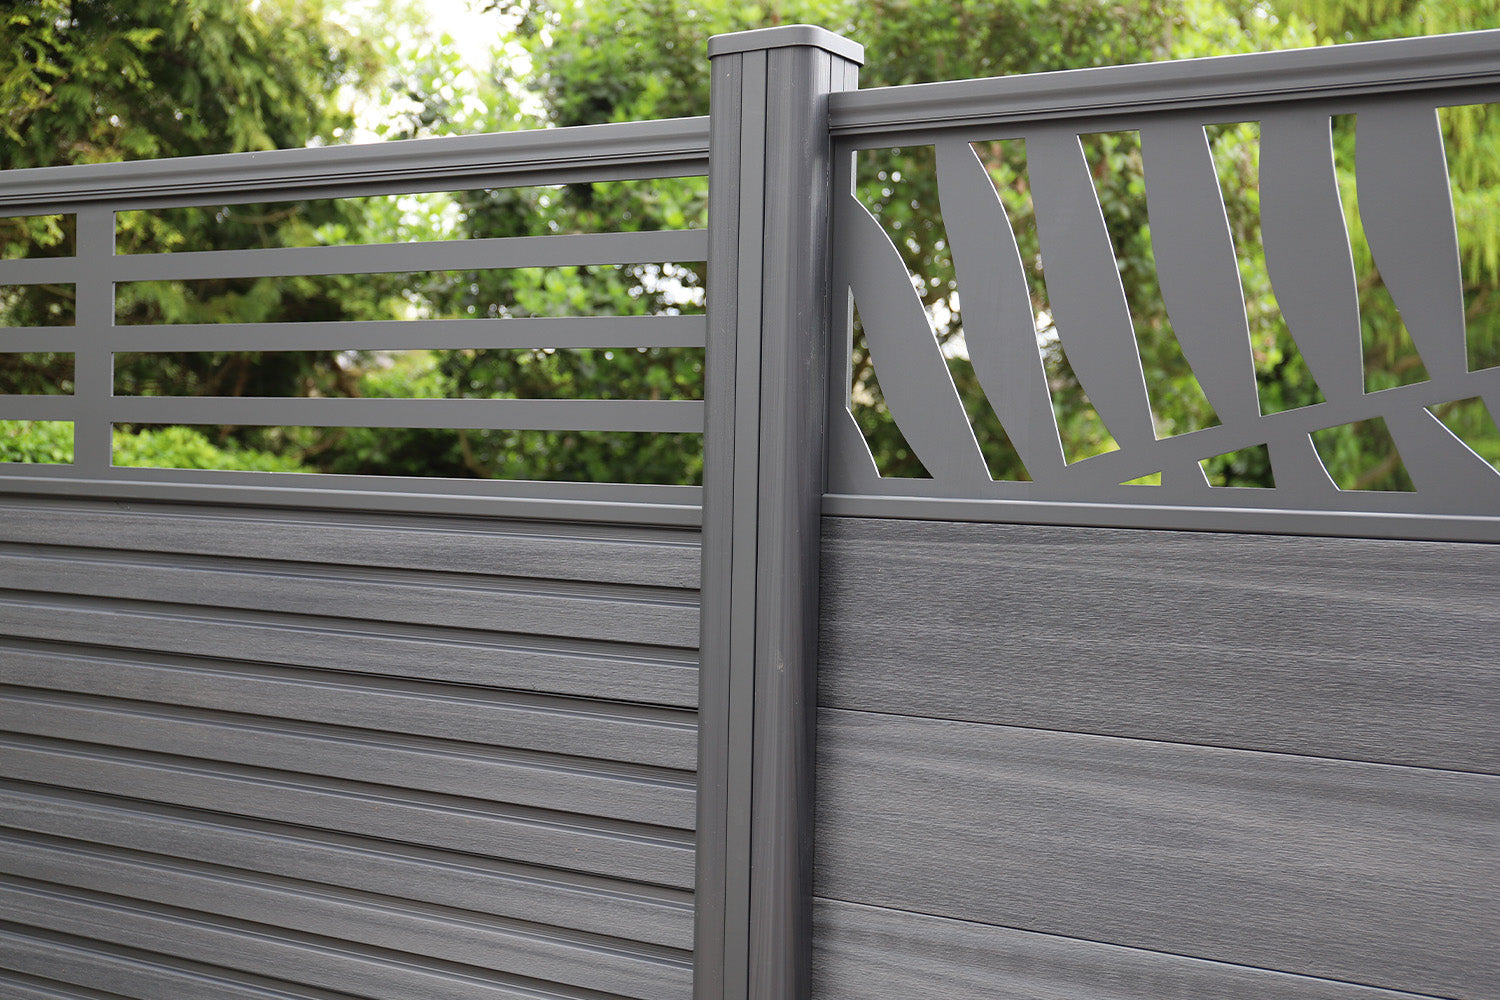
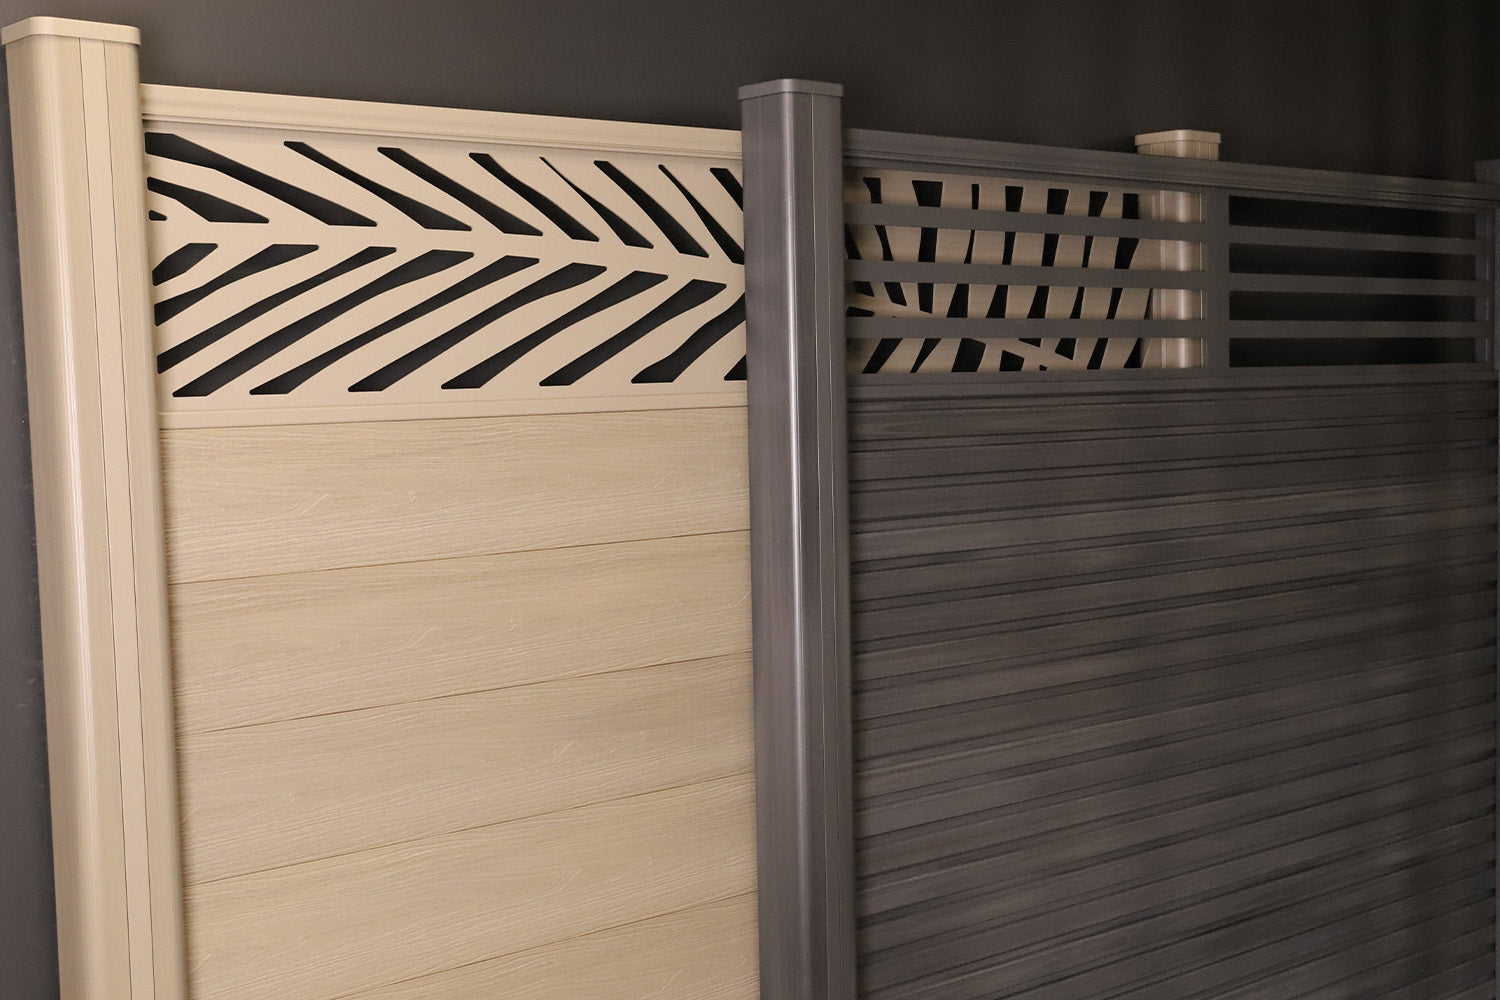
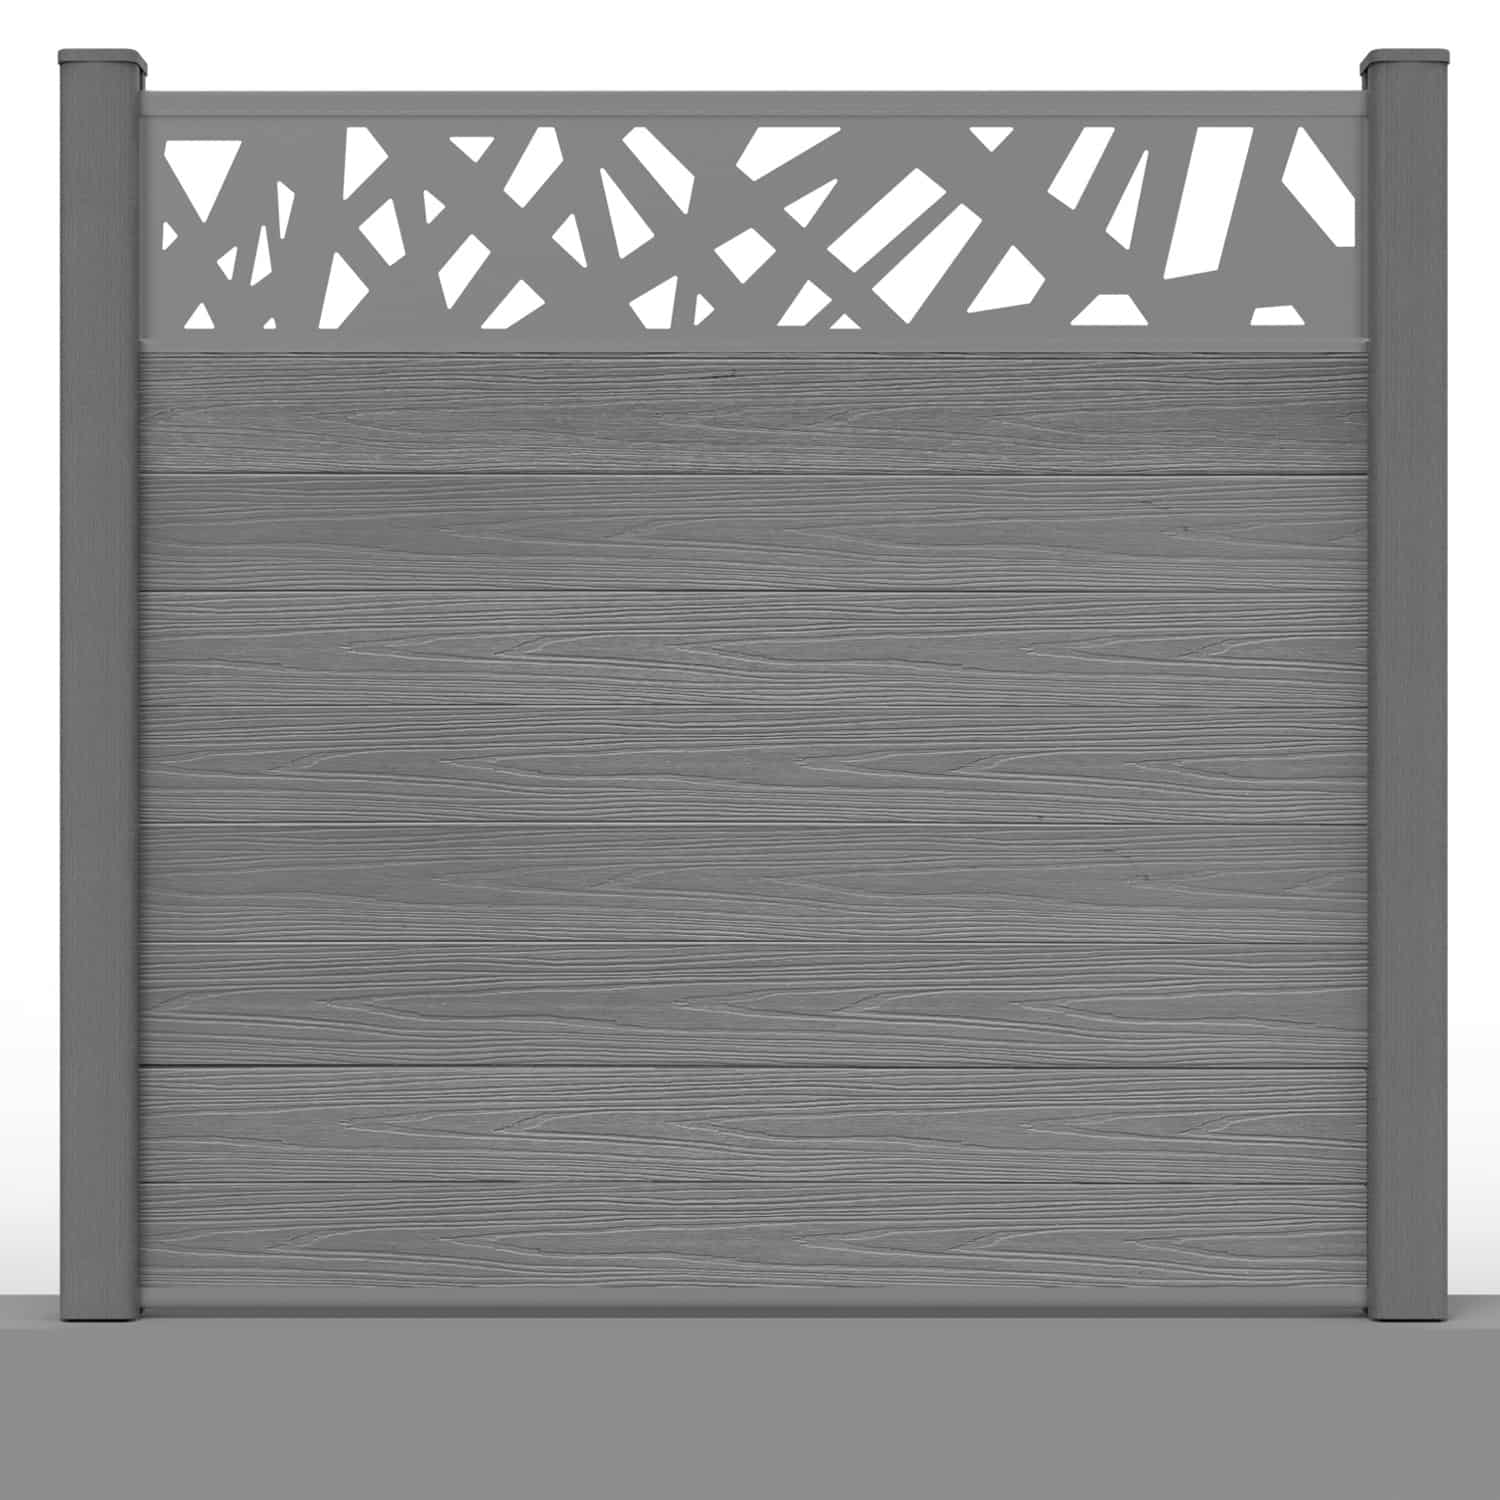
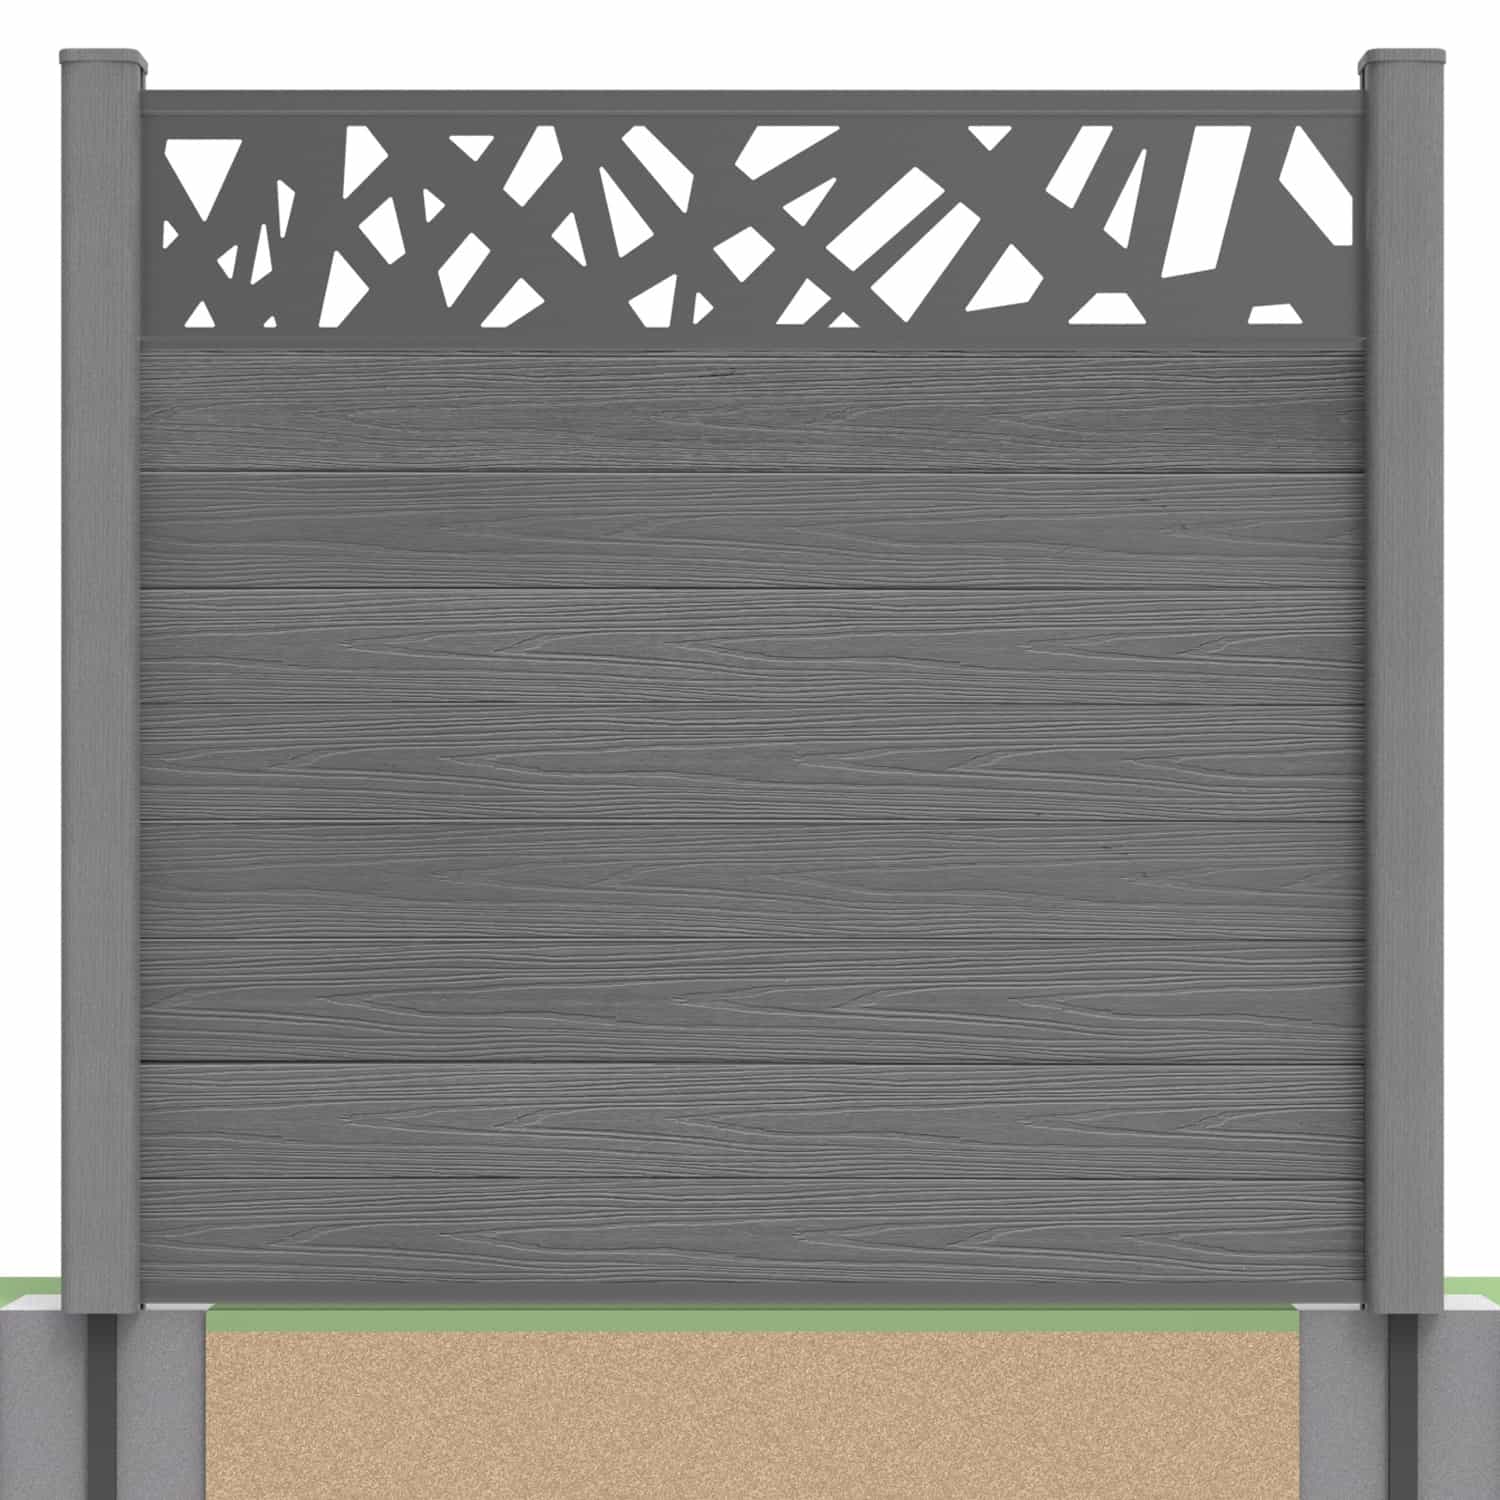
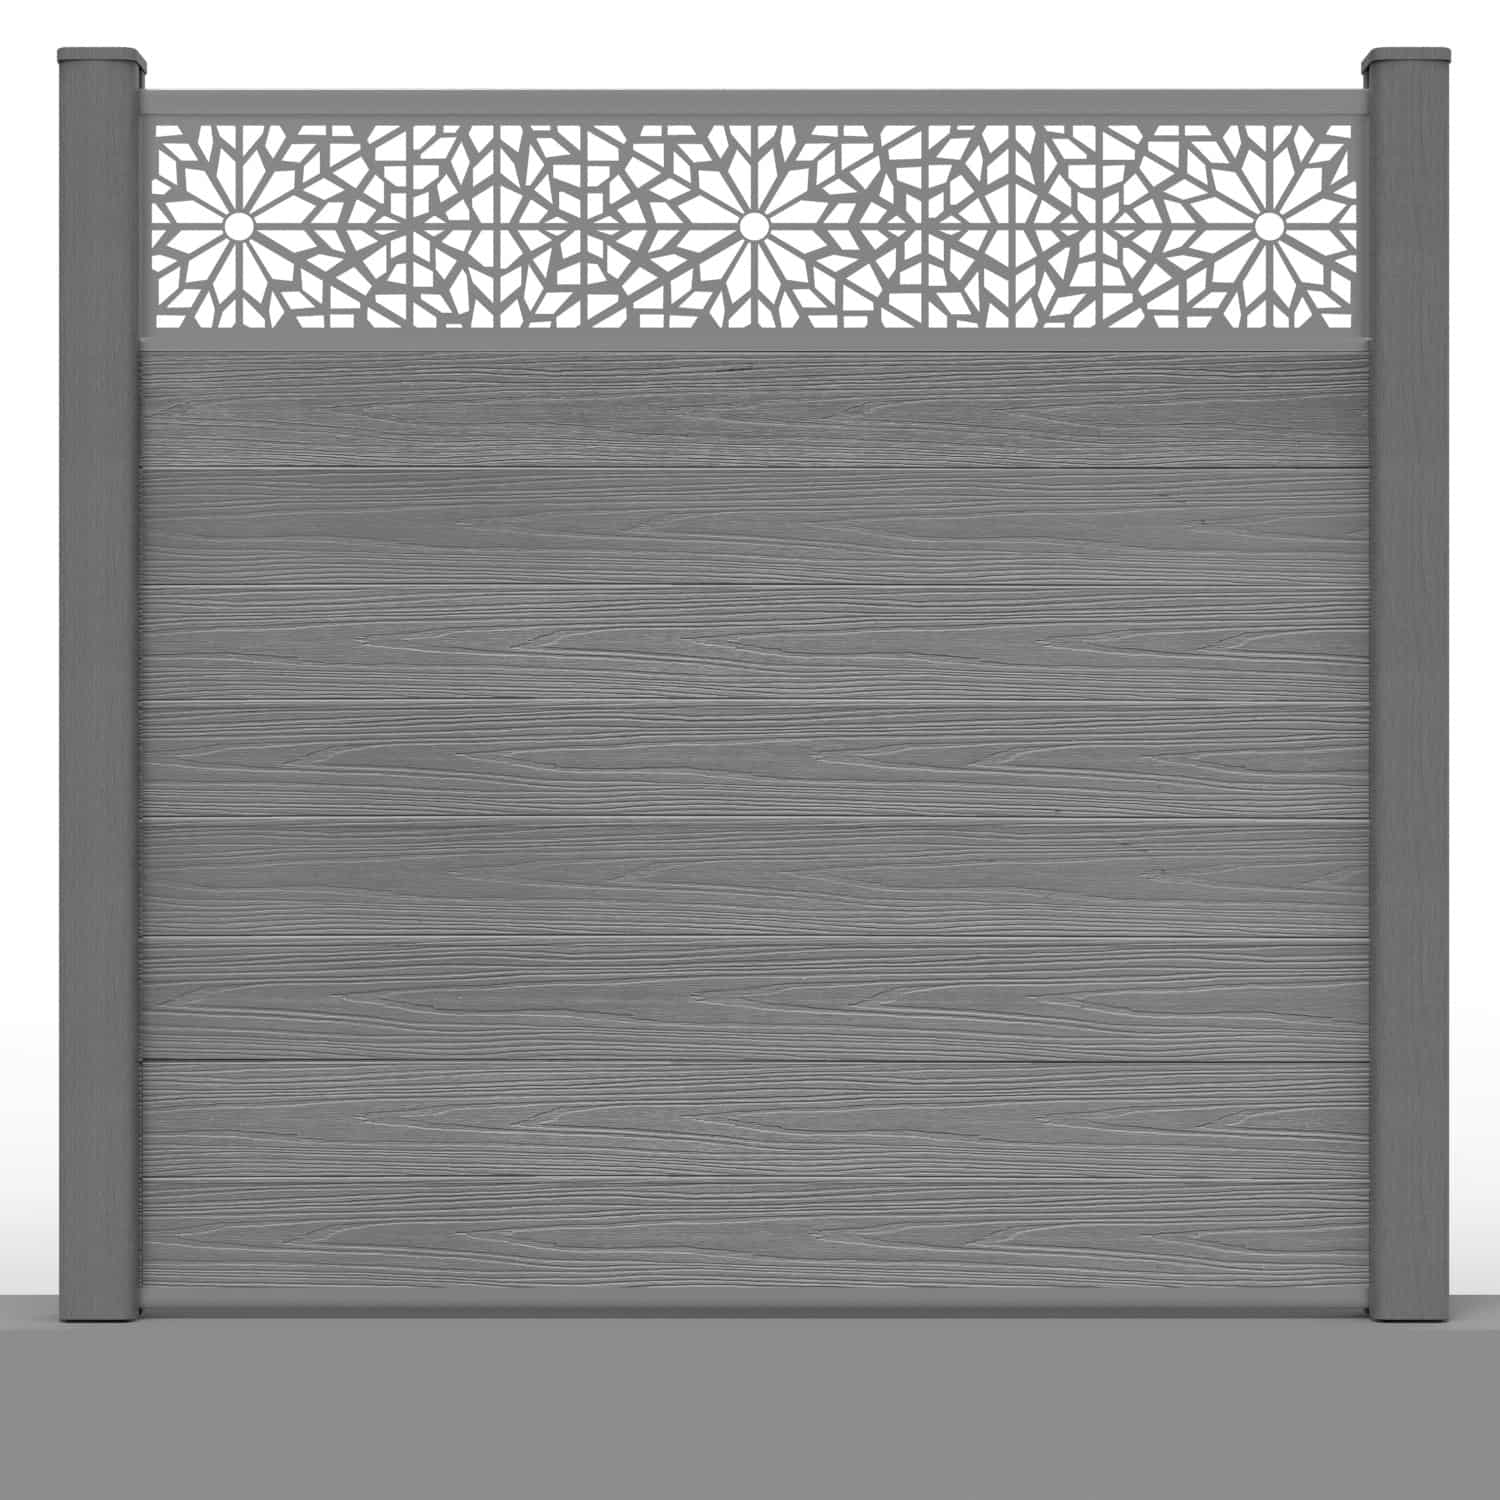
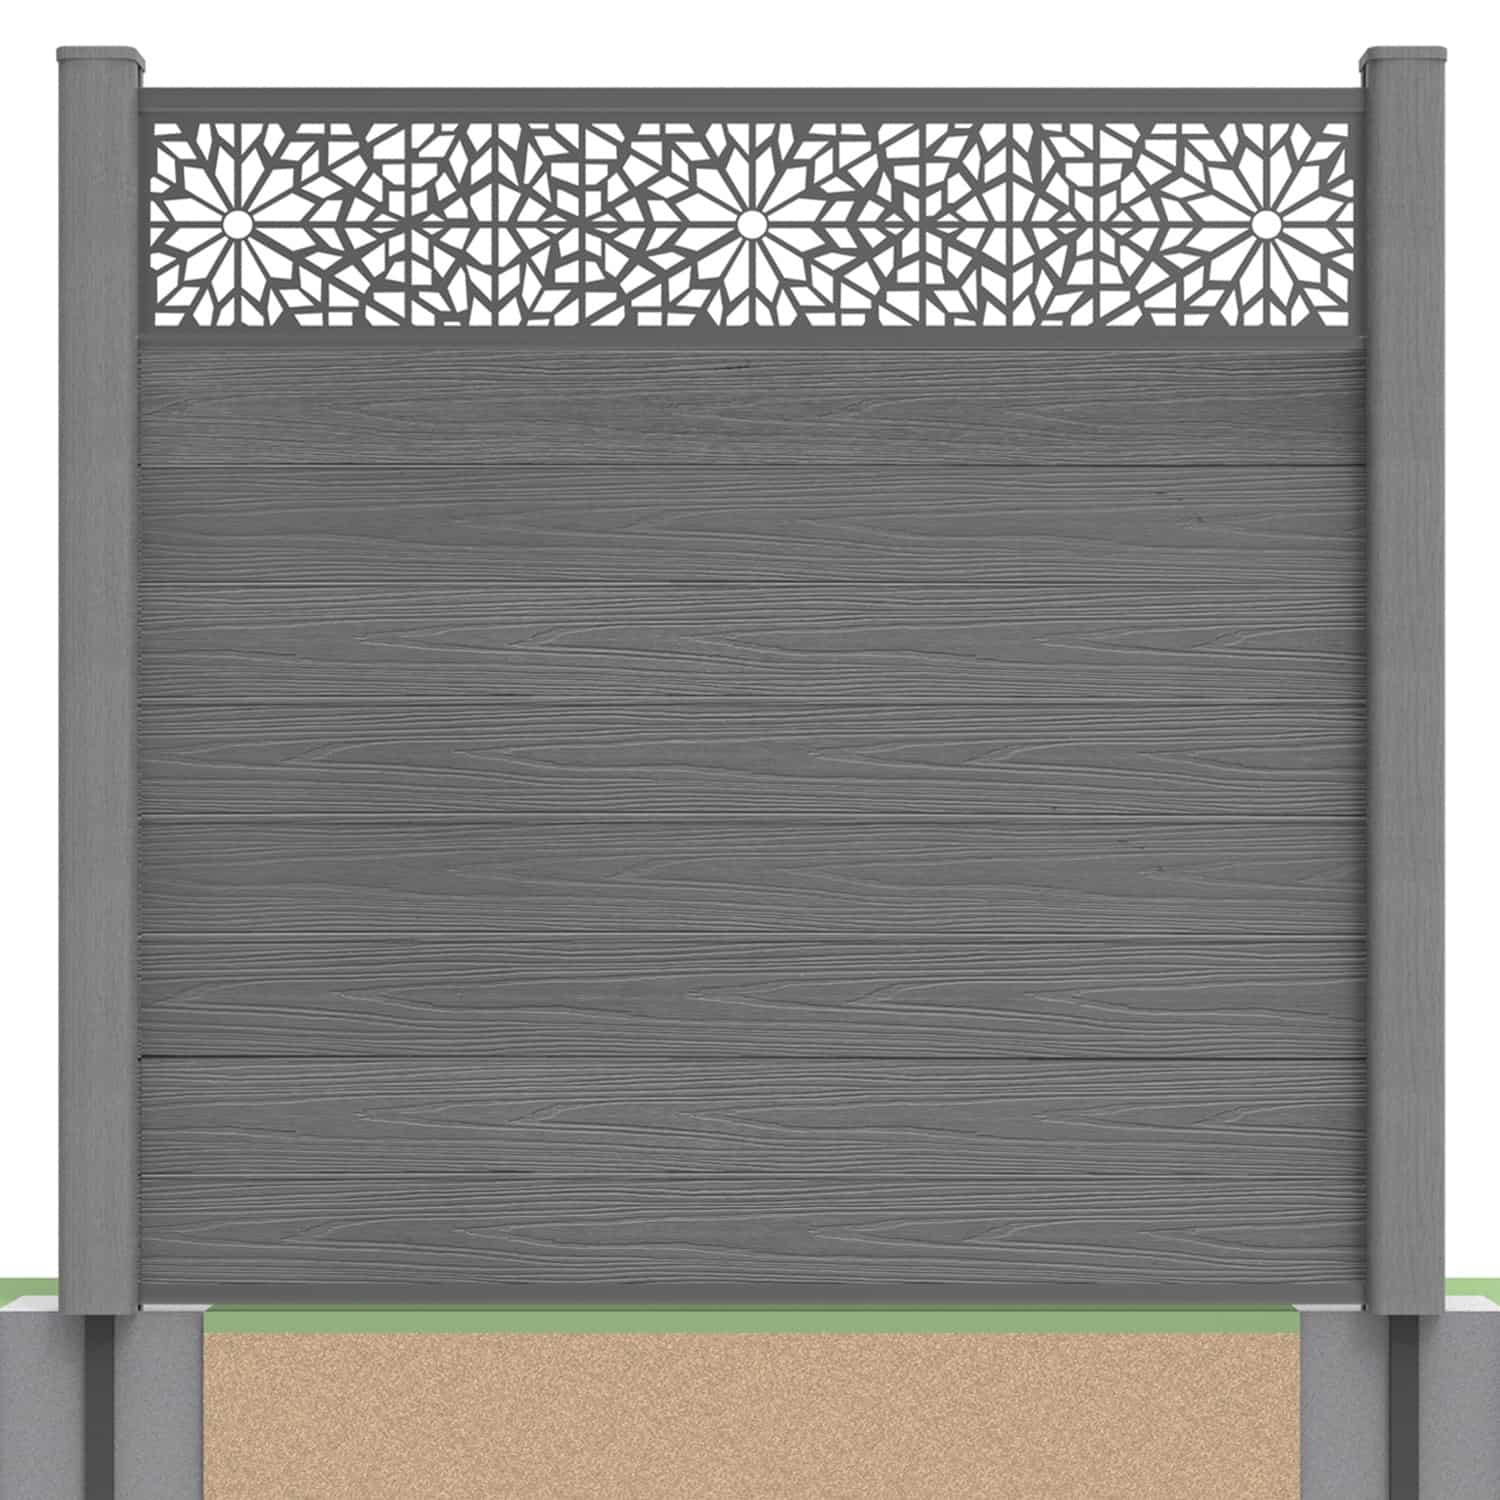
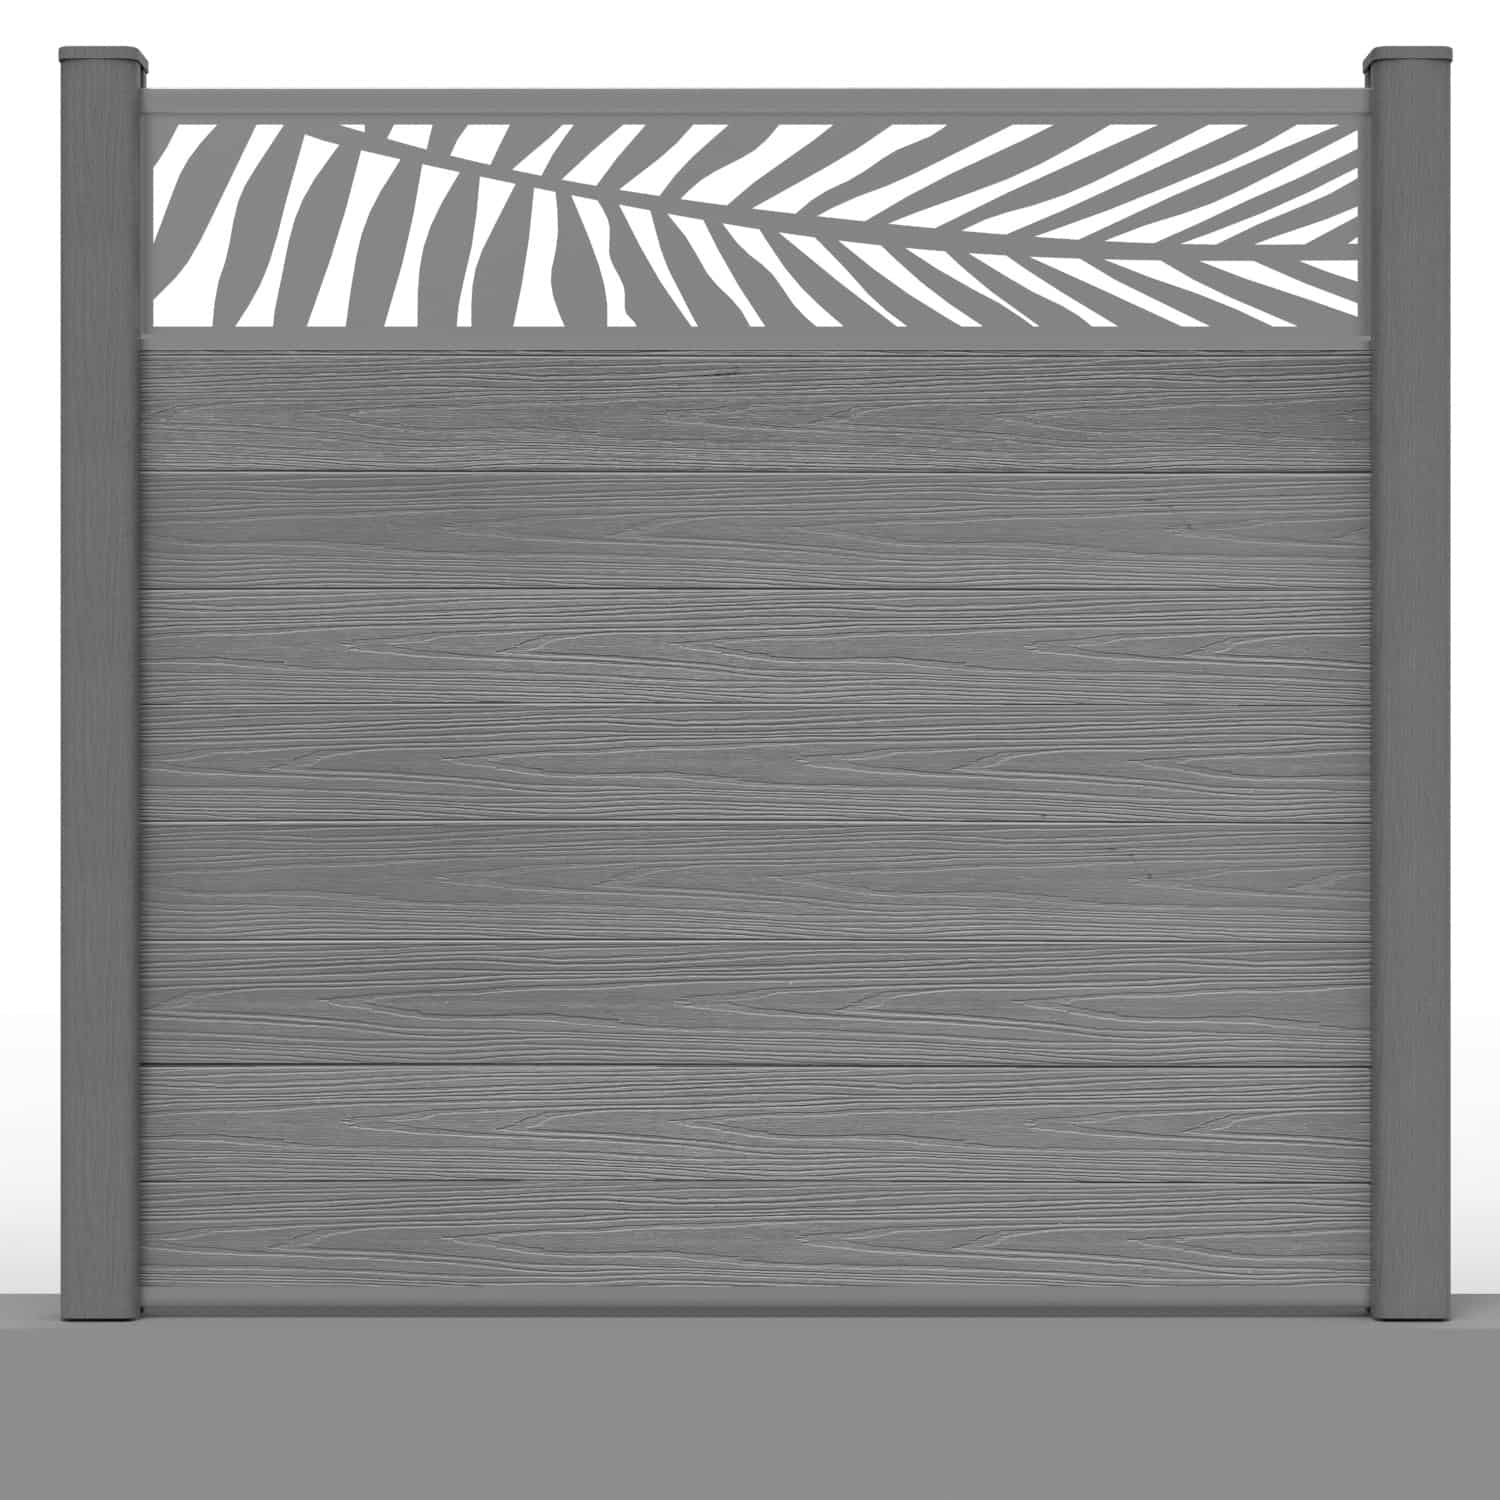
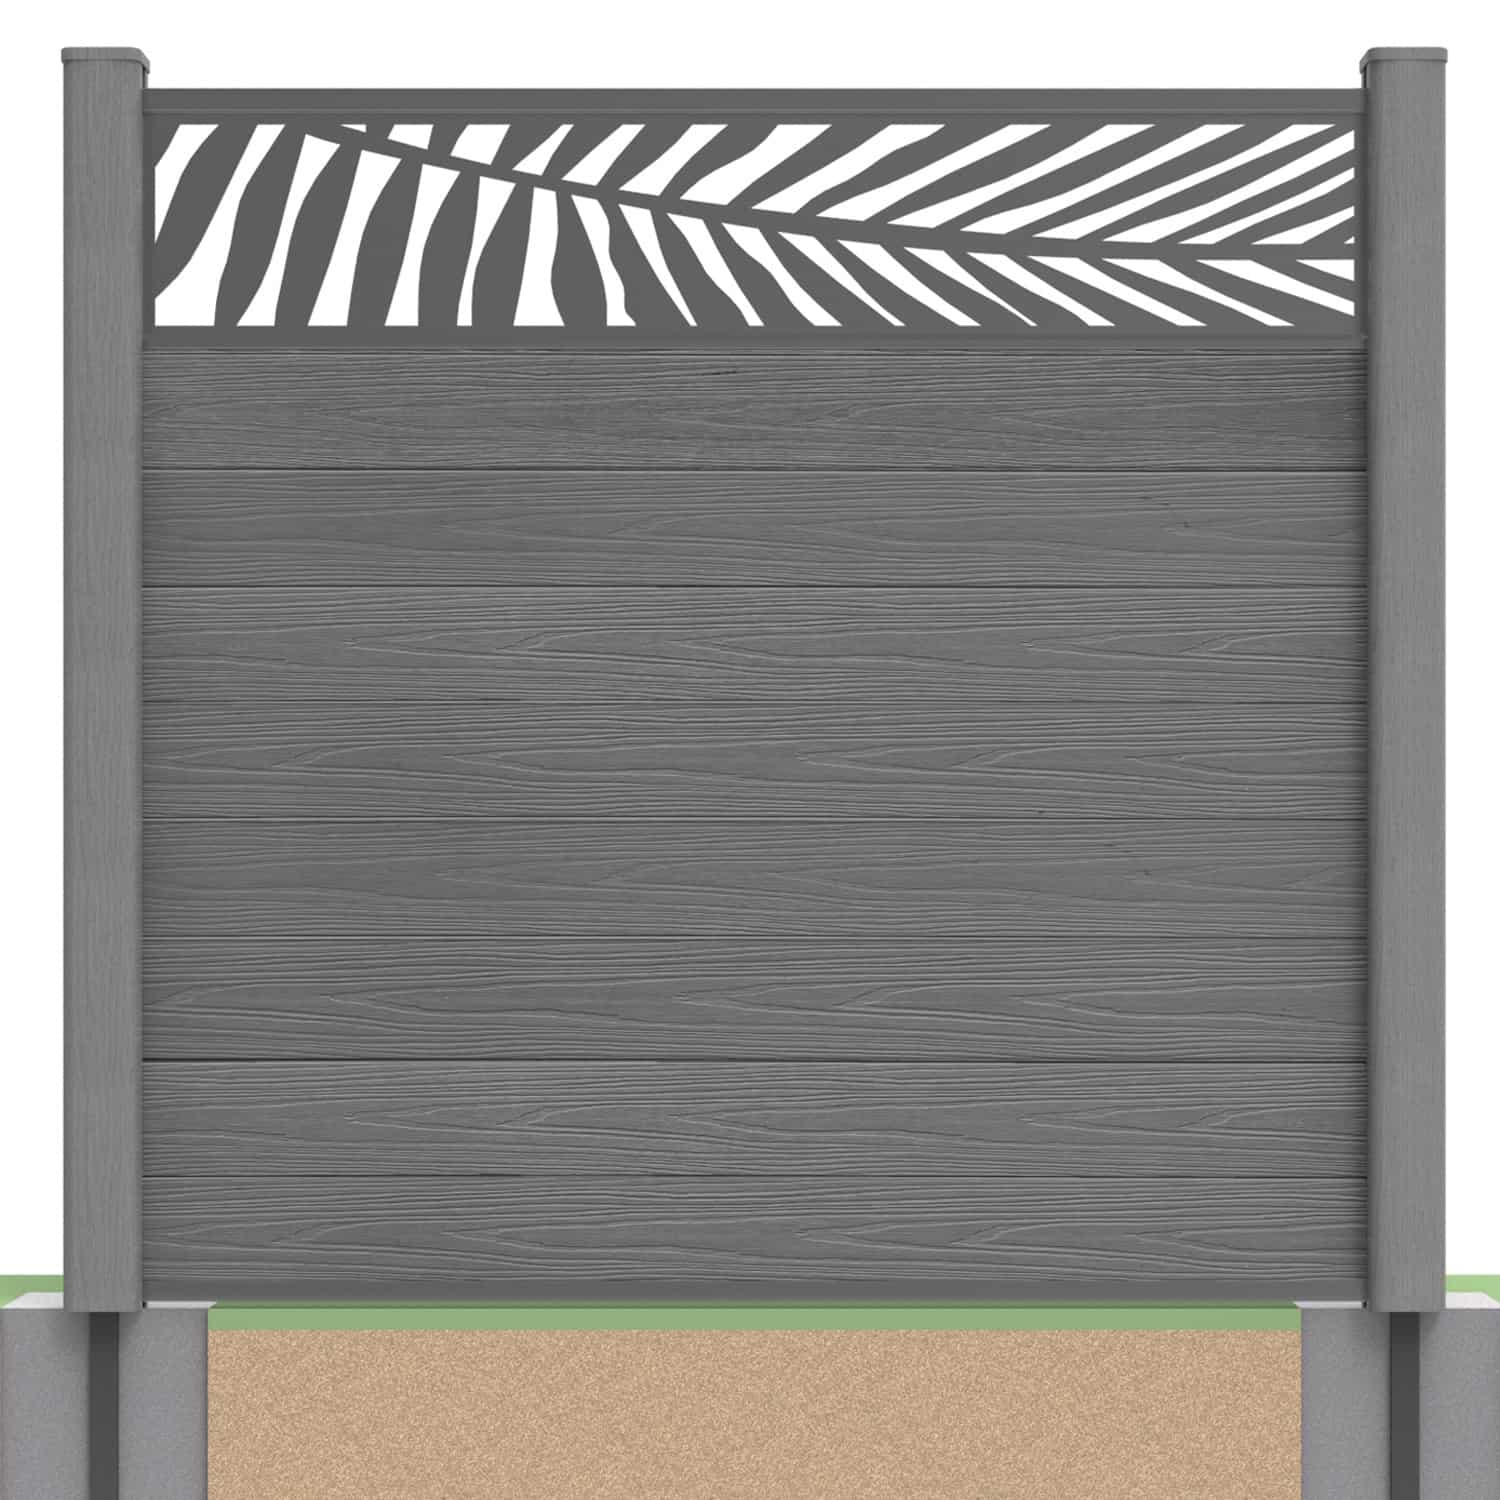
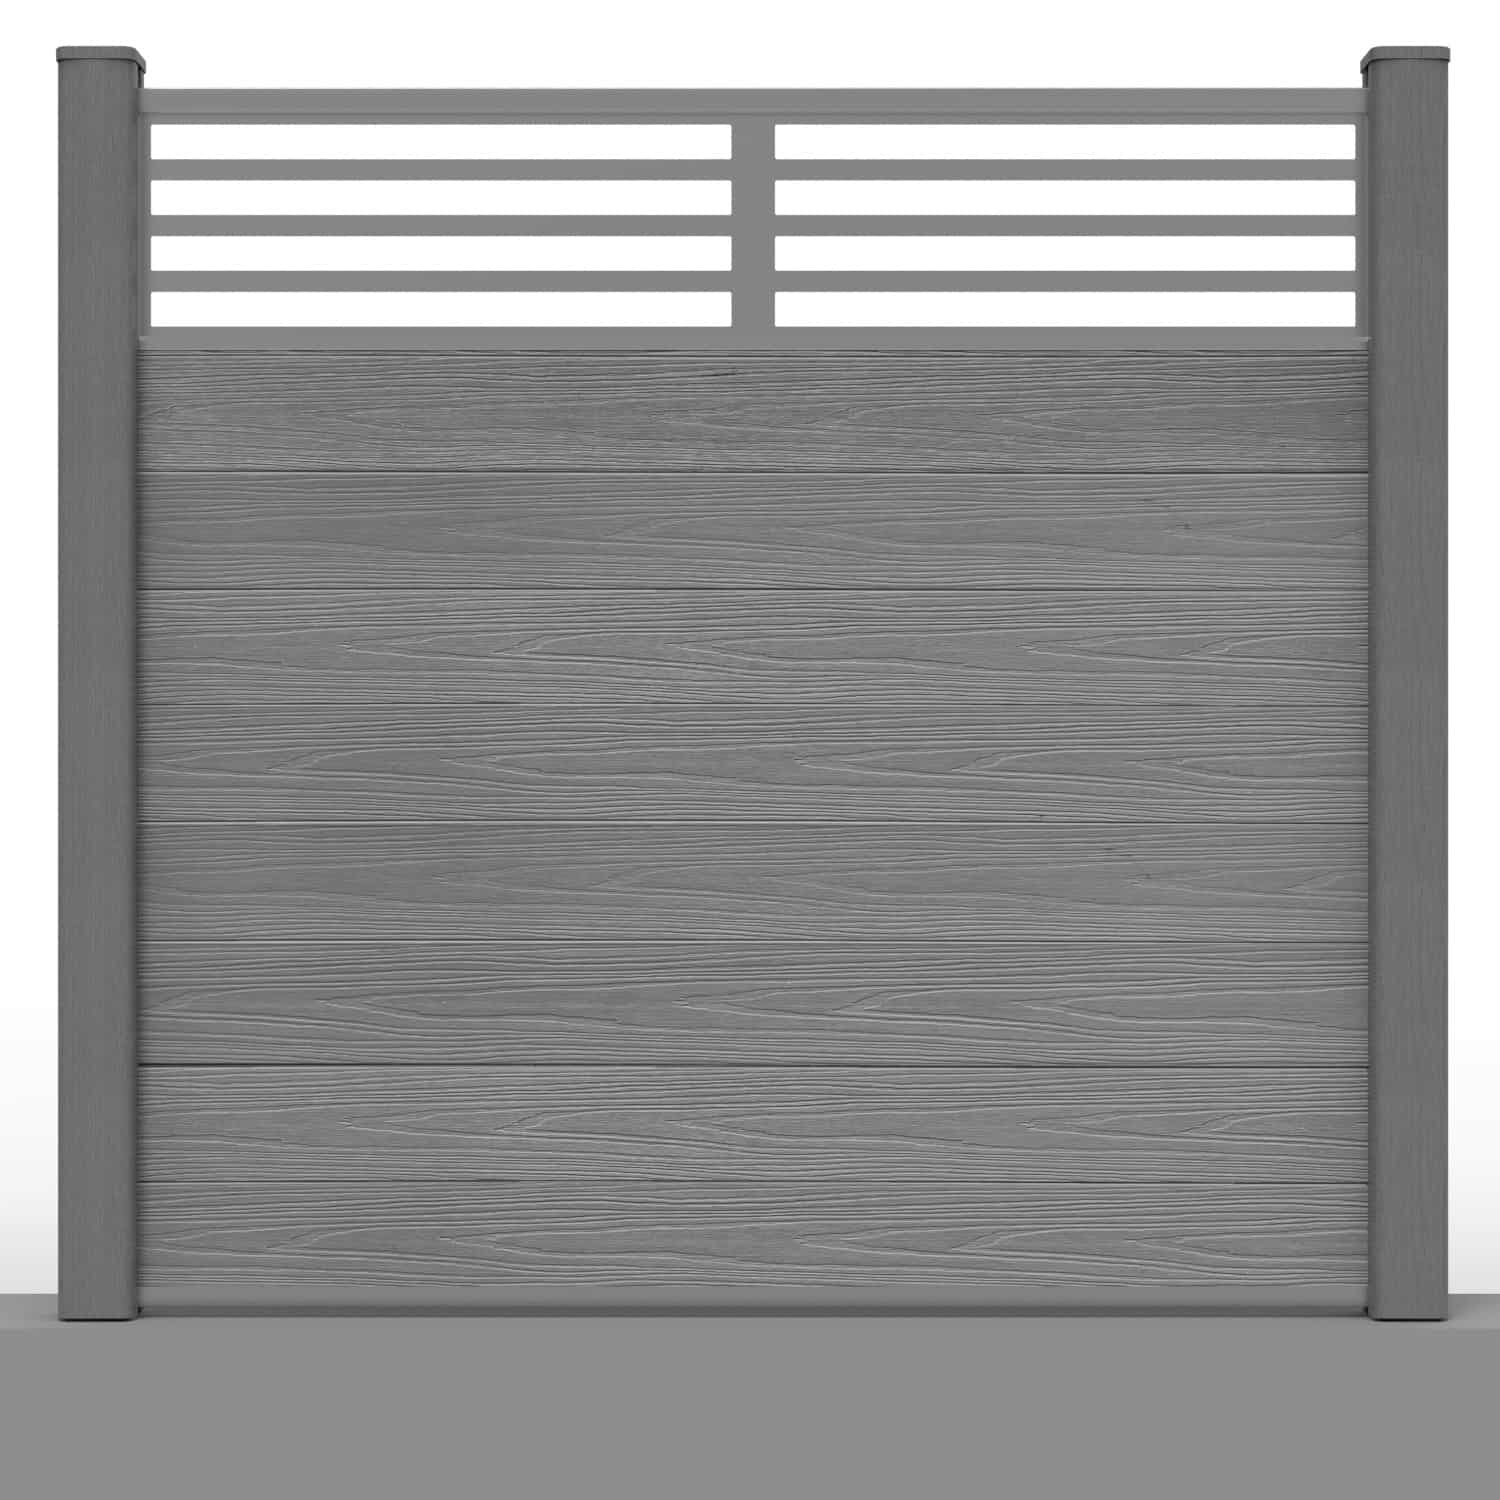
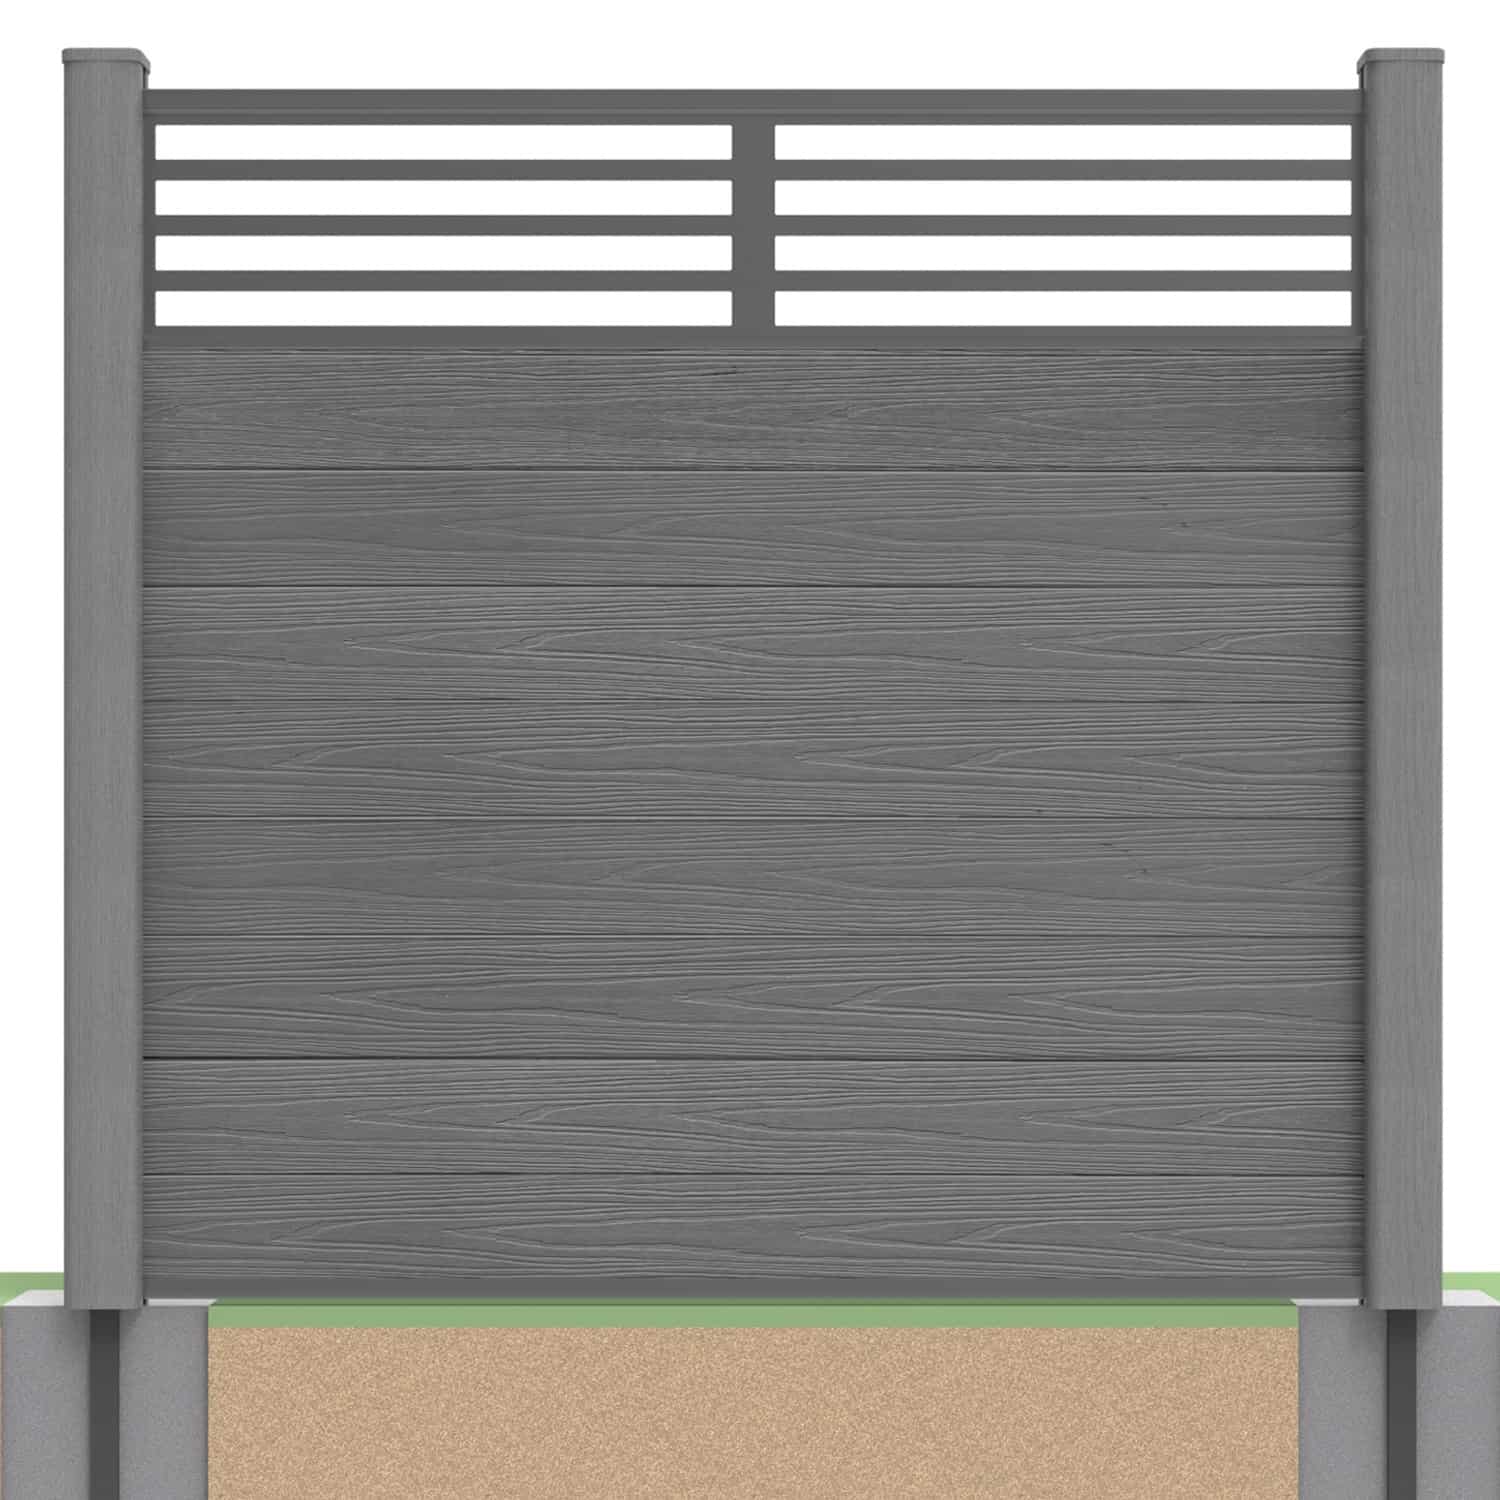
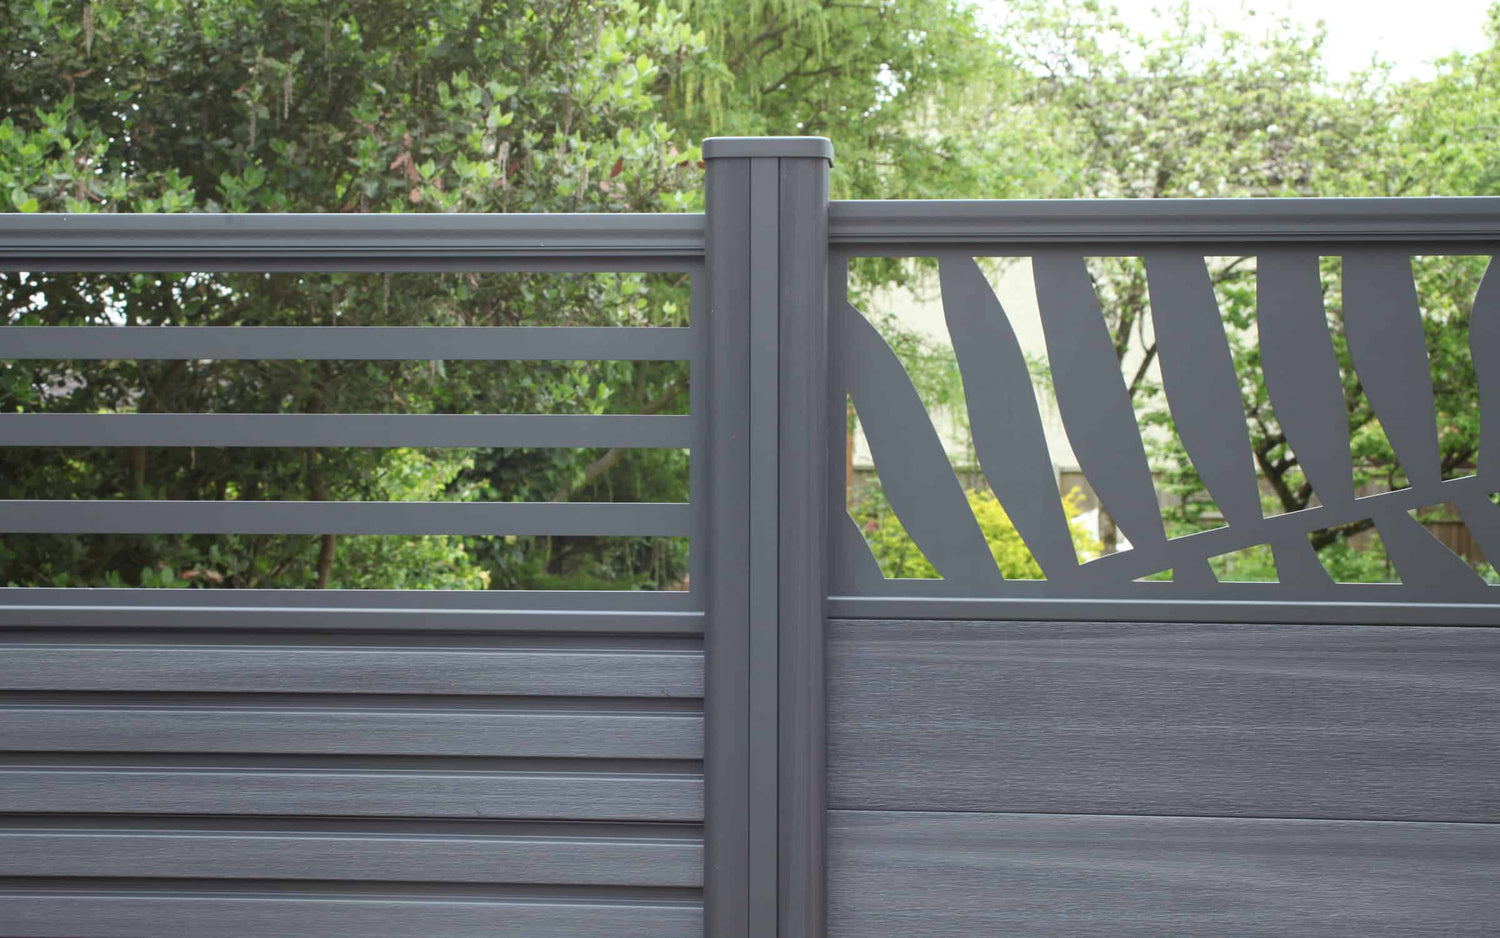
NeoTimber’s decorative screens are an additional item that can be included in a composite fence panel installation. The screen sits in place of the final two boards of your fence panel and is fixed using four aluminium rails that house it within.
How To Install A Composite Fencing Panel With A Decorative Screen
Installing a fencing panel with a decorative screen follows much of the same process as the standard panel. The fence posts should be spaced evenly at 1800mm centres when installing full-length fence boards. The stackable tongue-and-groove boards will then slide into the channel of the composite posts or post inserts. The decorative screen replaces the final two boards in each panel.
Although the stackable nature of our fencing boards makes construction relatively easy, a little guidance can be helpful. The installation video above will help you understand how to position your decorative screen and secure it in place with the capping rails. For more detailed information, we recommend reading our installation guide.
Install Base Capping Rail Between The Posts
Begin by securing the L-brackets into each end of the base capping rail with a hammer. Position the base rail between your two posts and secure it at either end using 4mm x 25mm self-tapping screws drilled through the L-bracket and post.

Insert Fence Boards To Build Panel
Slot the composite fence slats between your fence posts. The tongue-and-groove structure allows the slats to be stacked easily. Ensure the open groove faces the ground and leave a 4mm gap between the end of each board and the inside of the post.
When installing NeoTimber’s Deluxe fencing, ensure the texture finish is oriented consistently. One side features a woodgrain pattern, while the other is brushed, install all boards in the same direction.
Depending on the panel length, you may need to cut boards to fit. Standard timber-cutting tools can be used.

Install Fence Screens Using Aluminium Rails
Once the final fence board is in place, sit the opening on the underside of the screen base rail over the tongue of the last board.
Place the side rails into the grooved post openings, then slide the decorative screen into position so it sits snugly within the aluminium rails. Position the top rail over the screen to secure it.


Secure Boards & Screen Using Top Capping Rail
Install the top capping rail as you did the base rail. Secure the L-fixing with a padded foam insert into the capping rail, then place the rail on top of the decorative screen. The foam insert should sit atop the aluminium rail that secures the top of the screen. Fix the rail at each end using 4mm x 25mm self-tapping screws.

Install Composite Post Inserts
If installing your panel using NeoTimber’s composite post set for soft or hard ground, you can complete your installation using composite post inserts and post caps.
Composite fence post inserts slot into the post’s grooved channel. Smaller blanking strips are provided to fit between the top capping rail and top of the post, covering the L-bracket. These slide into place down the post profile.

Fix Fence Post Cap
Post caps can be installed once the composite post inserts are securely fitted. Simply place the cap over the composite fence post and secure with the colour-coded screw provided.

Transform Your NeoTimber® Outdoor Space: Learn How To Install Composite Fence Panels With Screens
Elevate your garden or patio with NeoTimber’s easy-to-install composite fence panels with screens. Our decorative metal cut-out screens replace the top two boards of your fencing, creating a stylish, contemporary finish while maintaining privacy and airflow. With our tongue-and-groove system and secure aluminium rails, installing composite fence panels with screens is straightforward, even for DIY enthusiasts. Enhance your outdoor space with a unique, durable, low-maintenance fencing solution that blends functionality with elegant design.