


Learn How To Install Composite Fence Posts Into Hard Ground With NeoTimber®
Installing a composite fence panel on solid ground is done using NeoTimber’s composite fence post support and fixings for hard ground. The galvanised steel post support acts as an anchor to the composite post, offering a strong foundation for a fence panel. Our installation guidance covers the step-by-step process of fixing your post support and securely positioning your composite fence posts.
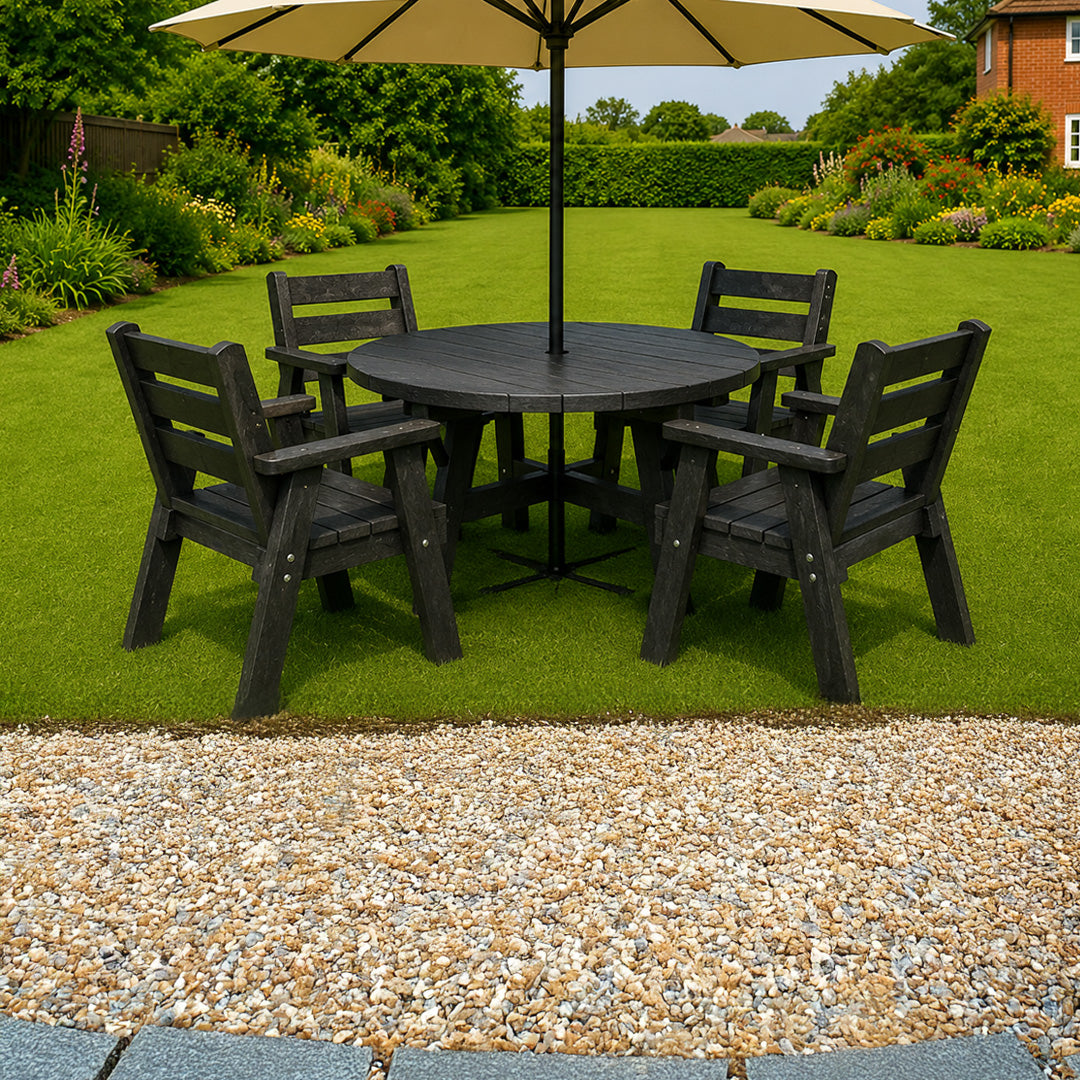
The same installation guidance can be used to install NeoTimber® fencing onto an existing deck area. The installation will, however, require alternative fixings to the 80mm expansion bolts used for concrete-ground installations.
How To Install Composite Fencing Onto Hard Ground
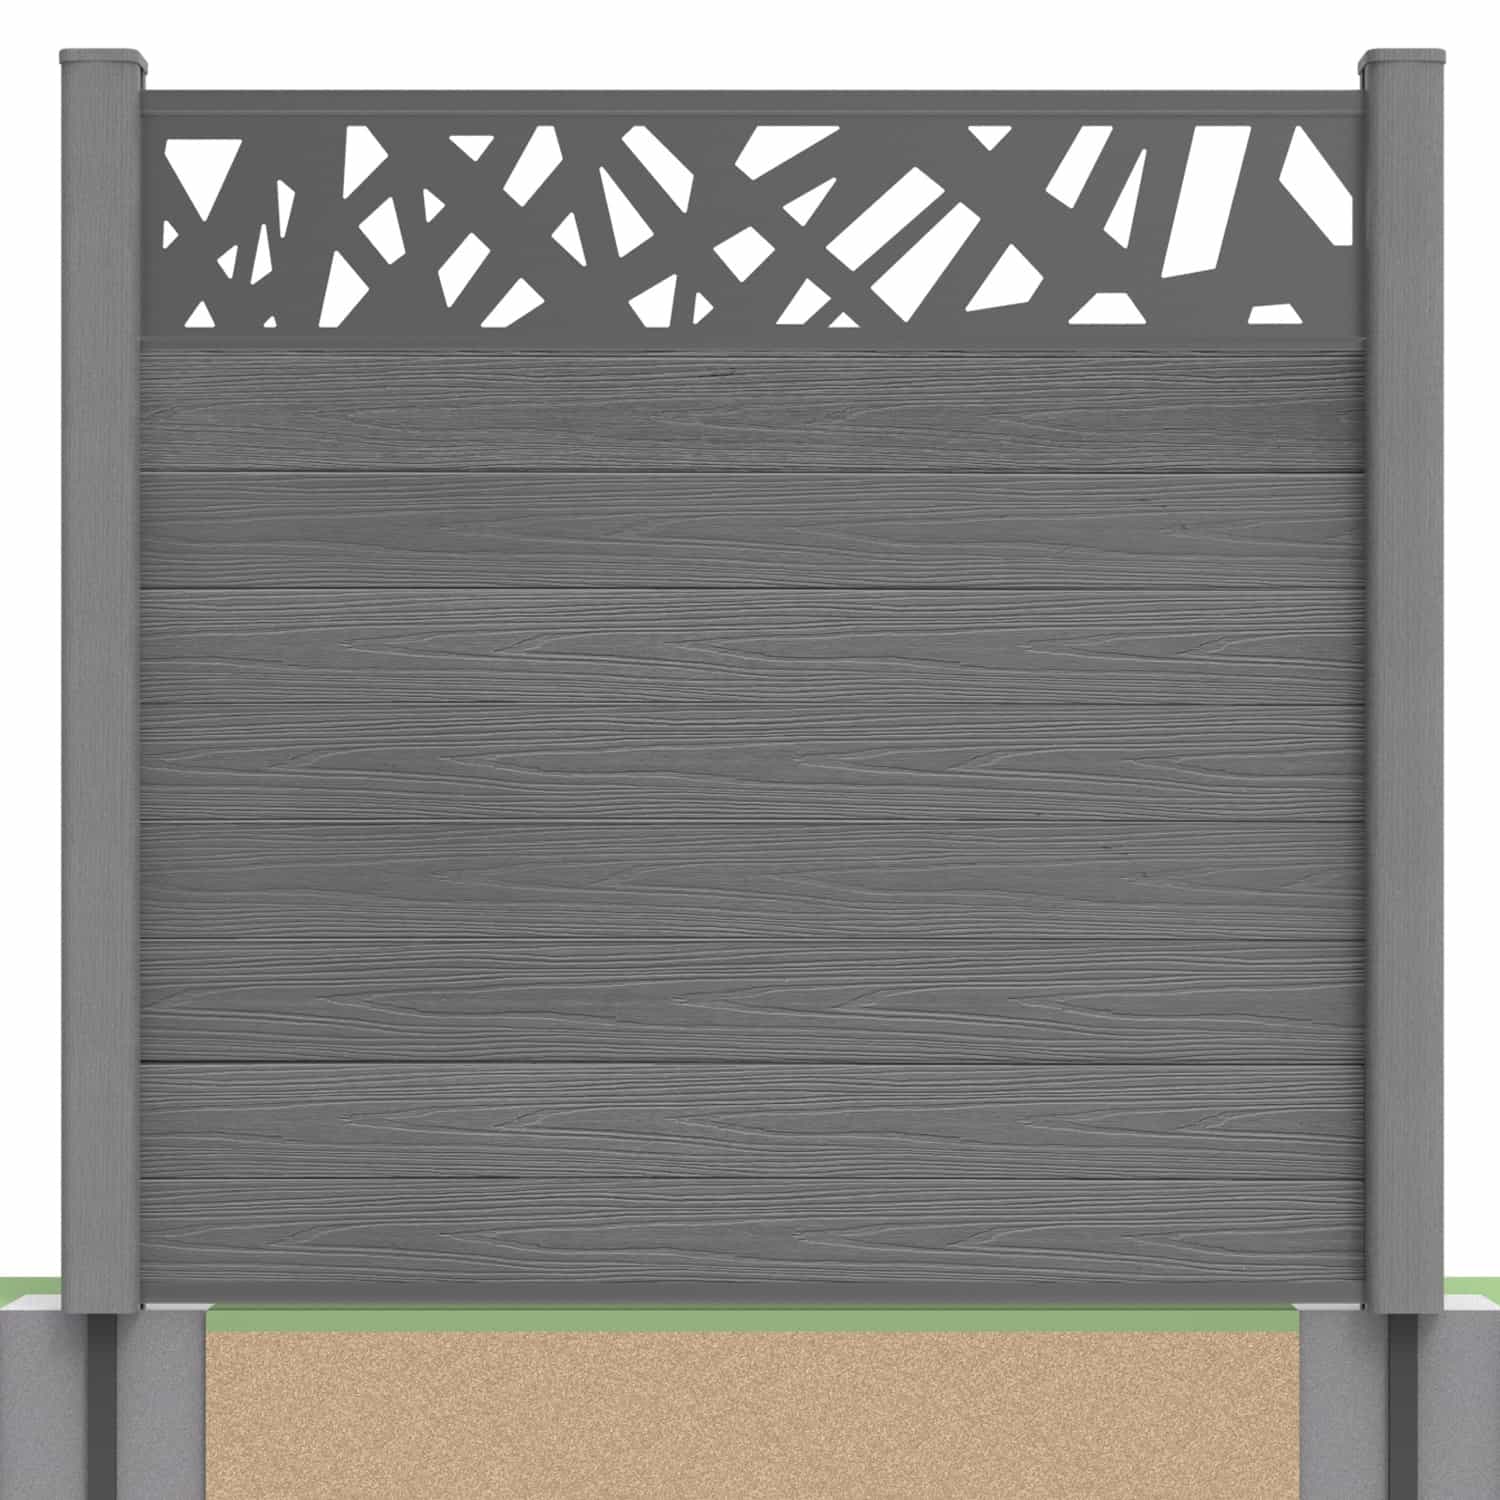
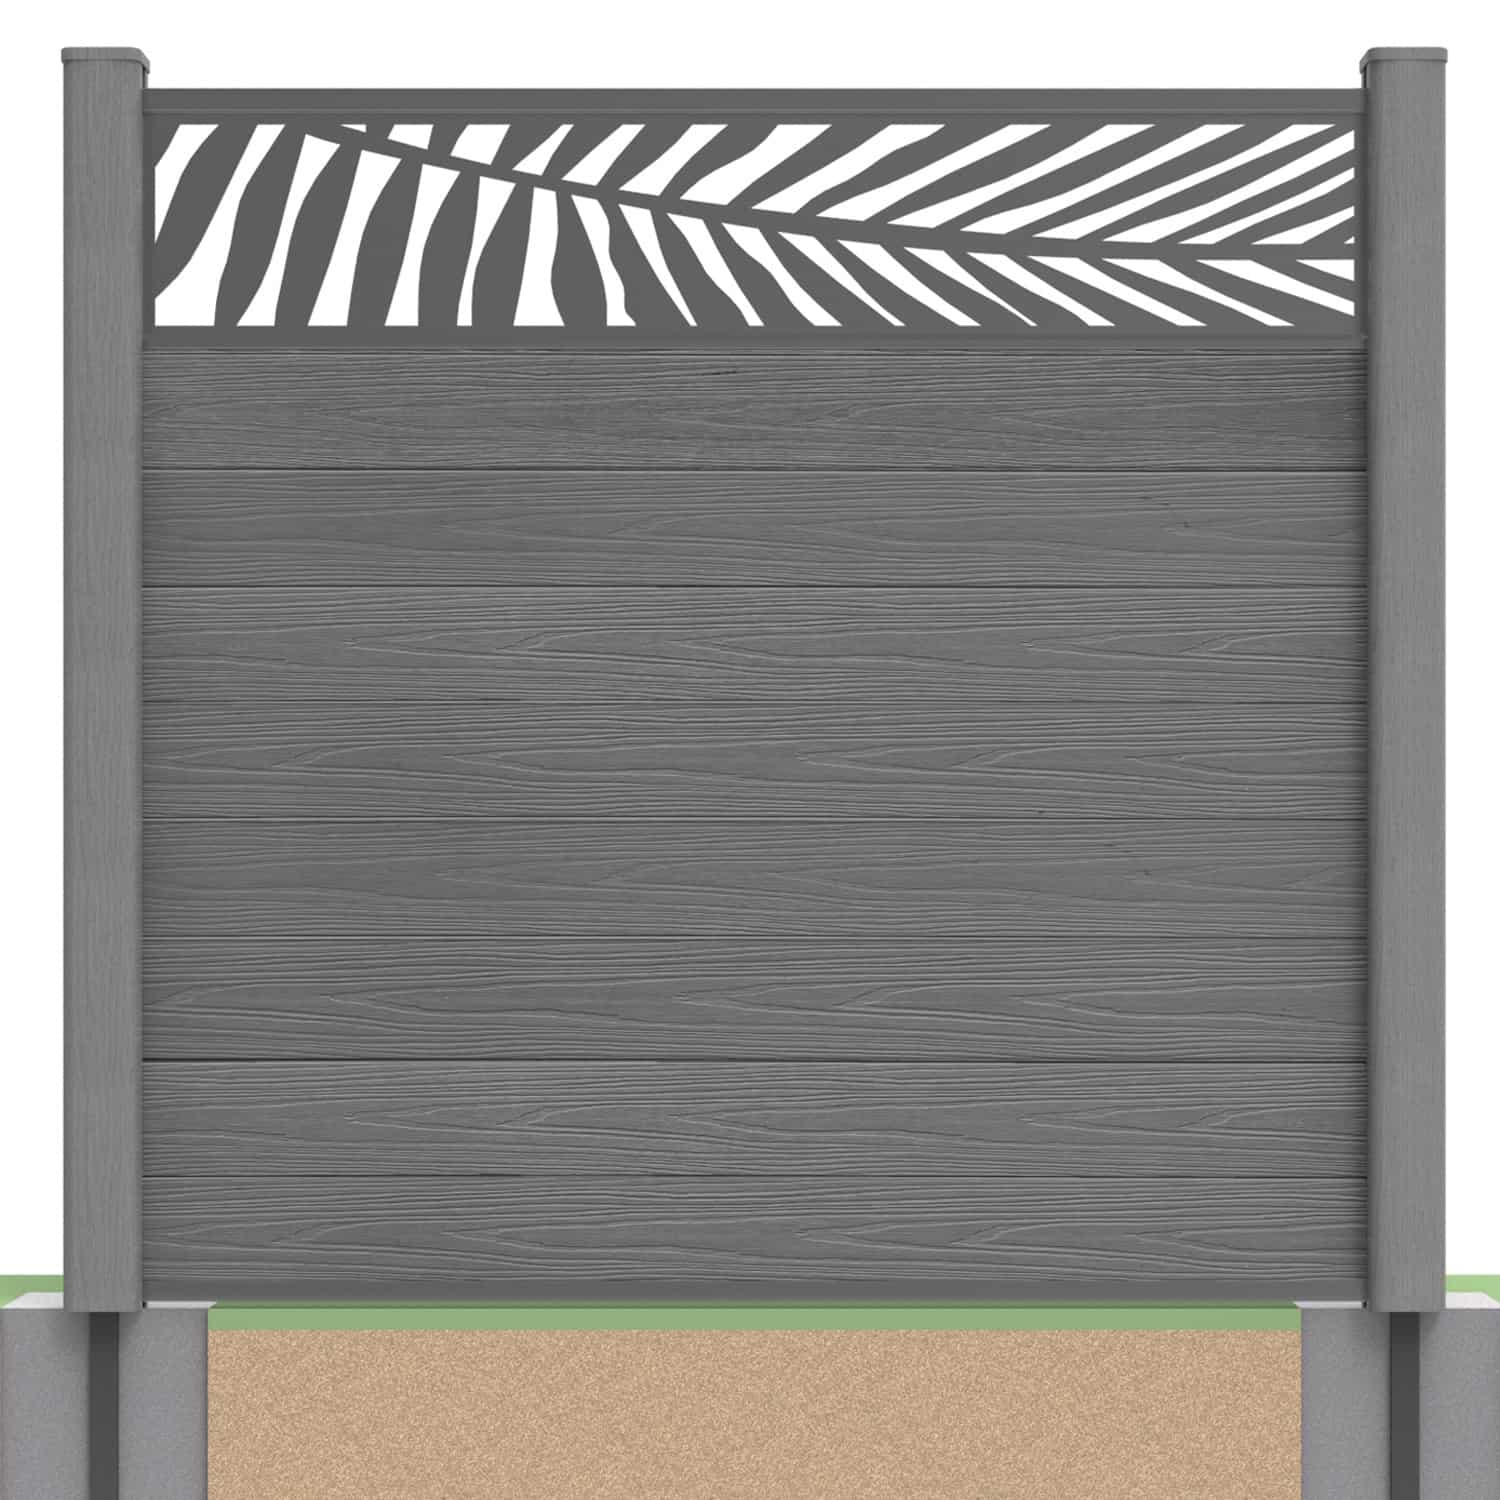
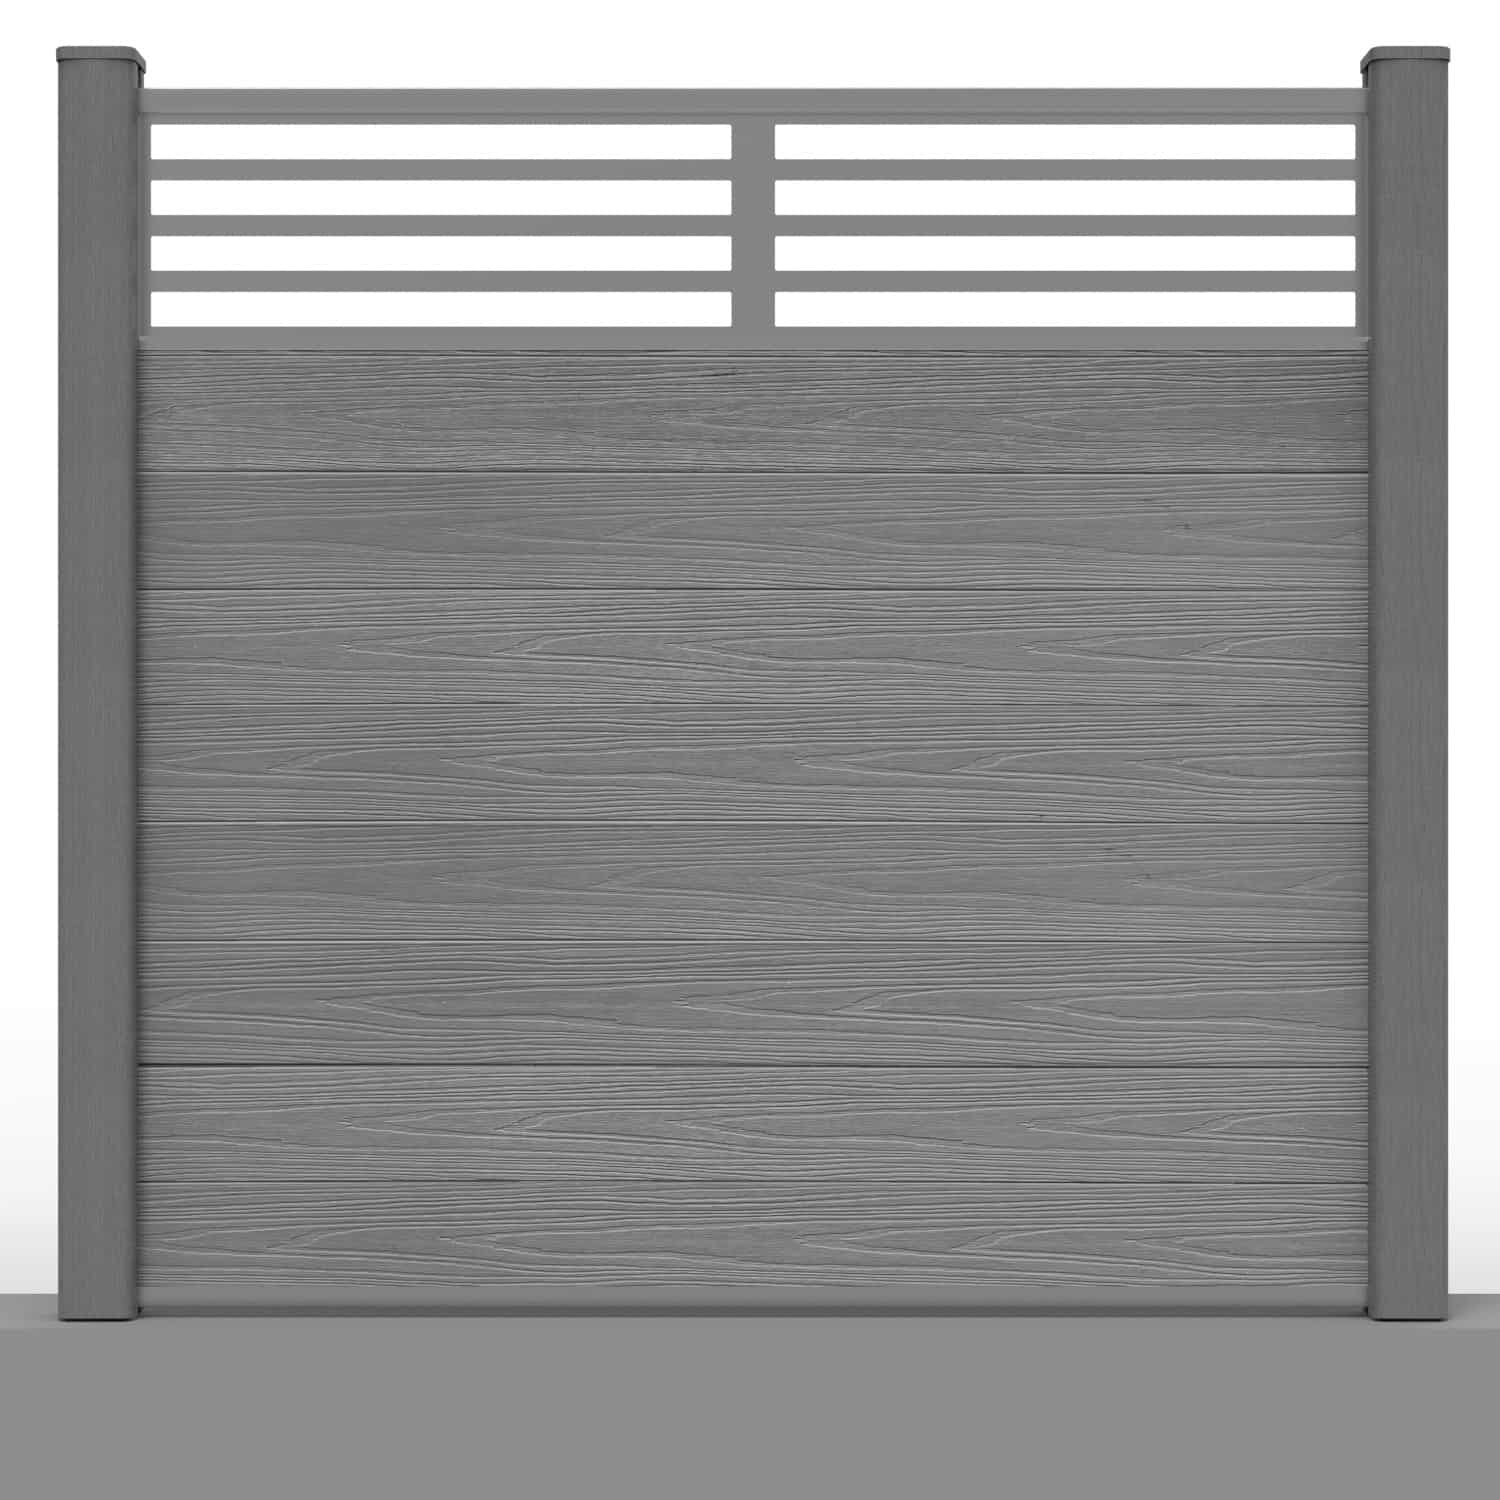
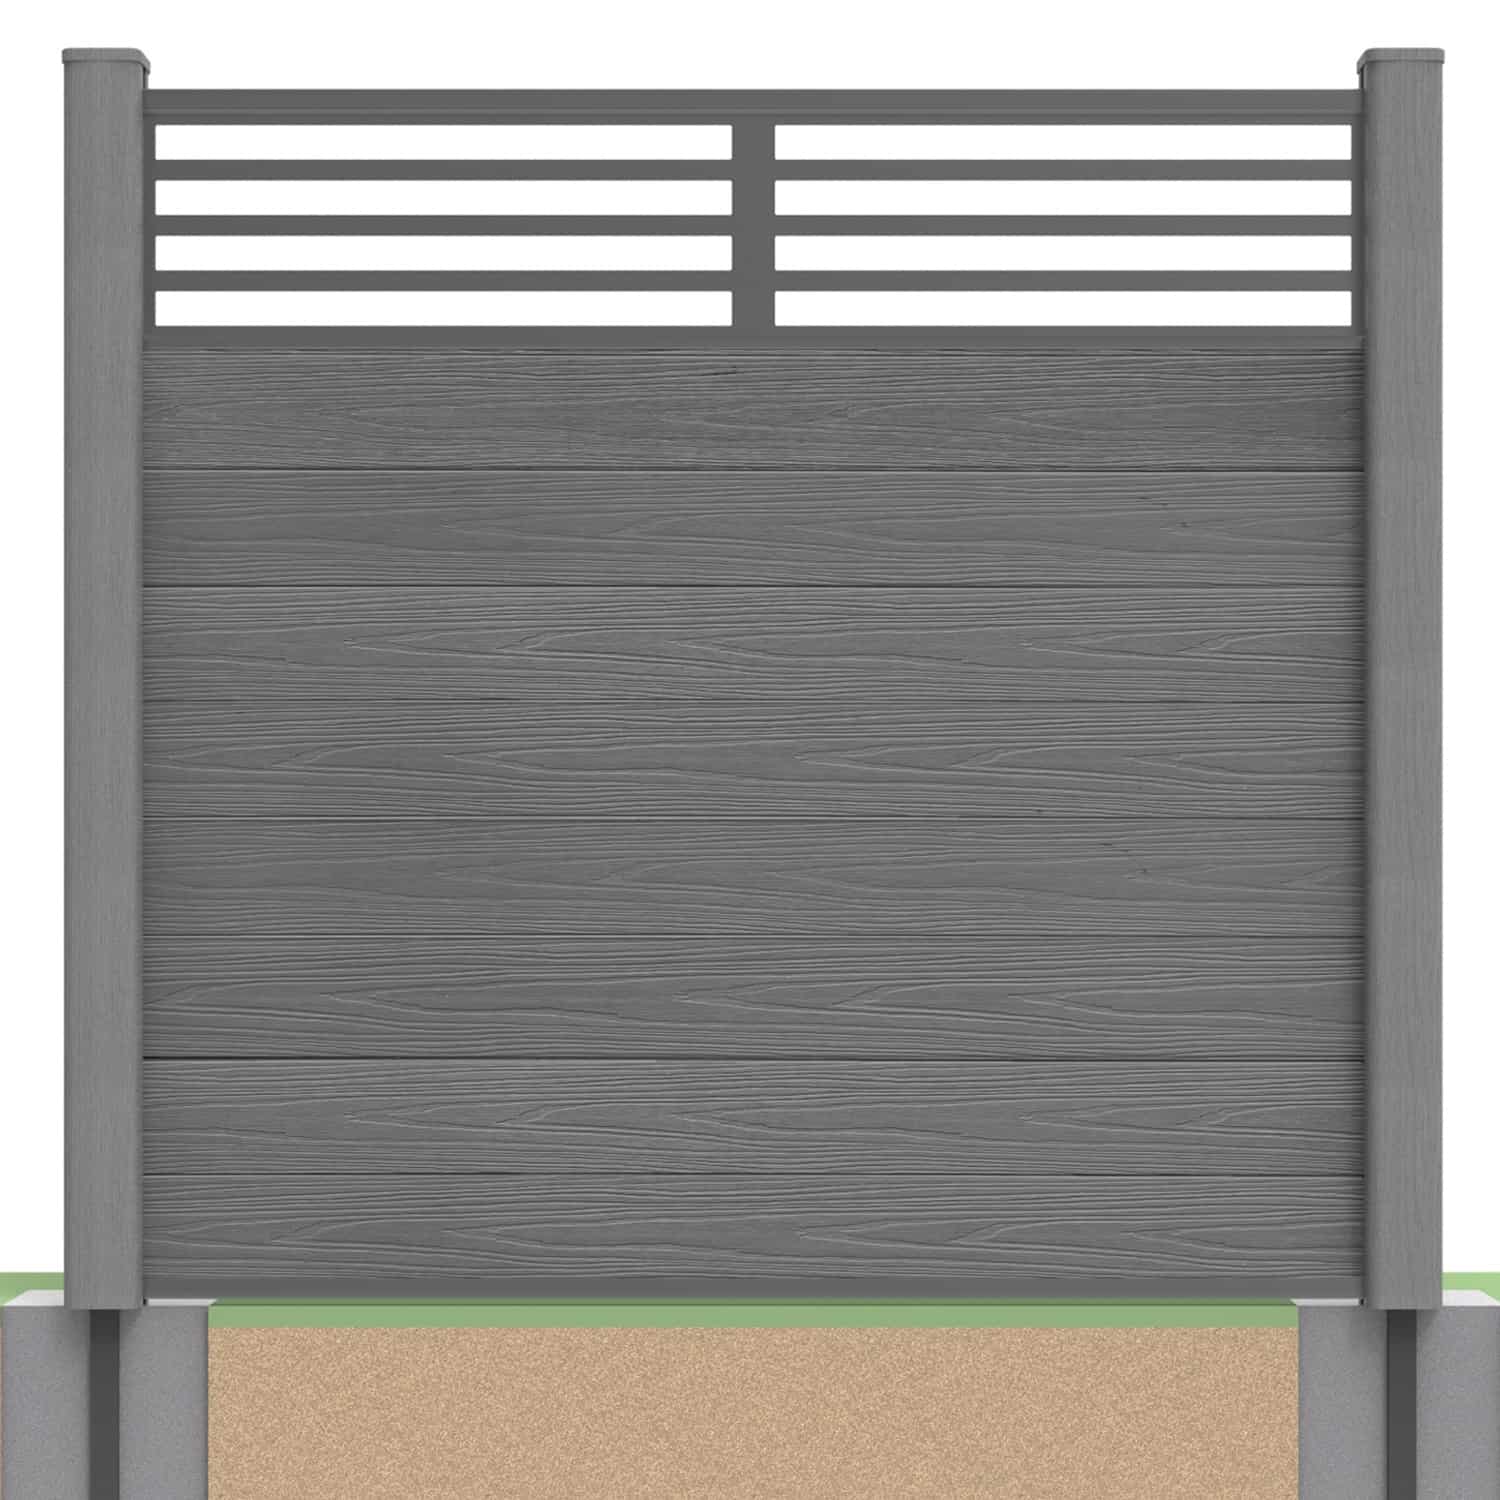
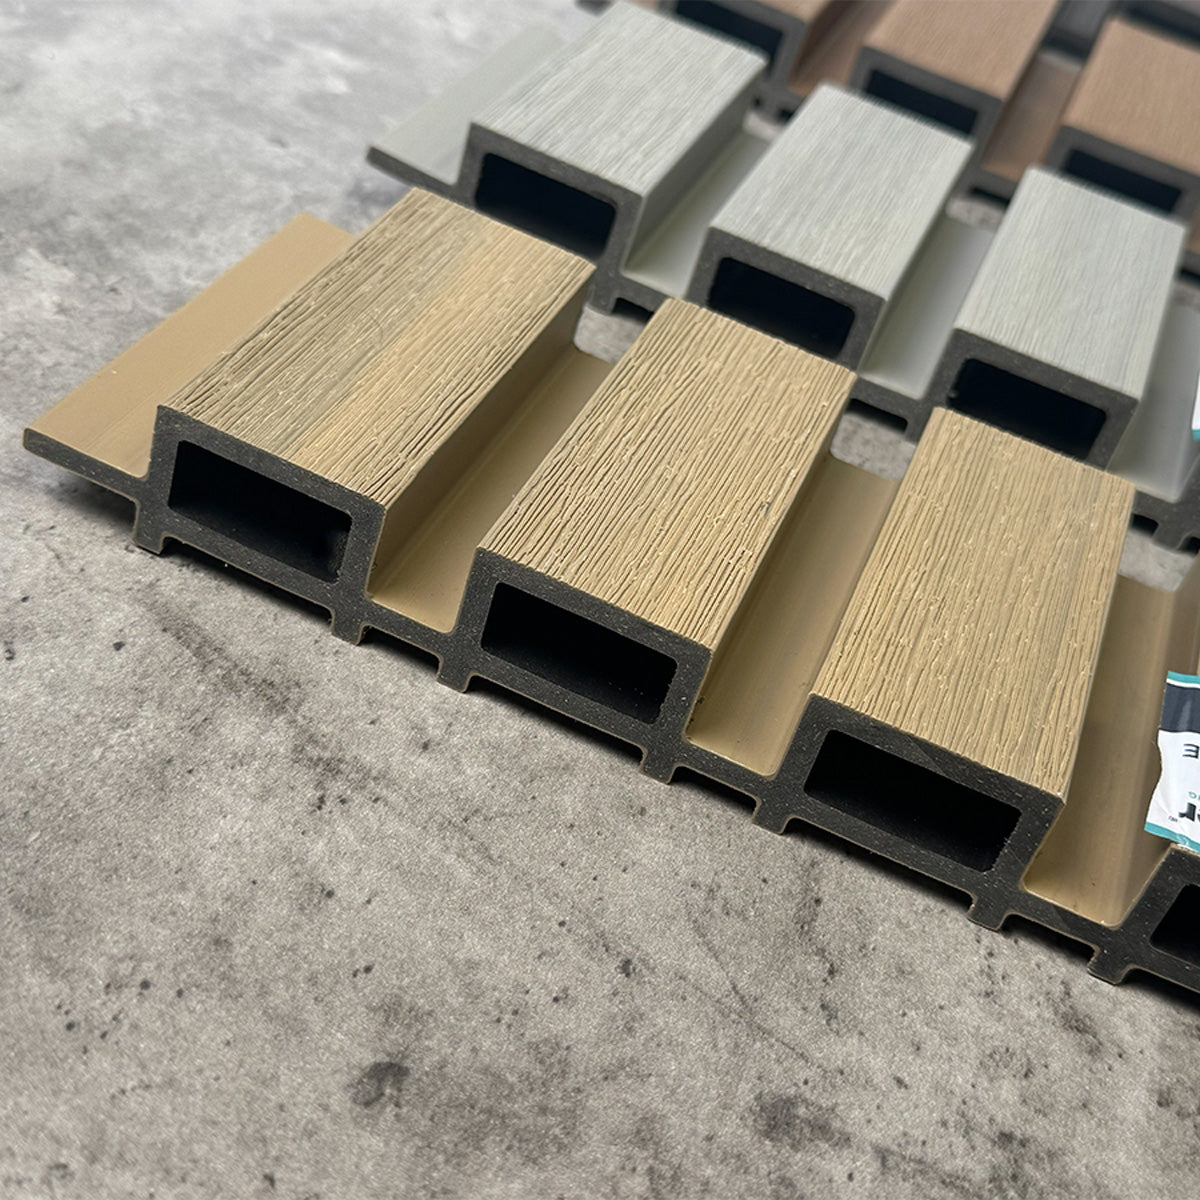
When installing composite fencing onto hard ground, the galvanised steel post supports anchor the composite fence posts into place and offer a sturdy foundation for your completed fencing panels. Once fixed securely, the post supports are covered by plastic fixing sleeves and composite posts are placed over the support. Posts are spaced evenly along the fence line at 1800mm centres when using full-length boards.
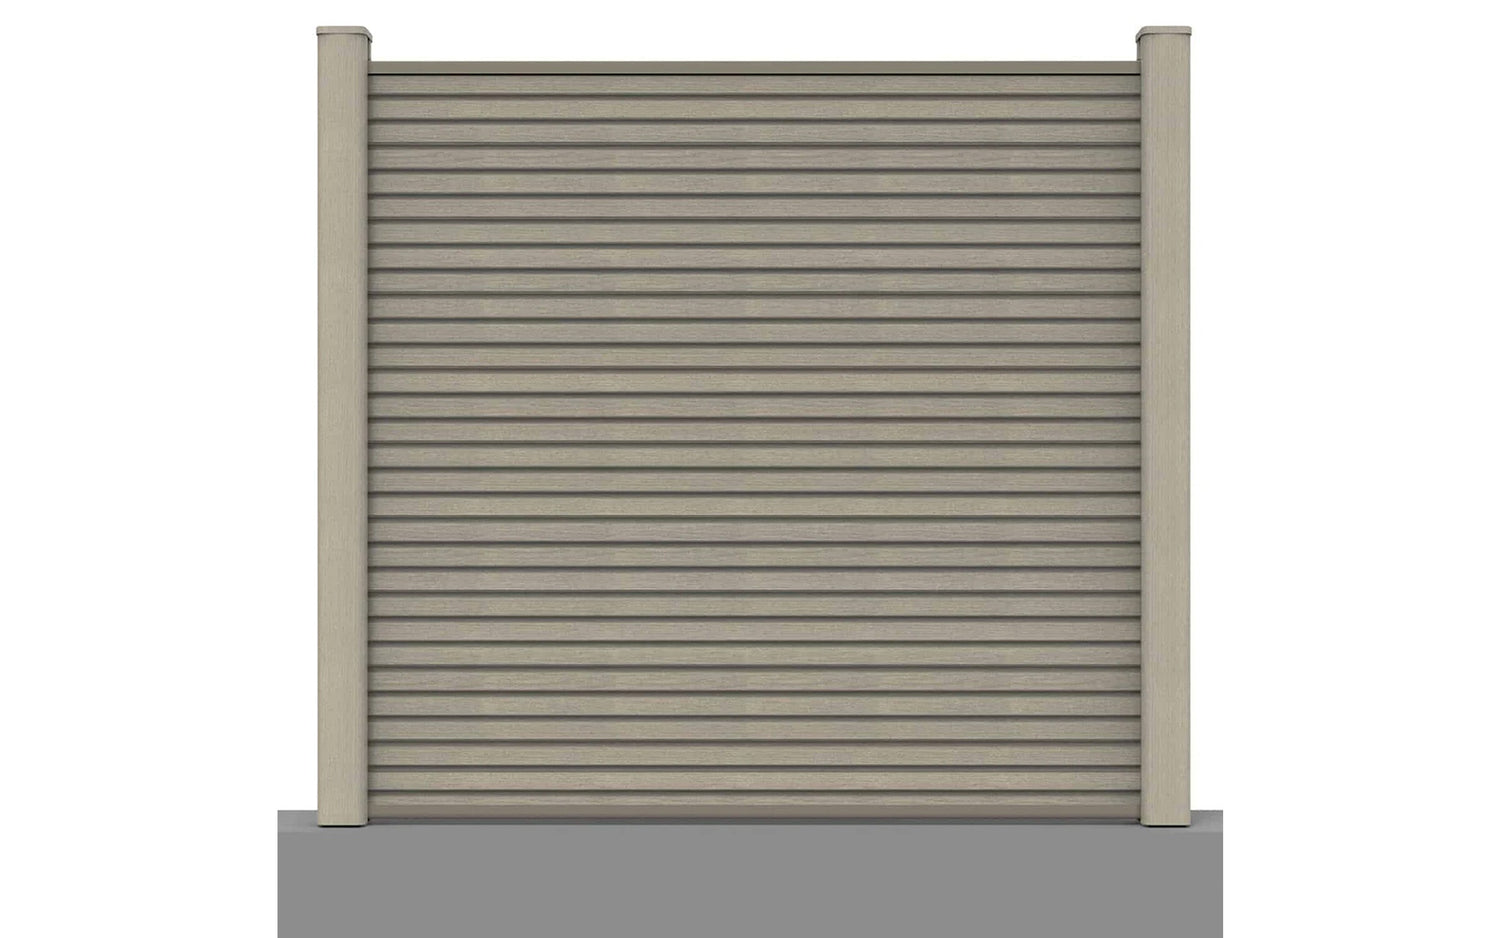
Once in place, the erected posts act as a channel for our tongue-and-groove fencing boards, which are secured with capping rails at both the base and the top of each panel. Although our modular fencing system is intuitive and easy to build, the installation video above provides clear step-by-step visual guidance. For a full breakdown of the installation process for hard ground, visit our detailed installation guide.
Position The Fence Post Supports To Suit Your Required Length
If installing a full-length panel, ensure your post supports are centred at 1800mm. Use a spirit level to ensure the supports sit completely flat. We recommend using the NeoTimber® base rail and composite post to double-check the spacing before fixing.

Securely Fix The Post Supports Using Supplied Expansion Bolts
Once the supports are positioned, mark the four screw hole points. Pre-drill 12mm x 60mm holes and insert appropriate raw plugs. Secure each post support using the supplied 80mm expansion bolts and tighten with a wrench.

Install The Plastic Fixing Sleeves Over The Support
NeoTimber’s plastic fixing sleeves act as additional packers, adding rigidity to the composite post system. Slide the base fixing sleeve onto the post support and position at the base. Cap the post support with the top support cap as shown.


Place The Composite Post Over The Support
Place the composite post over the support, ensuring it is fully level and straight. Cap the post using the third plastic fixing sleeve.
With your posts installed, you are now ready to build your composite fence panel. Click here for the next steps in the installation process.

Install Composite Fence Posts Into Hard Ground With Ease
NeoTimber® makes it simple to install composite fence posts into hard ground, such as concrete patios or paved surfaces. Using our galvanised steel post supports, you can achieve a solid, long-lasting foundation for your fencing panels. These robust supports ensure your fence stays upright and secure, while keeping installation straightforward and stress-free. Whether you’re creating a new boundary or upgrading an existing space, installing composite fence posts into hard ground with NeoTimber® guarantees durability, stability, and a professional finish every time.