


Learn how to install composite decking the NeoTimber® way with our step-by-step composite decking how-to installation videos.
Our video how-to’s are designed to bring our installation guide to life with easy-to-follow, guided instructions on fixing our products together. Used hand-in-hand with our installation guides, these videos provide users of our products with the tools on completing their dream decking project. So whether you are looking at tackling a large, low-lying decking project, or scratching your head at which cutting equipment is best used with our products - our installation video resources have you covered… You’ll be a pro installer in no time!
How To Install Composite Joists
While other subframe materials are available to installers, NeoTimber’s composite joists are purpose built to work with our decking boards. This solution is excellent for installing a low-lying decking subframe that sits directly onto a solid, flat base.
While the installing composite joists video outlines each step in detail, we thought we would outline the key tips below:
- Incorporate a decline of 1% to your base in order to aid with drainage.
- Lay your joists at right angles to the direction of your boards.
- Install your composite joists at 250-350mm spacings.
- Leave an 8mm gap where joists meet at joins.
- Double-joist the areas you expect deck boards to meet at joins.
- Attach the joists to your concrete base using a 60mm screw; pre-drill and countersink the material to avoid cracking.
- When attaching the composite joist to the concrete base, be sure to begin screwing at least 70mm in from the joist edge.
- Be sure to also leave an 8mm gap from the joist to any solid surfaces, such as a brick wall.
How To Fit Composite Decking
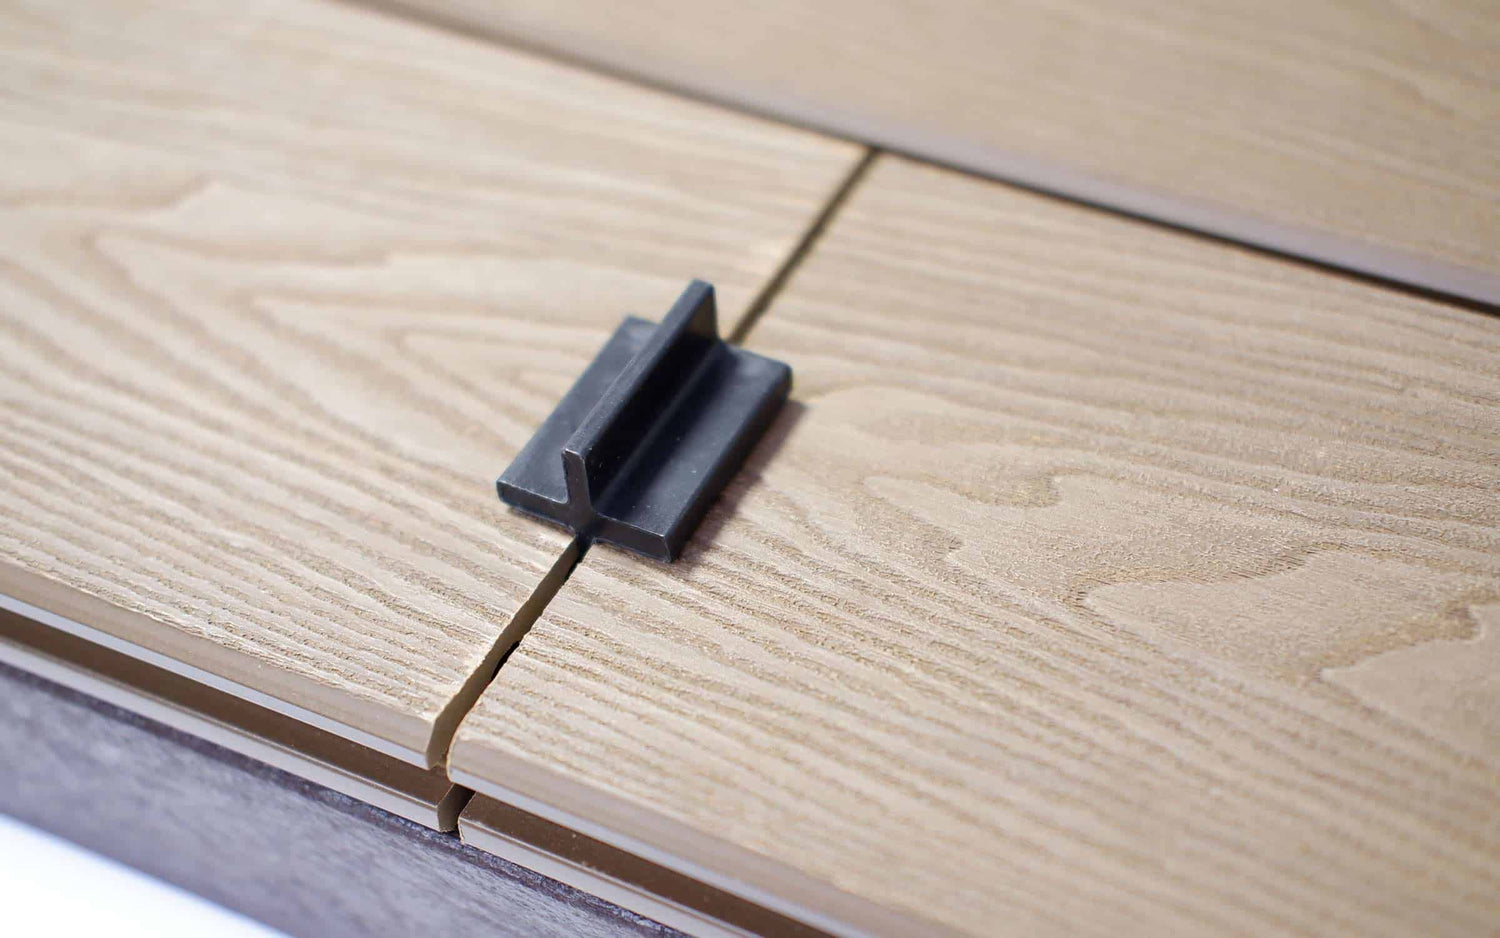
Fixing composite decking to a subframe is made easy with NeoTimber’s range of hidden fixings that come in the form of a Starter Clip, 3mm Metal FastClip and 6mm Plastic FastClip. The purpose built clip system is designed with easy installation in mind and offers a discreet fixing that allows enough room between boards to accommodate for expansion and drainage. This system reduces the need to screw into each and every board and allows you to fit composite decking securely.
Below, we have outlined some key pointers from the video on how to fix composite decking that we believe are important to consider when fitting composite deck boards to a subframe:
- A clip should be installed at every intersection between a board and a joist.
- The spacings between your joists should be between 250-350mm.
- Be sure to only screw through the single counter-sunk hole of the FastClip; the other two holes are designed to allow for drainage beneath the composite decking boards.
- Allow for a gap where boards meet at joins which should be between 1-6mm and varies depending on the outside temperature at the time of installation.
- When fixing your final board, pre-drill an oversized pilot hole prior to screwing and fix at every 300mm.
- Take care during the installation process and always ensure that you wear appropriate safety equipment throughout the installation.
While decking subframes can come in all shapes and sizes and not every project will resemble that shown on the video - we still recommend following the principles shown, as well as those outlined in the tips above.
How To Cut Composite Decking
We recommend that customers consider the tools they’ll need to complete their composite decking installation in the planning phases of their project. In truth - there isn’t much to cutting NeoTimber’s range of composite decking and in fact, they tend to cut much like timber… meaning you can opt for similar woodworking tools when tackling your project. Within the cutting composite decking video we outline our top three recommended cutting tools that work brilliantly with our deck boards. We focus on the mitre saw, the compact circular saw and the jigsaw - each of which have unique features that make your life easier.
Install Your Deck With Confidence Using Our NeoTimber® How-To Videos
Learn to install your deck the NeoTimber® way with our composite decking how-to installation videos. Step-by-step guidance helps you achieve a professional finish while saving time and effort. Explore our video library today and make your decking project simple, efficient, and stress-free.