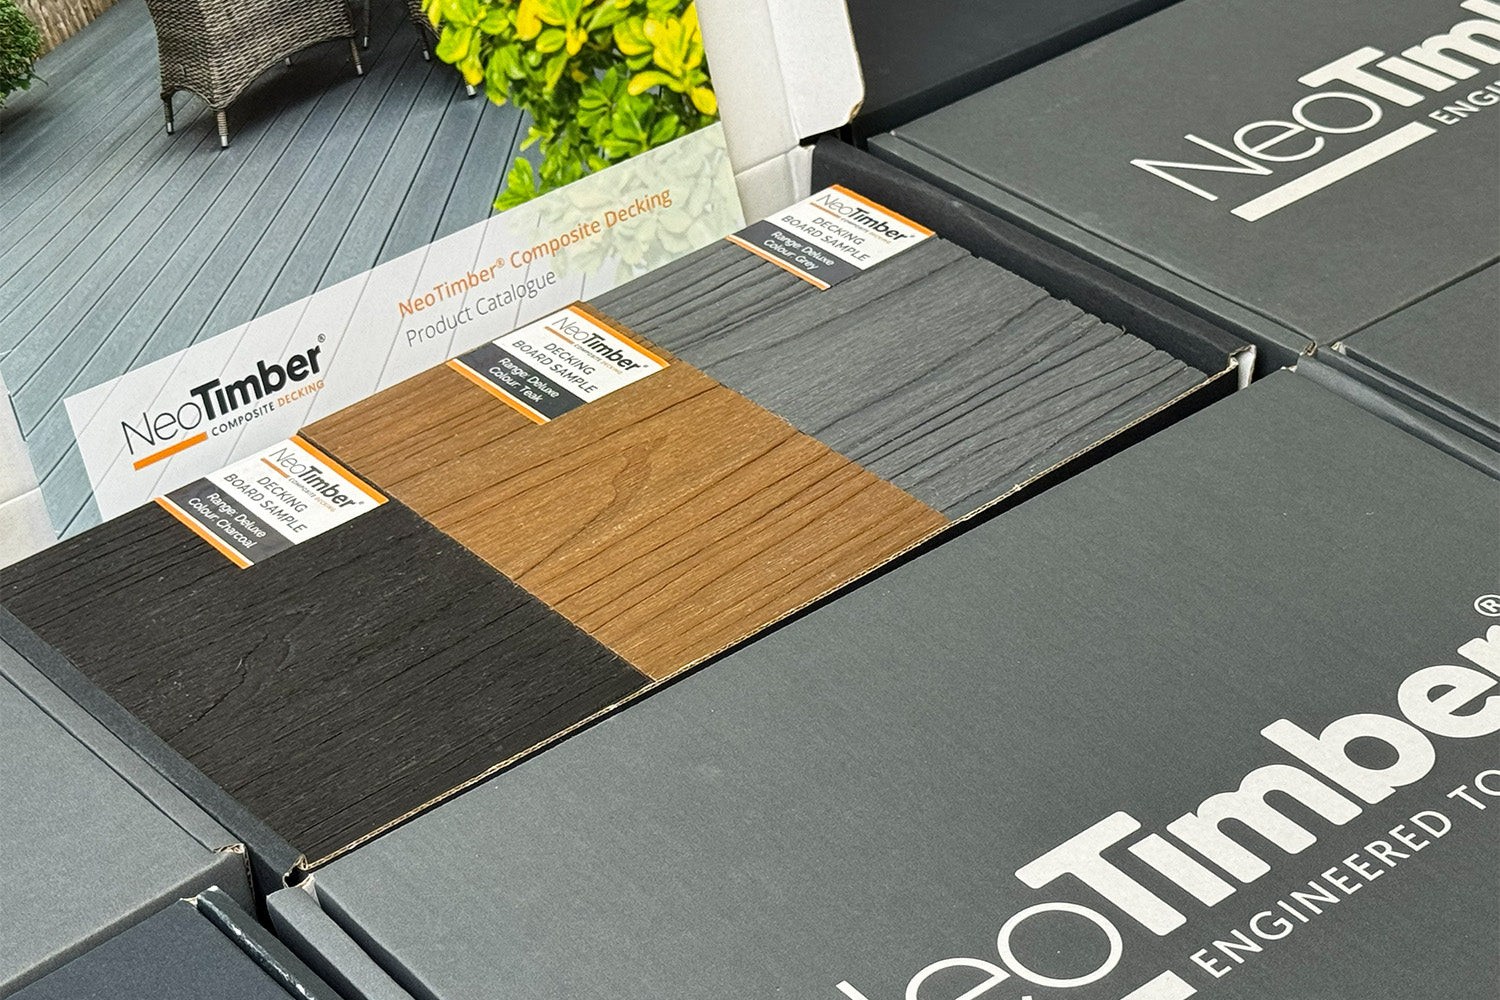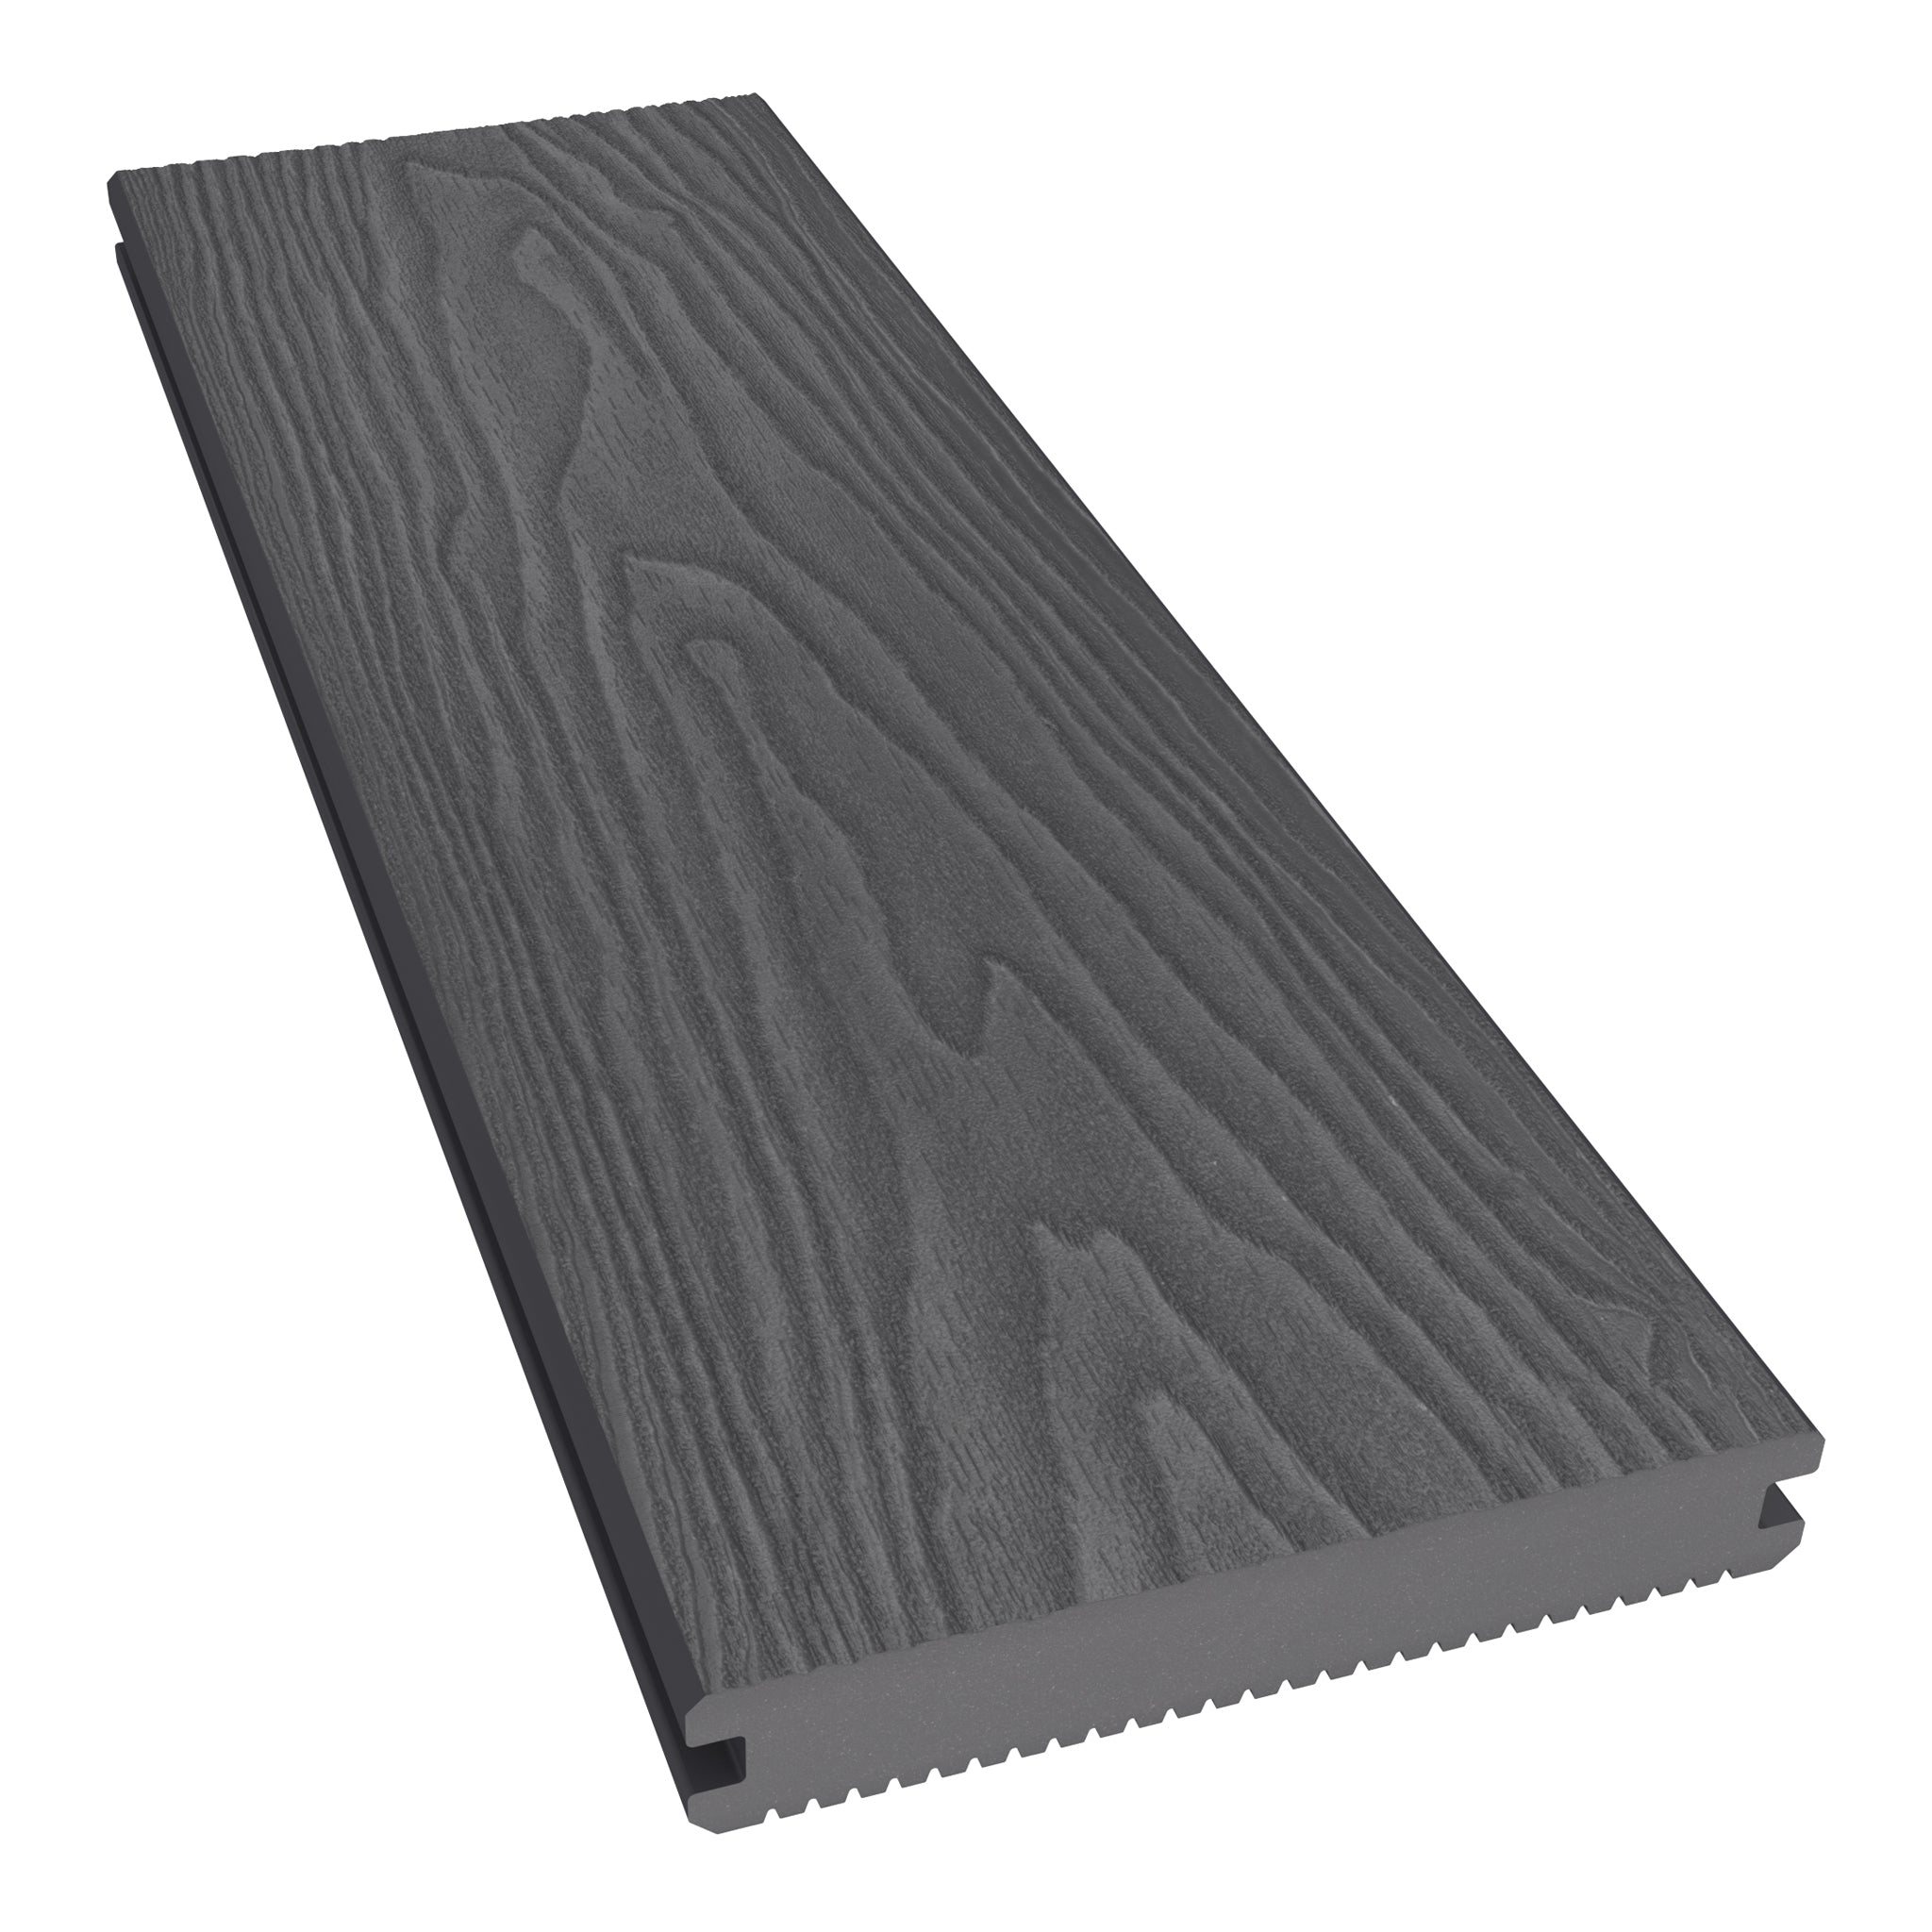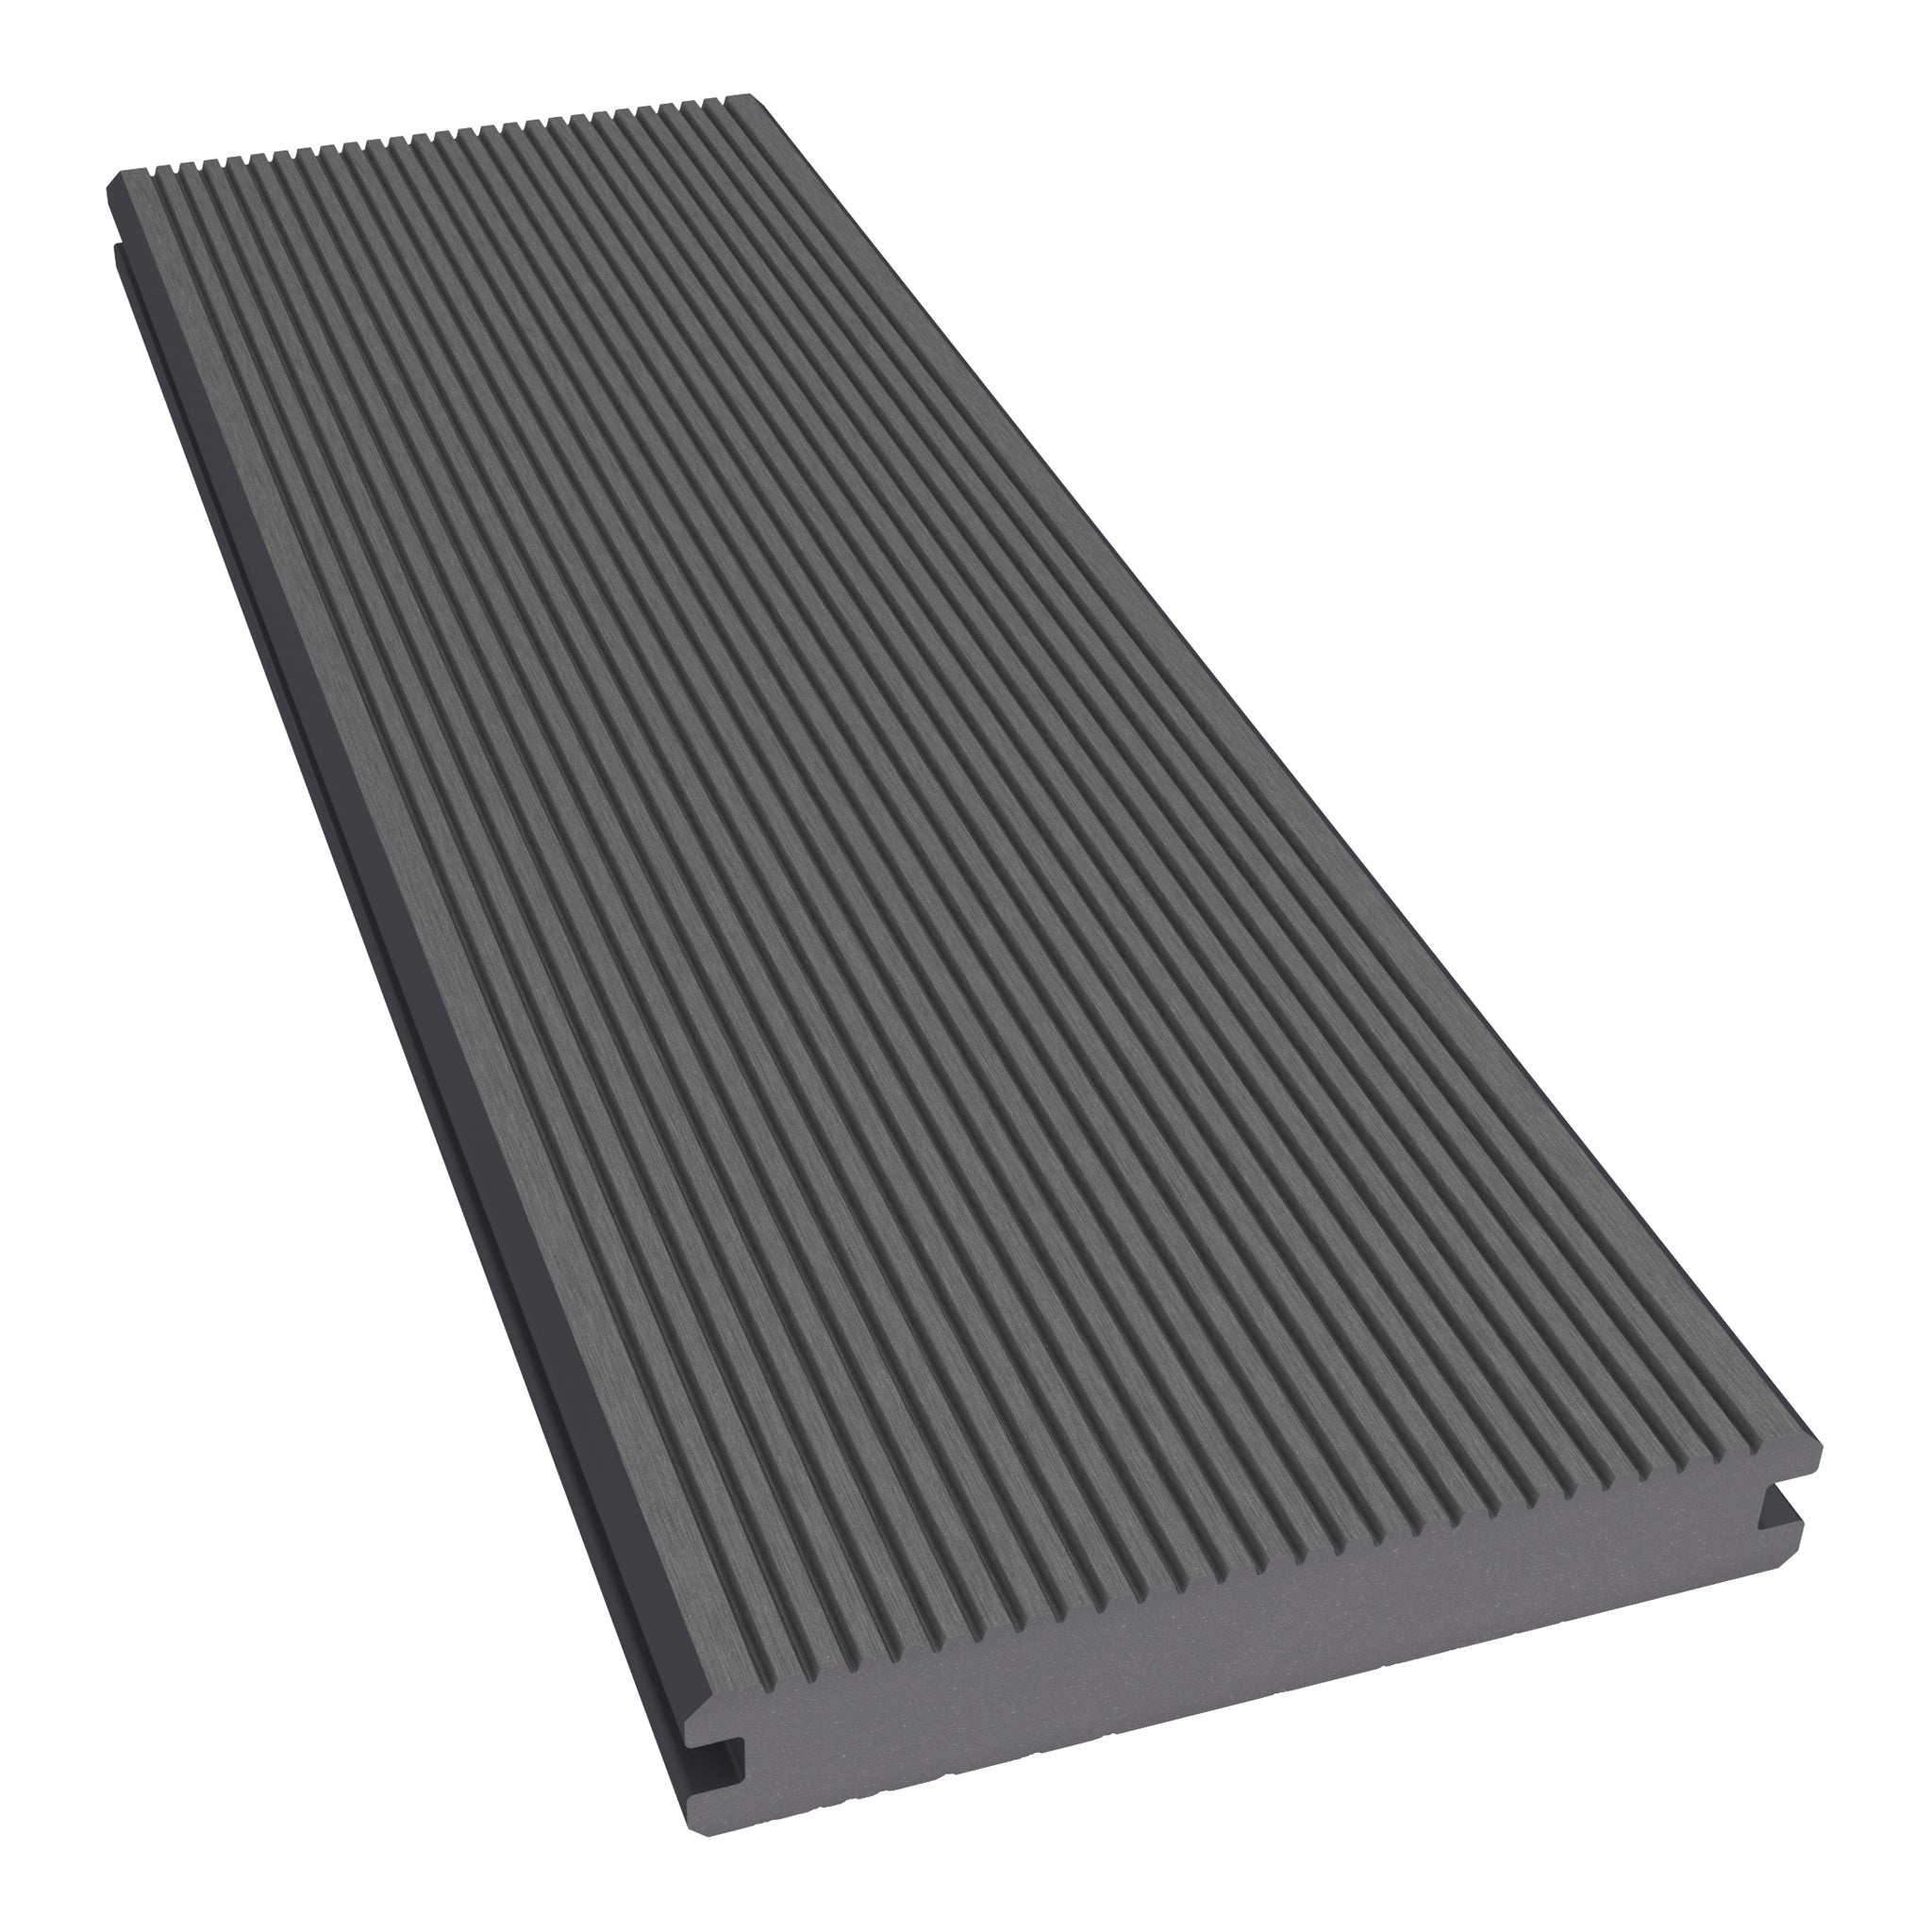


A composite decking picture frame involves incorporating a border around your project.
A composite decking picture frame can be achieved by using either a NeoTimber deck board or the NeoTimber edge board. Below, we outline the steps and considerations you should take when picture framing your decking project with either one of these products.
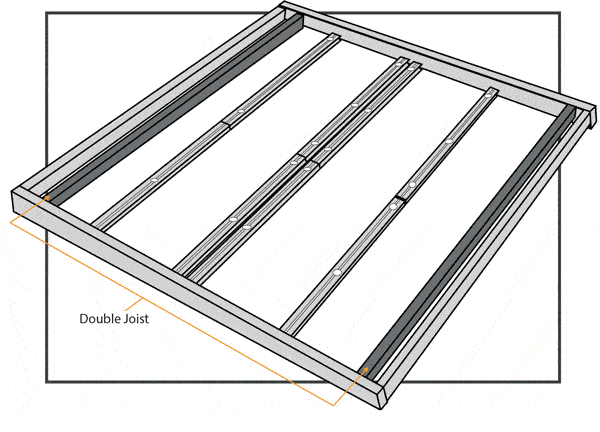
It is important to note that consideration of this design feature must be taken when forming your subframe, as it is important to install double joists in areas of the project where boards will run perpendicular to the main run of decking. When it comes to fixing your picture framing, two different installation methods must be considered: installation of the perpendicular board and the installation of the parallel board. Ensuring your picture framing is installed correctly will help achieve a professional, polished finish to your decking area.
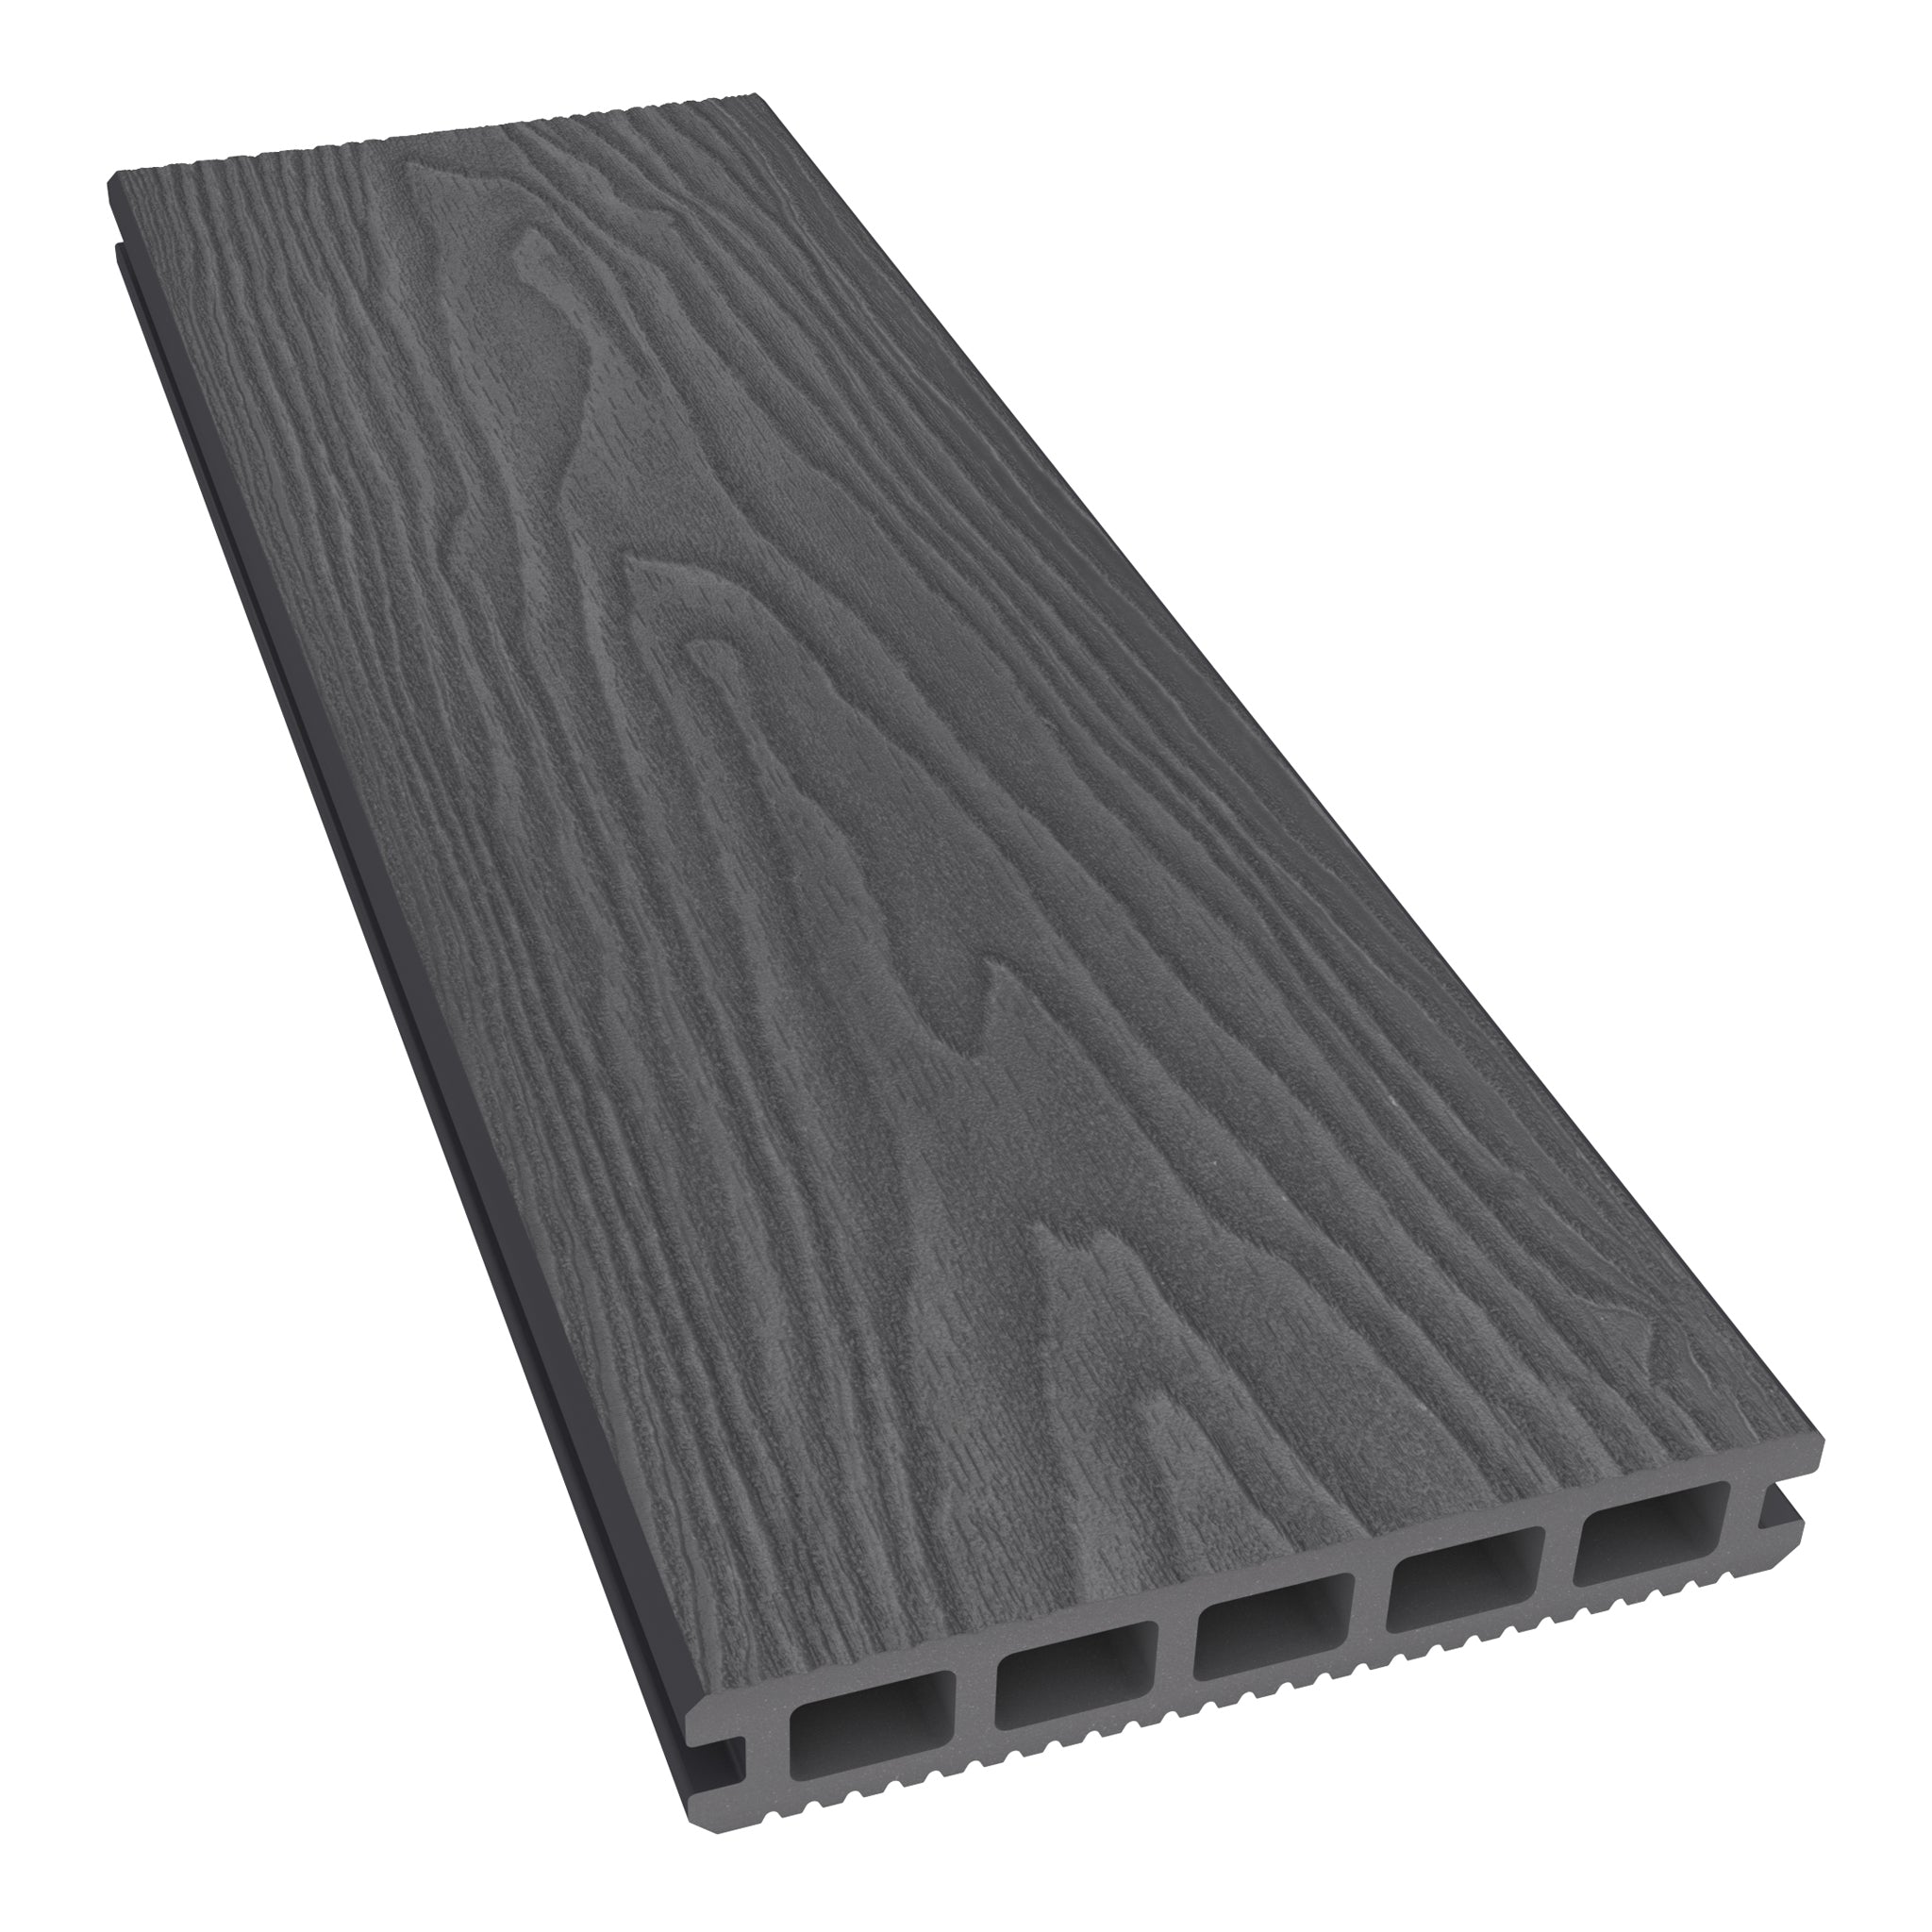
Using Deck Boards As A Picture Frame
The method for laying parallel and perpendicular deck boards differ from one another and consideration of both is outlined below.
1. Installing The Parallel Frame Board
Boards that run parallel to the main run of boards can be installed following standard installation methods, outlined in the installing deck boards section of the website. Where boards meet at corners of the picture frame, a 45-degree mitred edge should be made and an expansion gap of 4mm must be observed.

2. Installing The Perpendicular Frame Board
Boards that run perpendicular to the main decking area must be laid on a run of double joists. For fixing this board, you must install a Starter Clip on the inside joist. Once the inside of the board is securely fastened, screw the exposed grooved edge into the subframe.

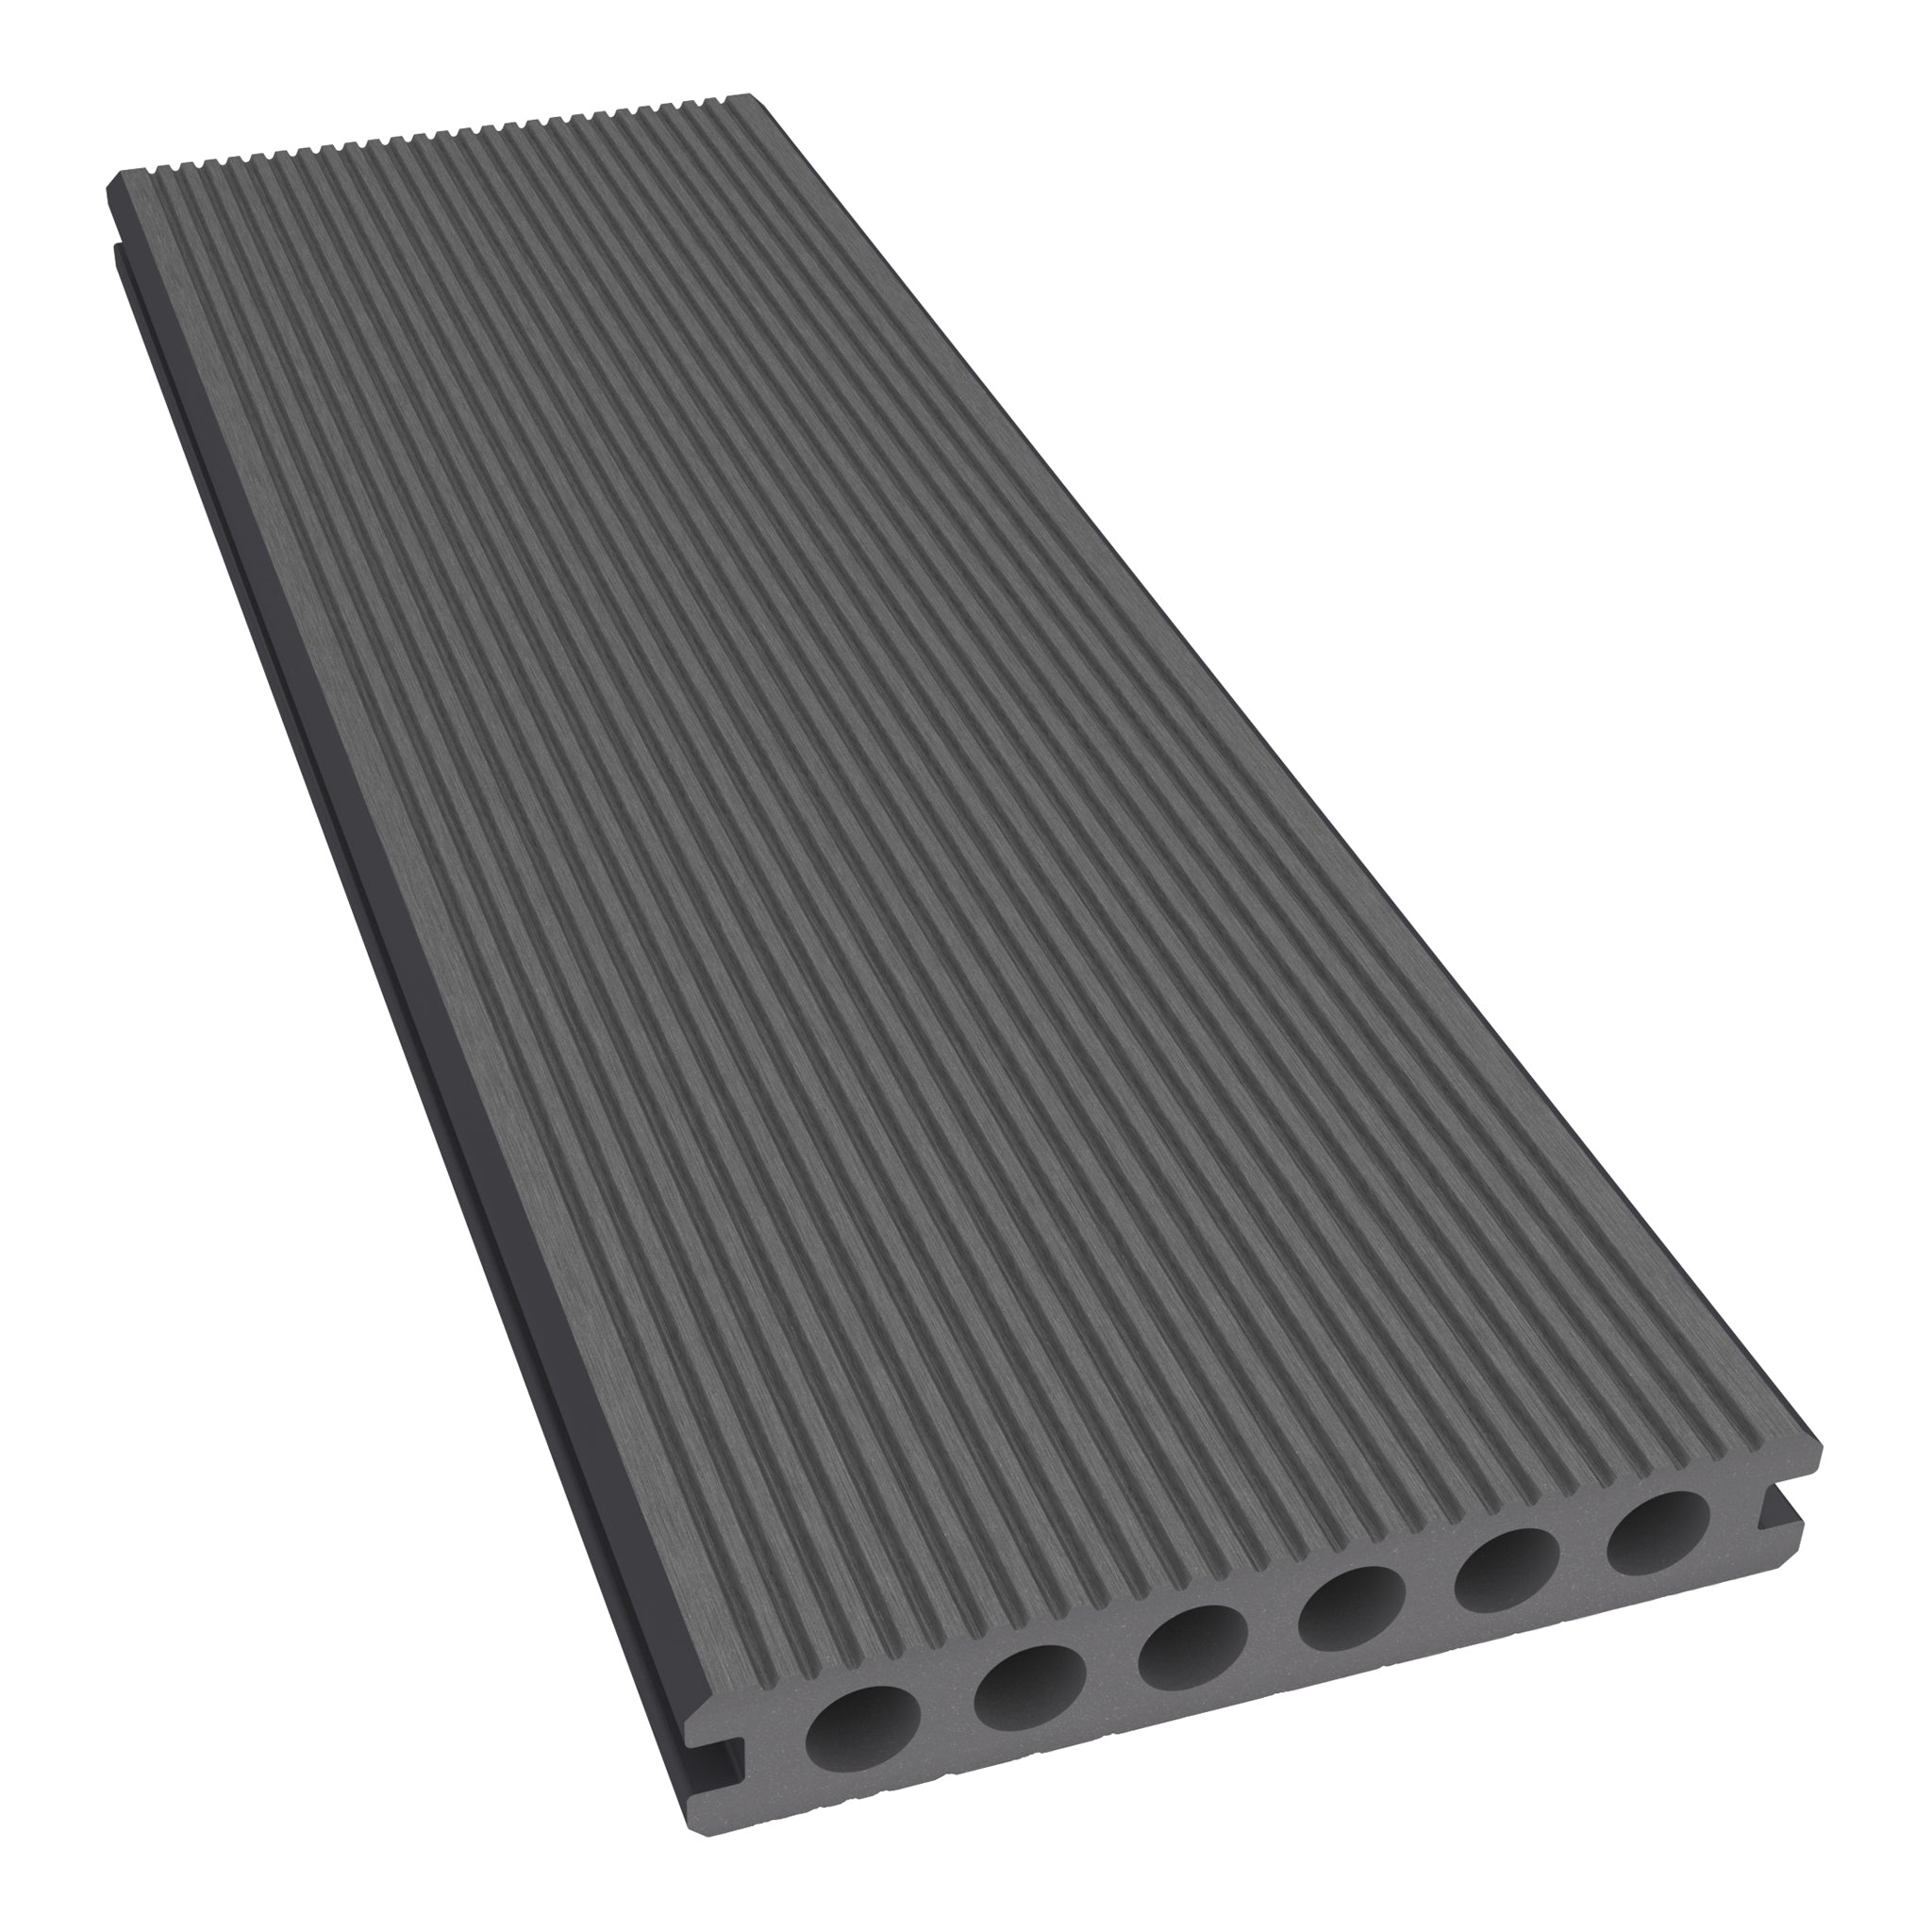
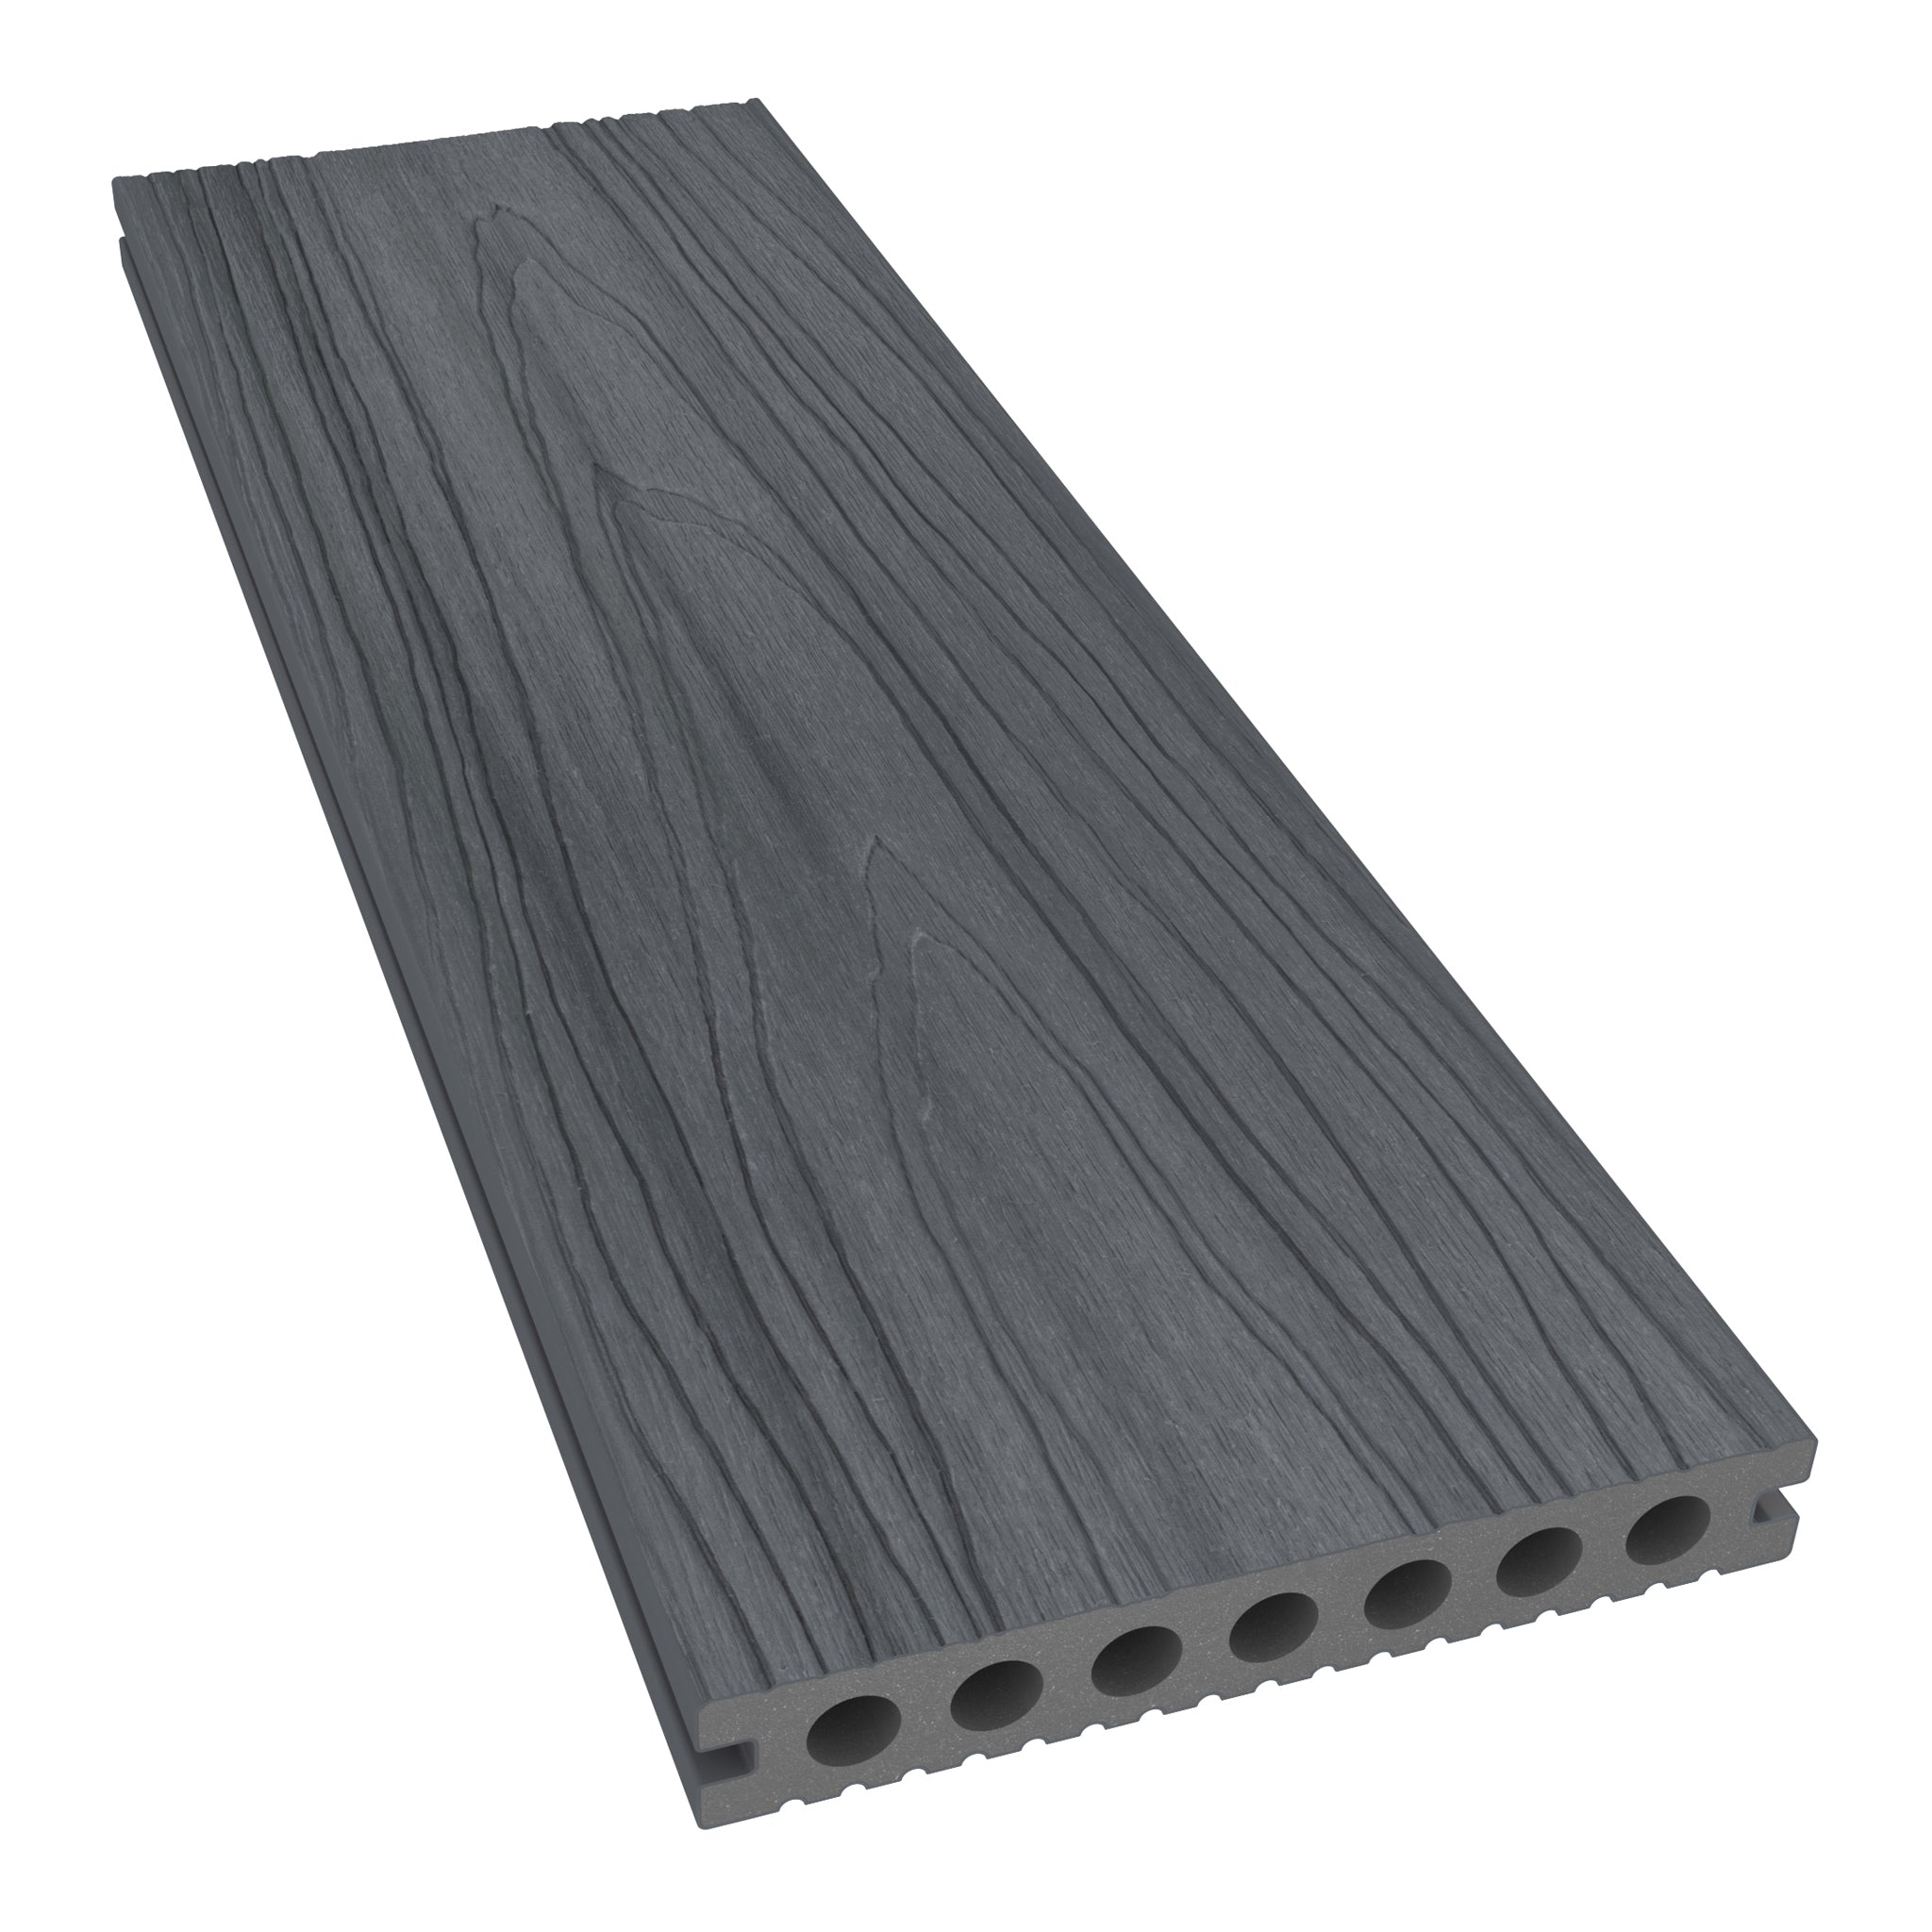
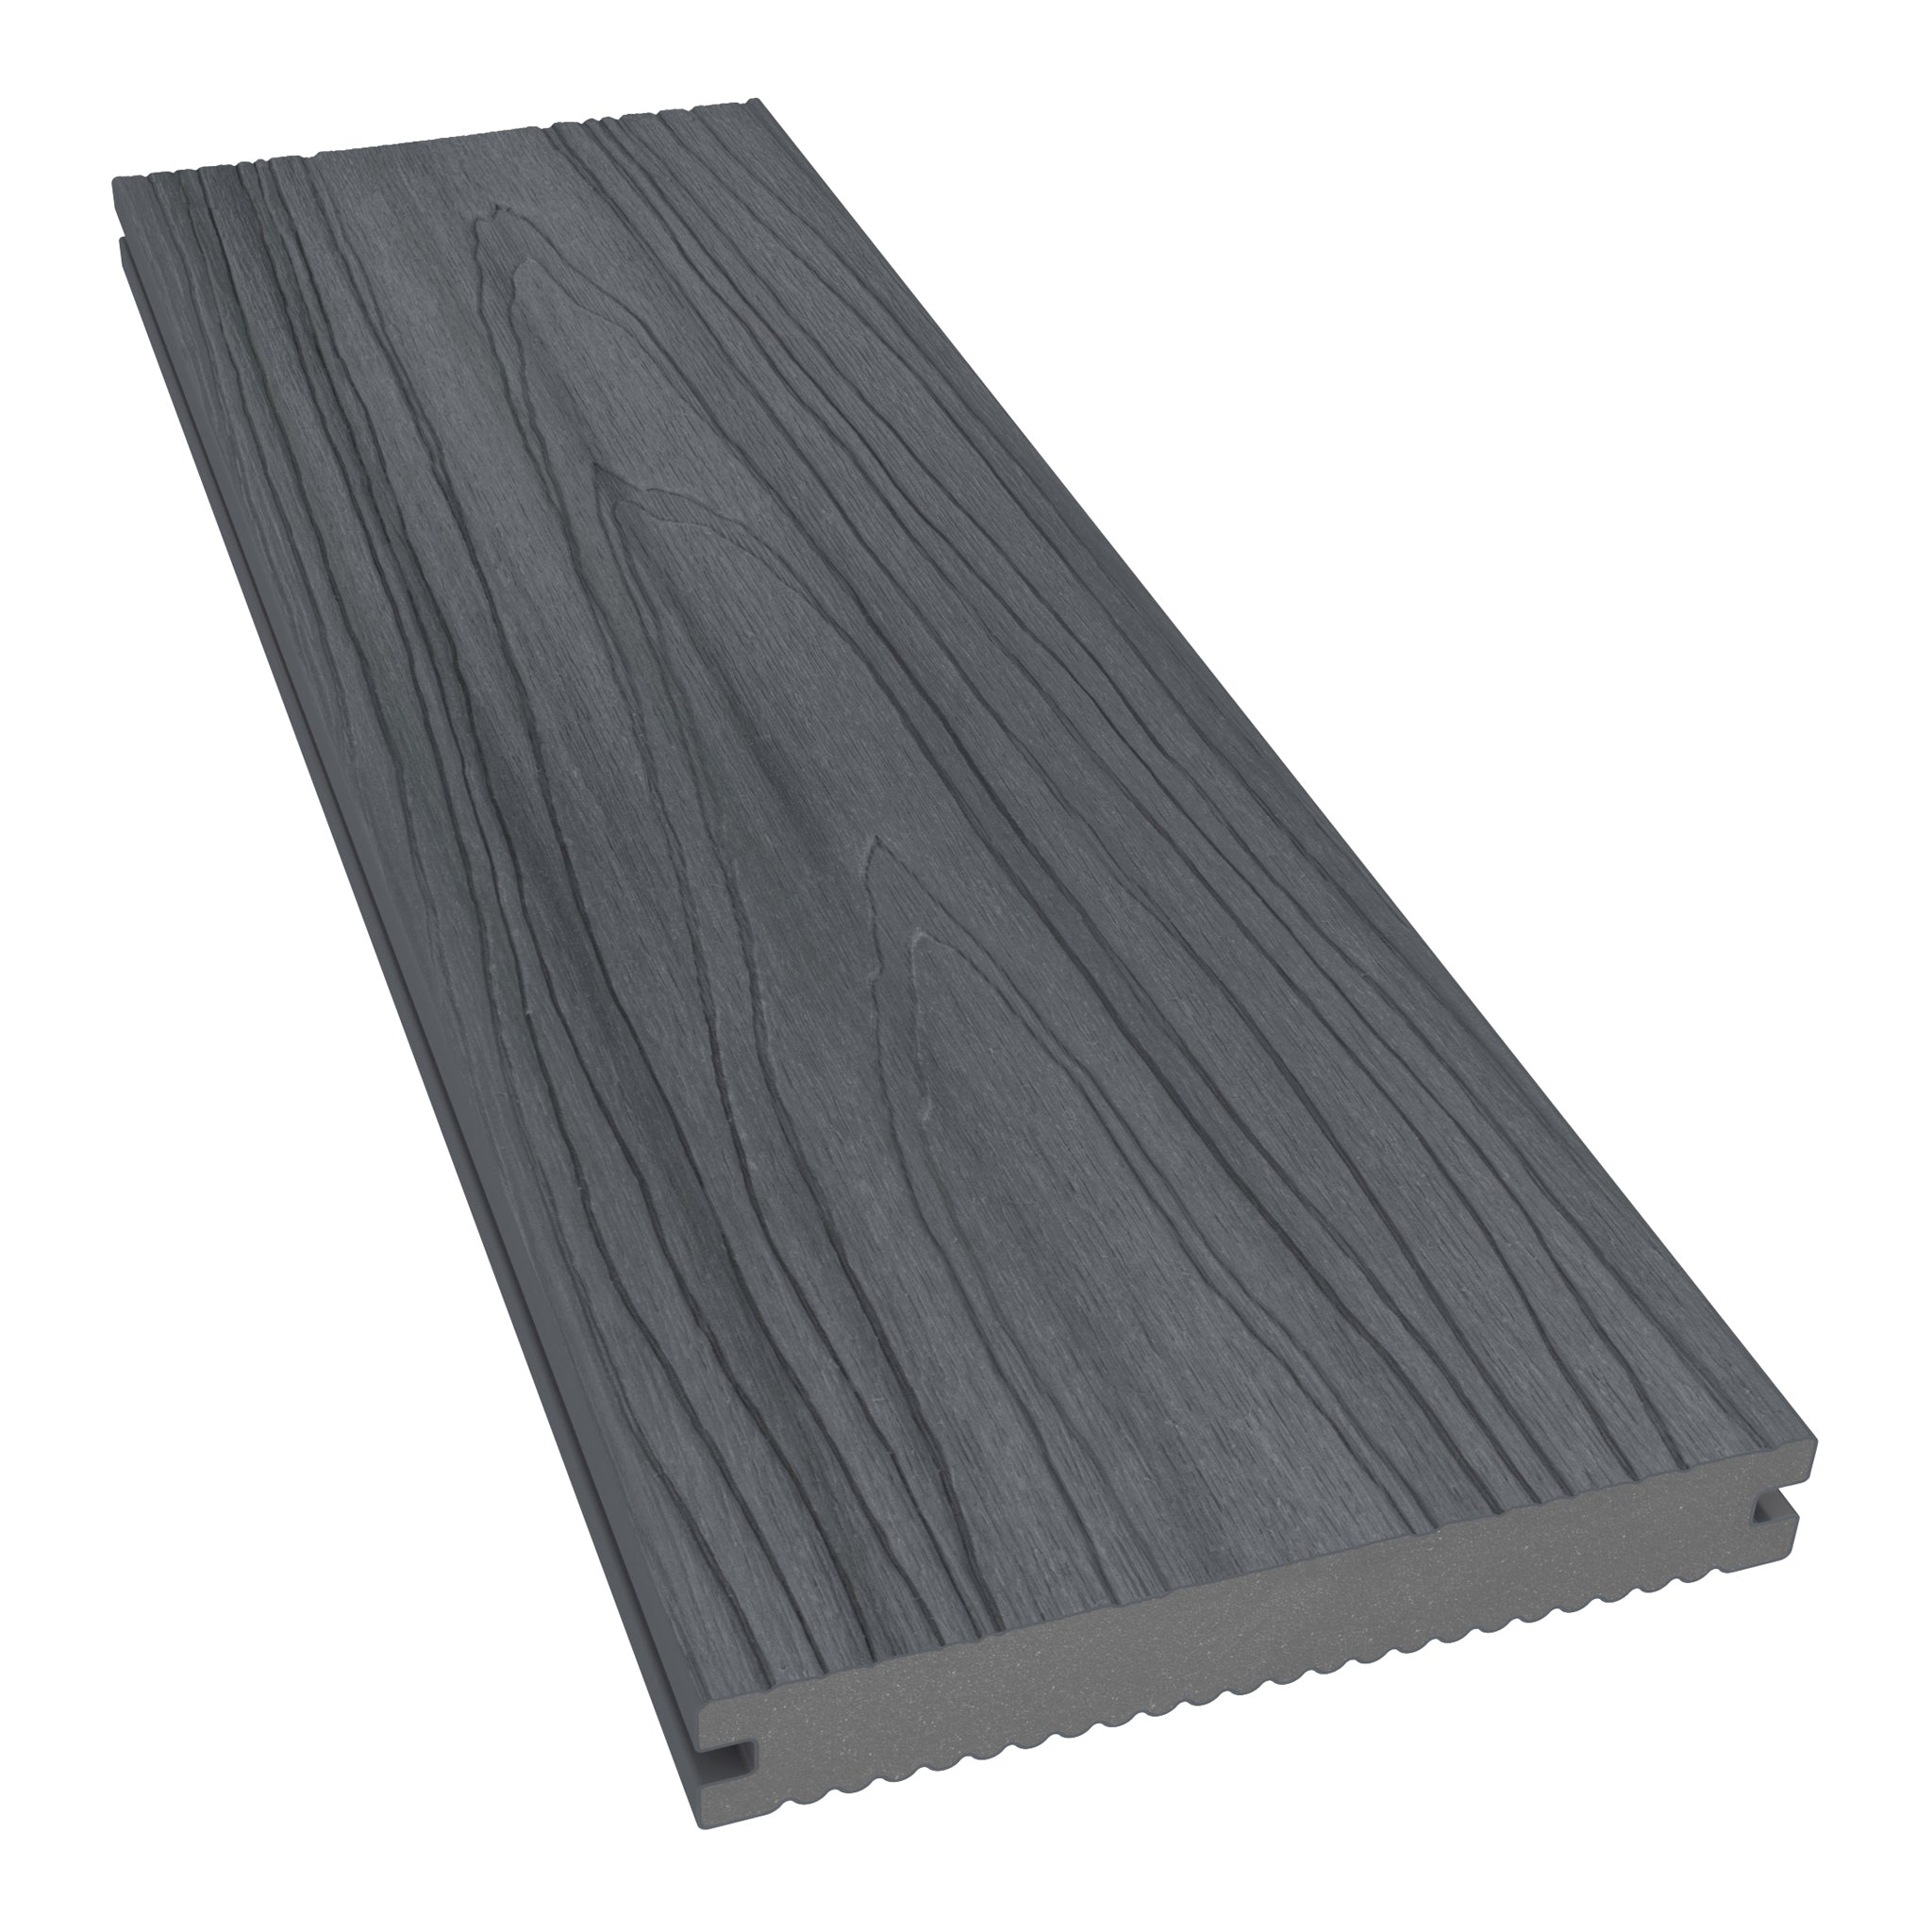
Using Edge Boards As A Picture Frame
NeoTimber edge boards that form the picture frame of your project must be laid before installing the main run of decking. This allows the picture frame to be correctly fixed on all sides.

1. Installing The Parallel Edge Board
Install a Starter Clip on the outside edge of your joist framework and fix to the opening on the underside of the edge board, securely fastening into place. Once your edge board is securely positioned, install a FastClip to the exposed grooved-edge on the inside of the edge board, ready for laying all subsequent deck boards. Where boards meet at corners of the picture frame, a 45-degree mitered edge should be made and an expansion gap of 4mm must be observed.

2. Installing The Perpendicular Edge Board
Fix the outside edge of the perpendicular edge board by securing the underside with a Starter Clip, as outlined in the fixing composite trims and edging section of the website. Then attach the inside of the edge board to your joist network by screwing into the exposed grooved-edge at a 45 degree angle. Join at 350mm intervals along the board and insert an over-sized pilot hole prior to screwing.
3. Installing Subsequent Boards
Once the edge board perimeter is securely fastened, install the main run of deck boards in a uniform fashion. Follow the steps outlined in the installing deck boards section of our installation guide for advice on using our FastClips to fix boards to your subframe. Install the final board(s) of the decking run by face fixing it to your joist network. Pre-drill the boards before screwing to avoid cracking them. Fix at every intersection between a board and joist. For a discrete and secure fixing, we recommend NeoTimber® coloured decking screws.

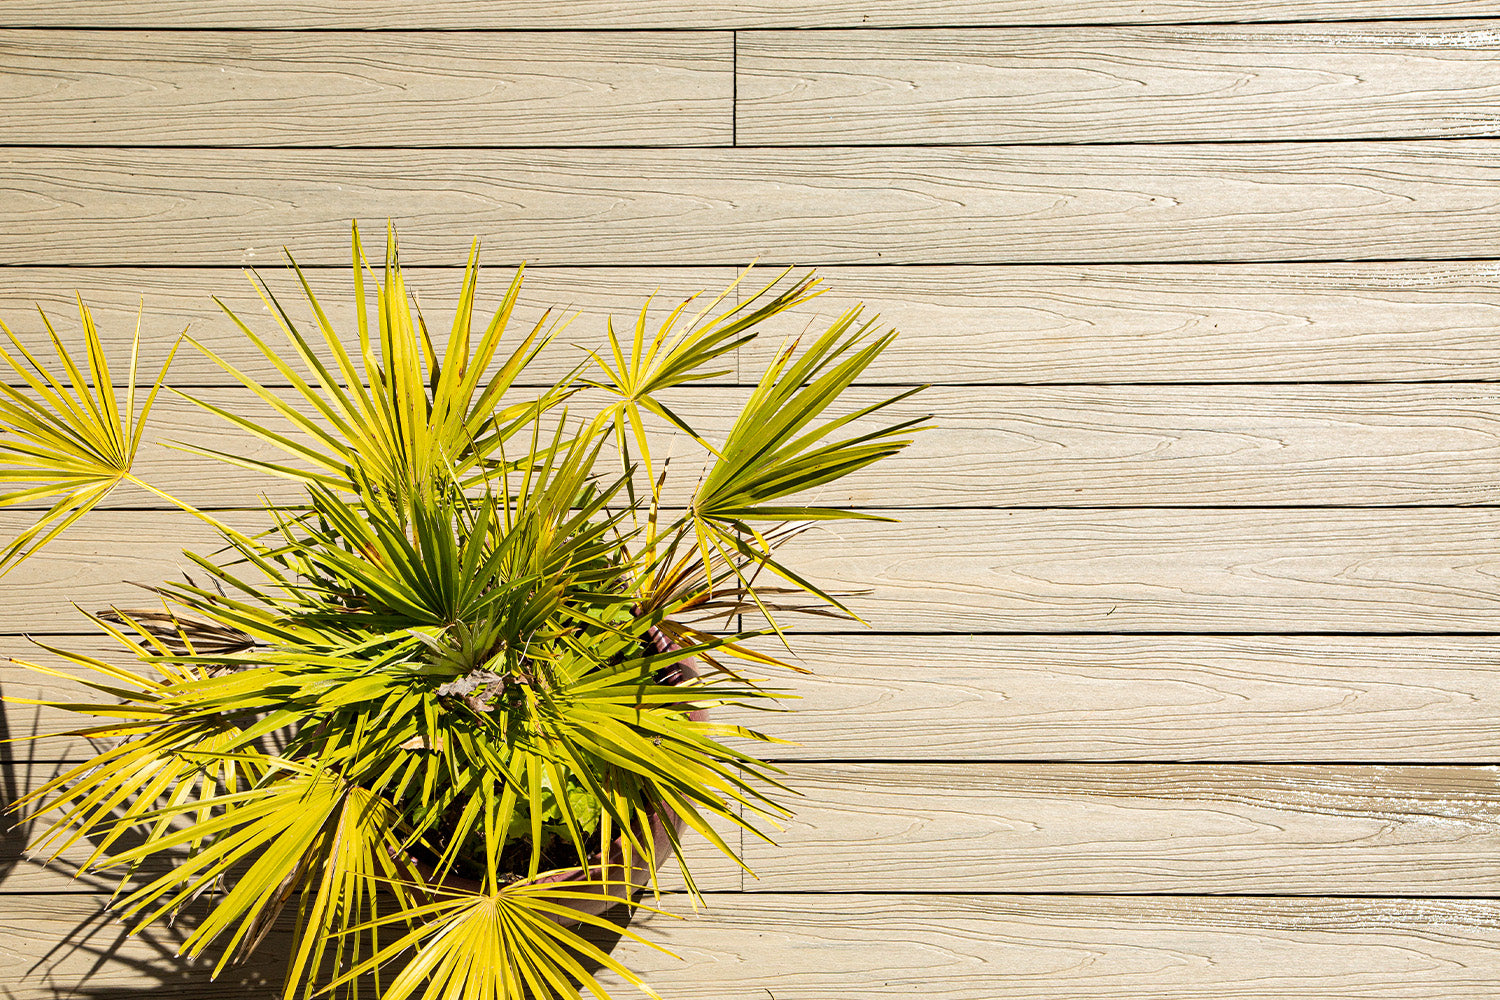
Add A Stylish Finish With NeoTimber® Composite Decking Picture Framing
Enhance the look of your deck with NeoTimber® composite decking picture framing. Our composite decking picture frame boards create a neat, professional border that elevates your outdoor space. Explore our range today and give your deck a polished, elegant finish that stands out.