


Installing adjustable decking pedestals lets you elevate your subframe efficiently, providing a stable foundation without the need for posts.
Our selection of fully adjustable pedestals provide you with an easy-to-use system that elevates your subframe without the use of posts. We provide a selection of 5 pedestals, the adjustable heights of which can be seen in the table below. When achieving the required height of your decking project you must factor in the adjustable height of the pedestal, the thickness of the chosen joist and the thickness of your chosen board.
1. Laying Your Pedestals
Starting at the edge of the proposed area, begin by laying the pedestals in a linear fashion to form a grid layout. For gridlines which will support the span of the joists (Gridline A), the spacing distance between pedestals are determined by the maximum support span of the joists used (see table below for reference). For gridlines which will support the span of the deck boards (Gridline B), follow standard spacings at a distance of between 250-350mm.
| Joist Type | Max Support Span |
|---|---|
| Small Plastic Joist | 400mm |
| Large Plastic Joist | 1000mm |

2. Lay Your Joists Onto Your Pedestals
Once your pedestal network is in place and correctly aligned, lay each joist on top of your pedestal network. The direction of your joists should be laid at right angles to the direction you wish to lay the boards. If required - level the height of your joists by rotating the base of each pedestal. Ensure your joists sit level with the assistance of a spirit level.

3. Fix The Joist Network To The Pedestals
When your joists are firmly in place, secure them into the pedestal by screwing through the joist cradle and into the side of the joist.

4. Securing Joists At Joins
Butt-joins must be supported by a pedestal and an expansion gap of 20mm should be left between two joining joists. The use of a 250mm length of plastic joist can be used as a cross member for additional structural support.

5: Laying Boards Onto Your Subframe
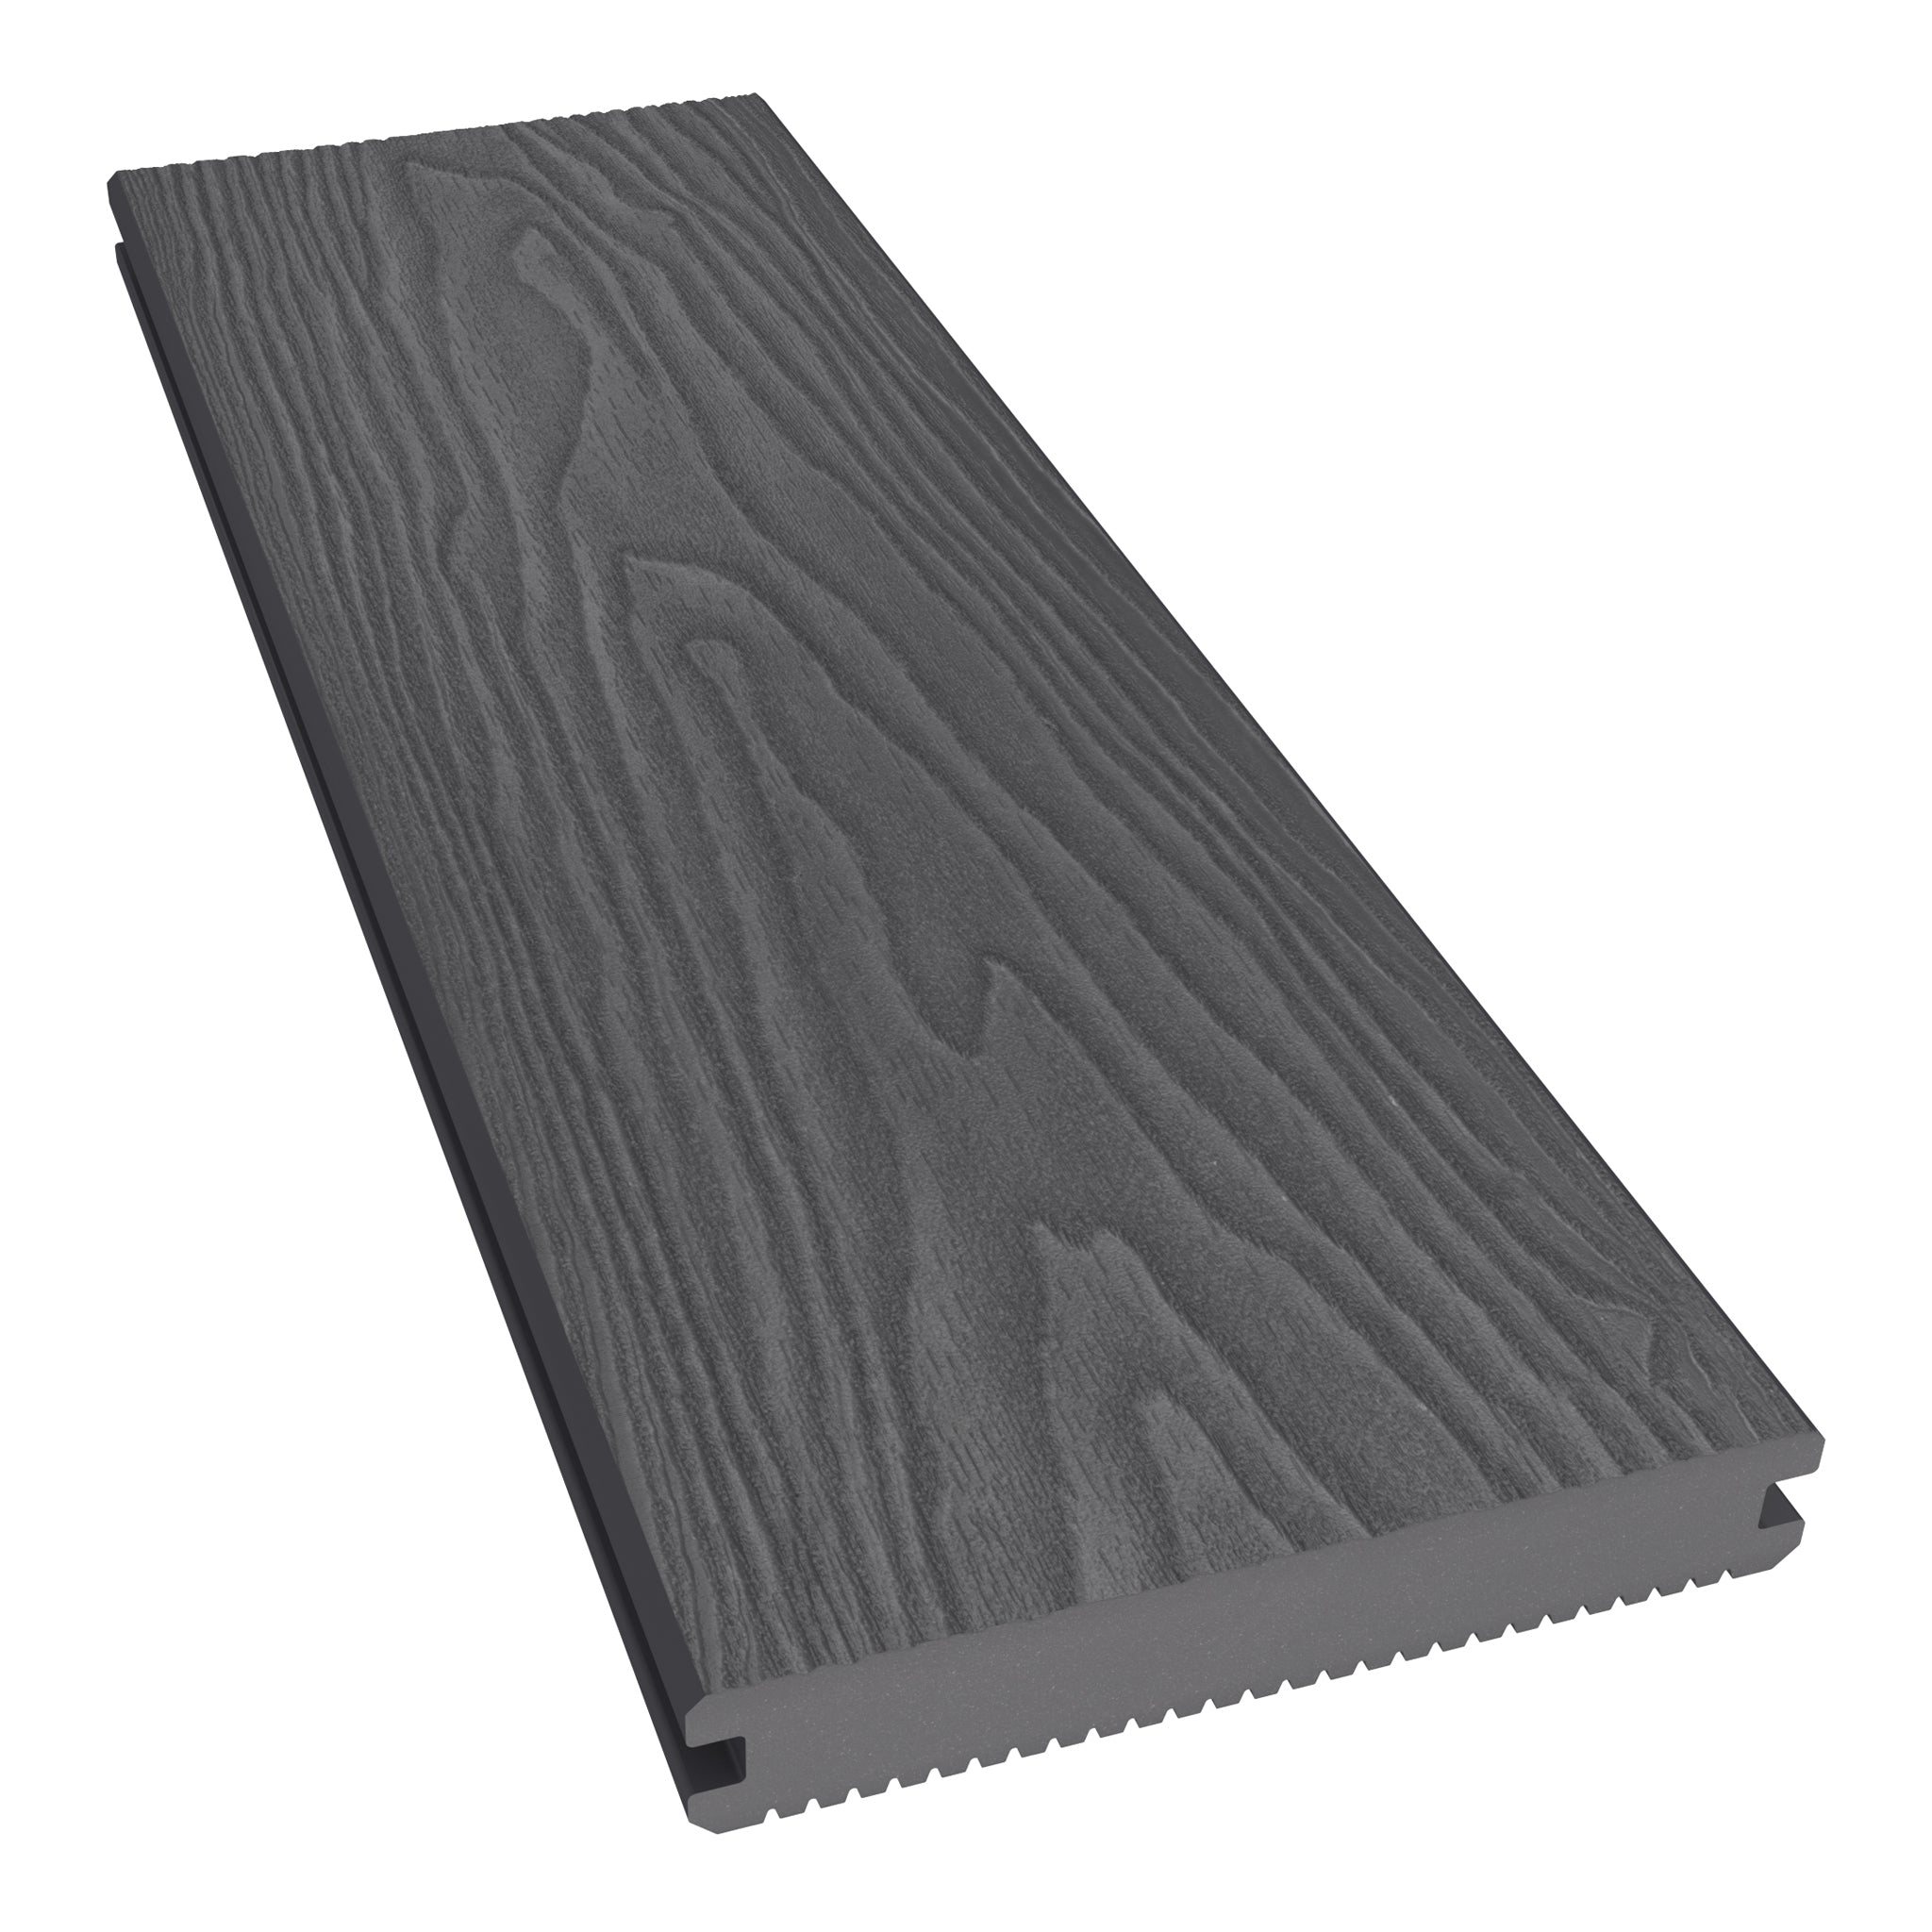
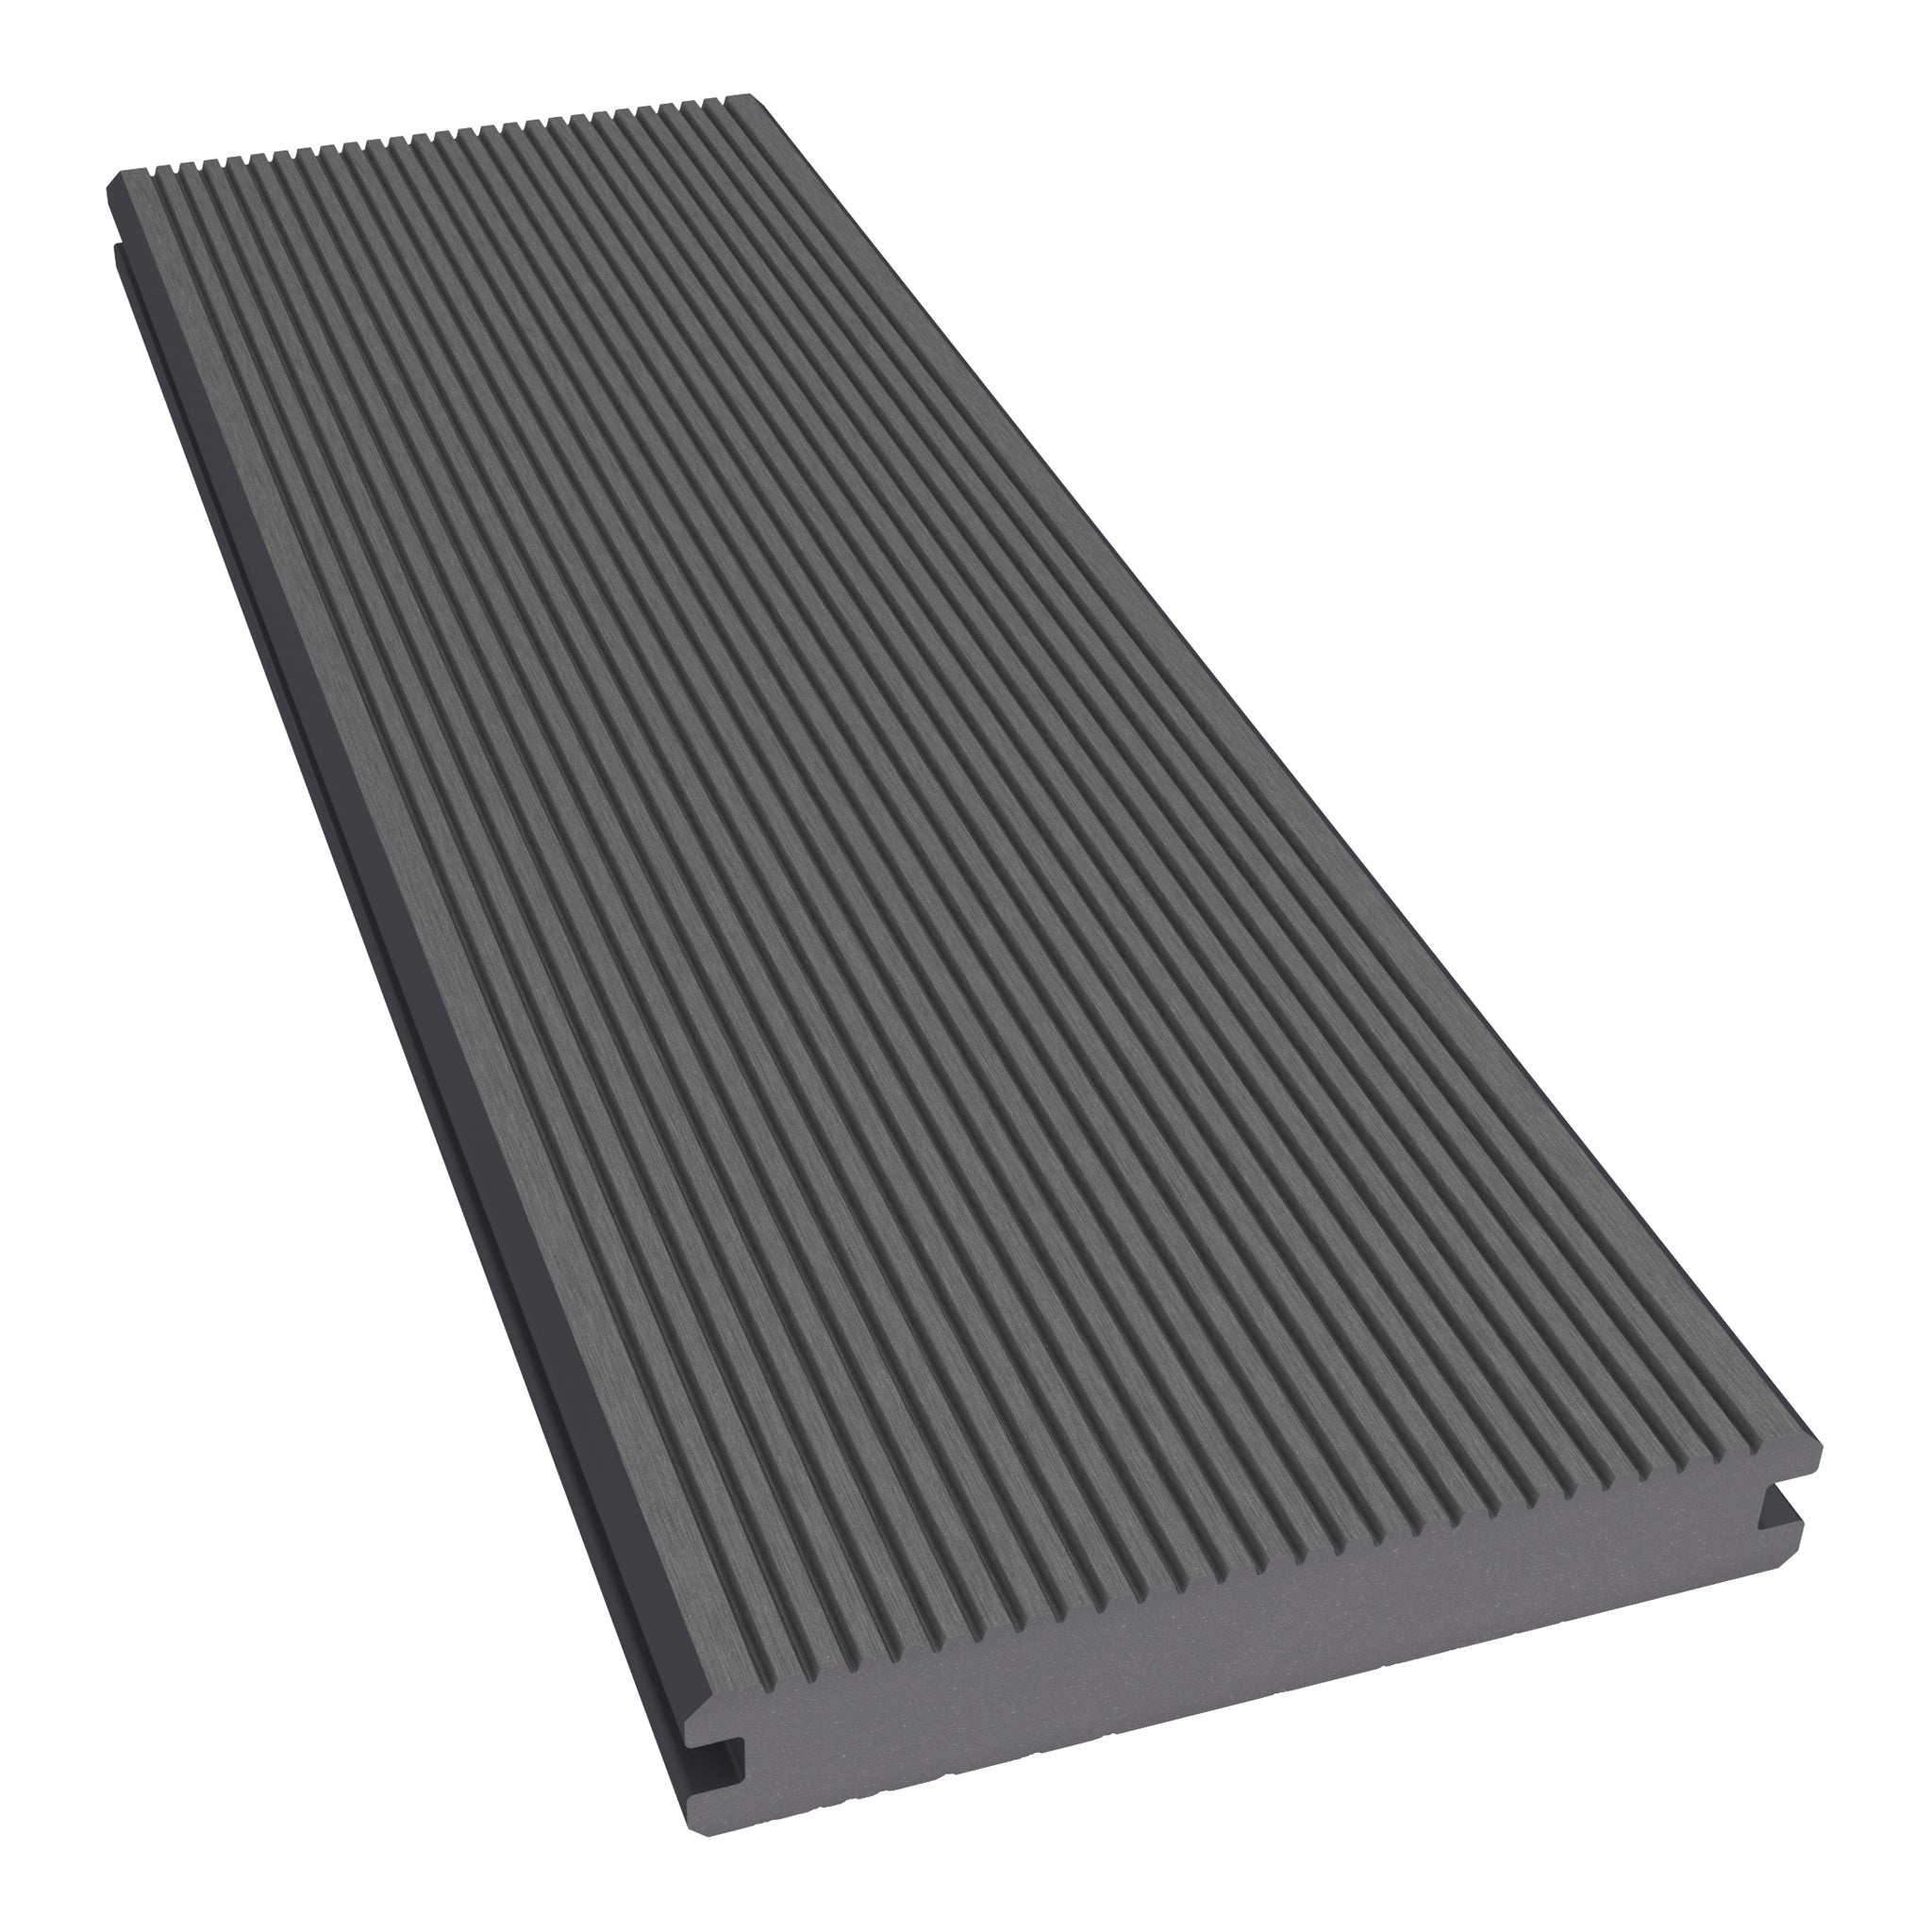
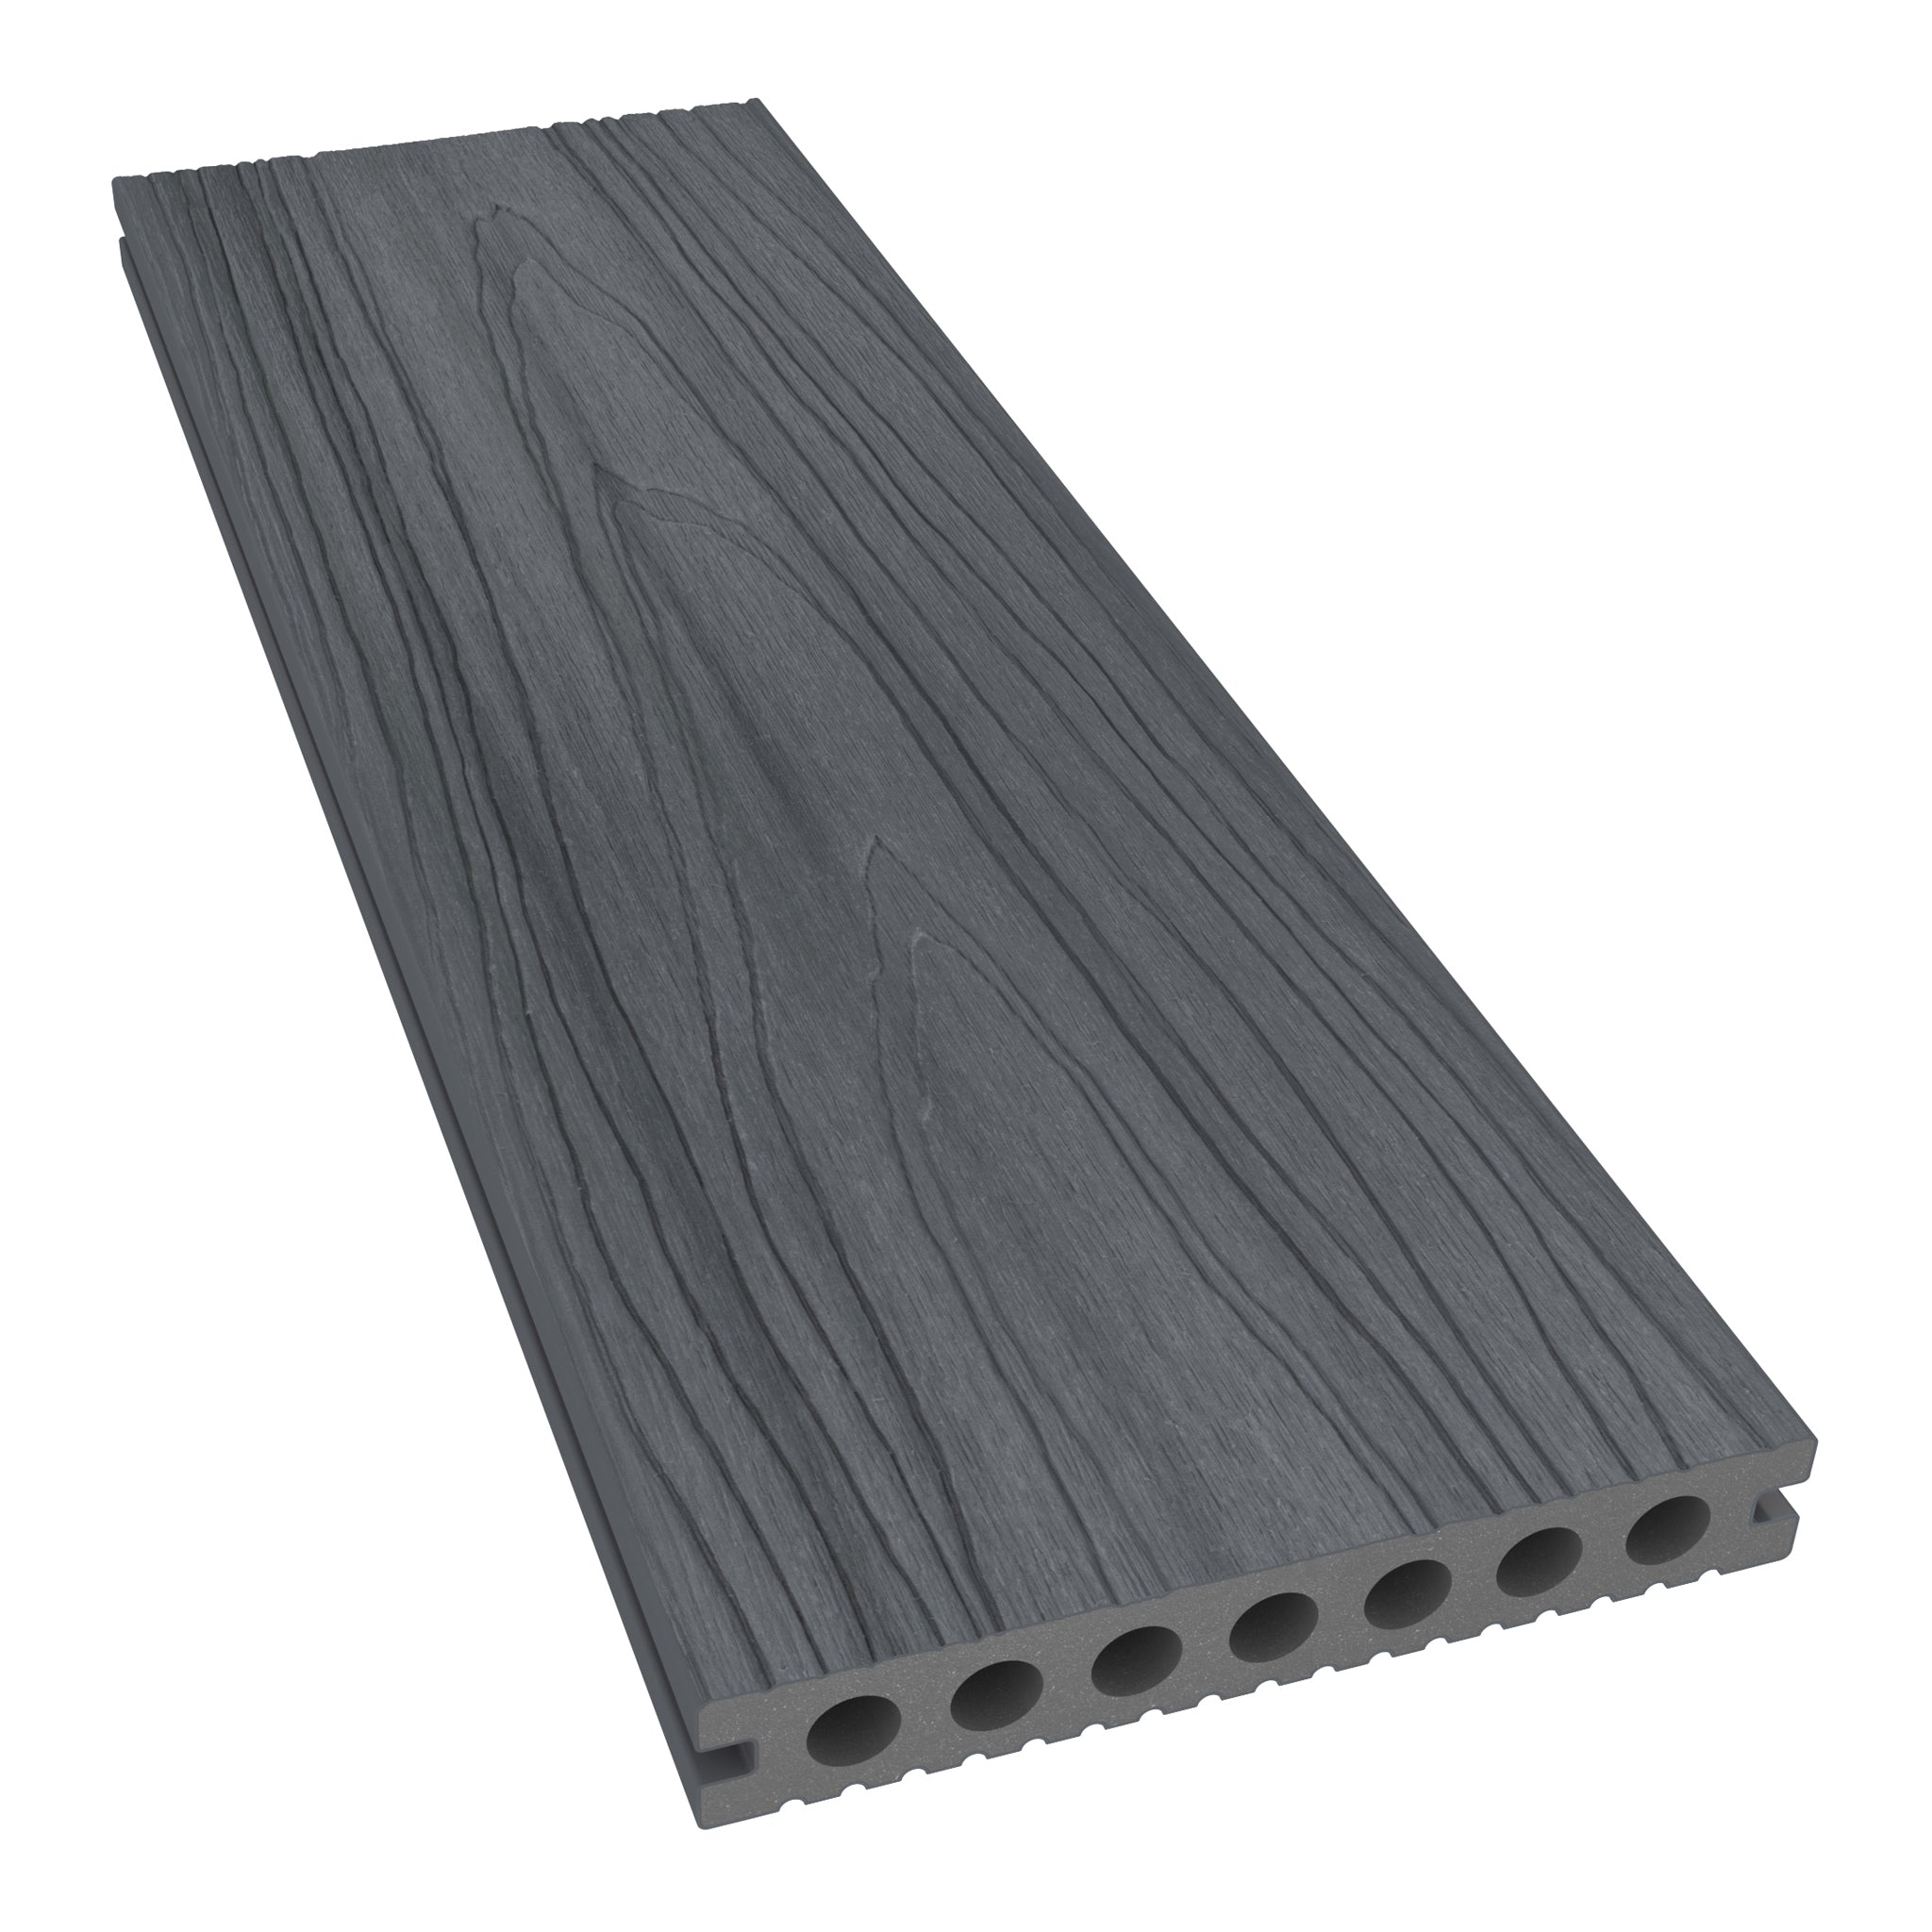
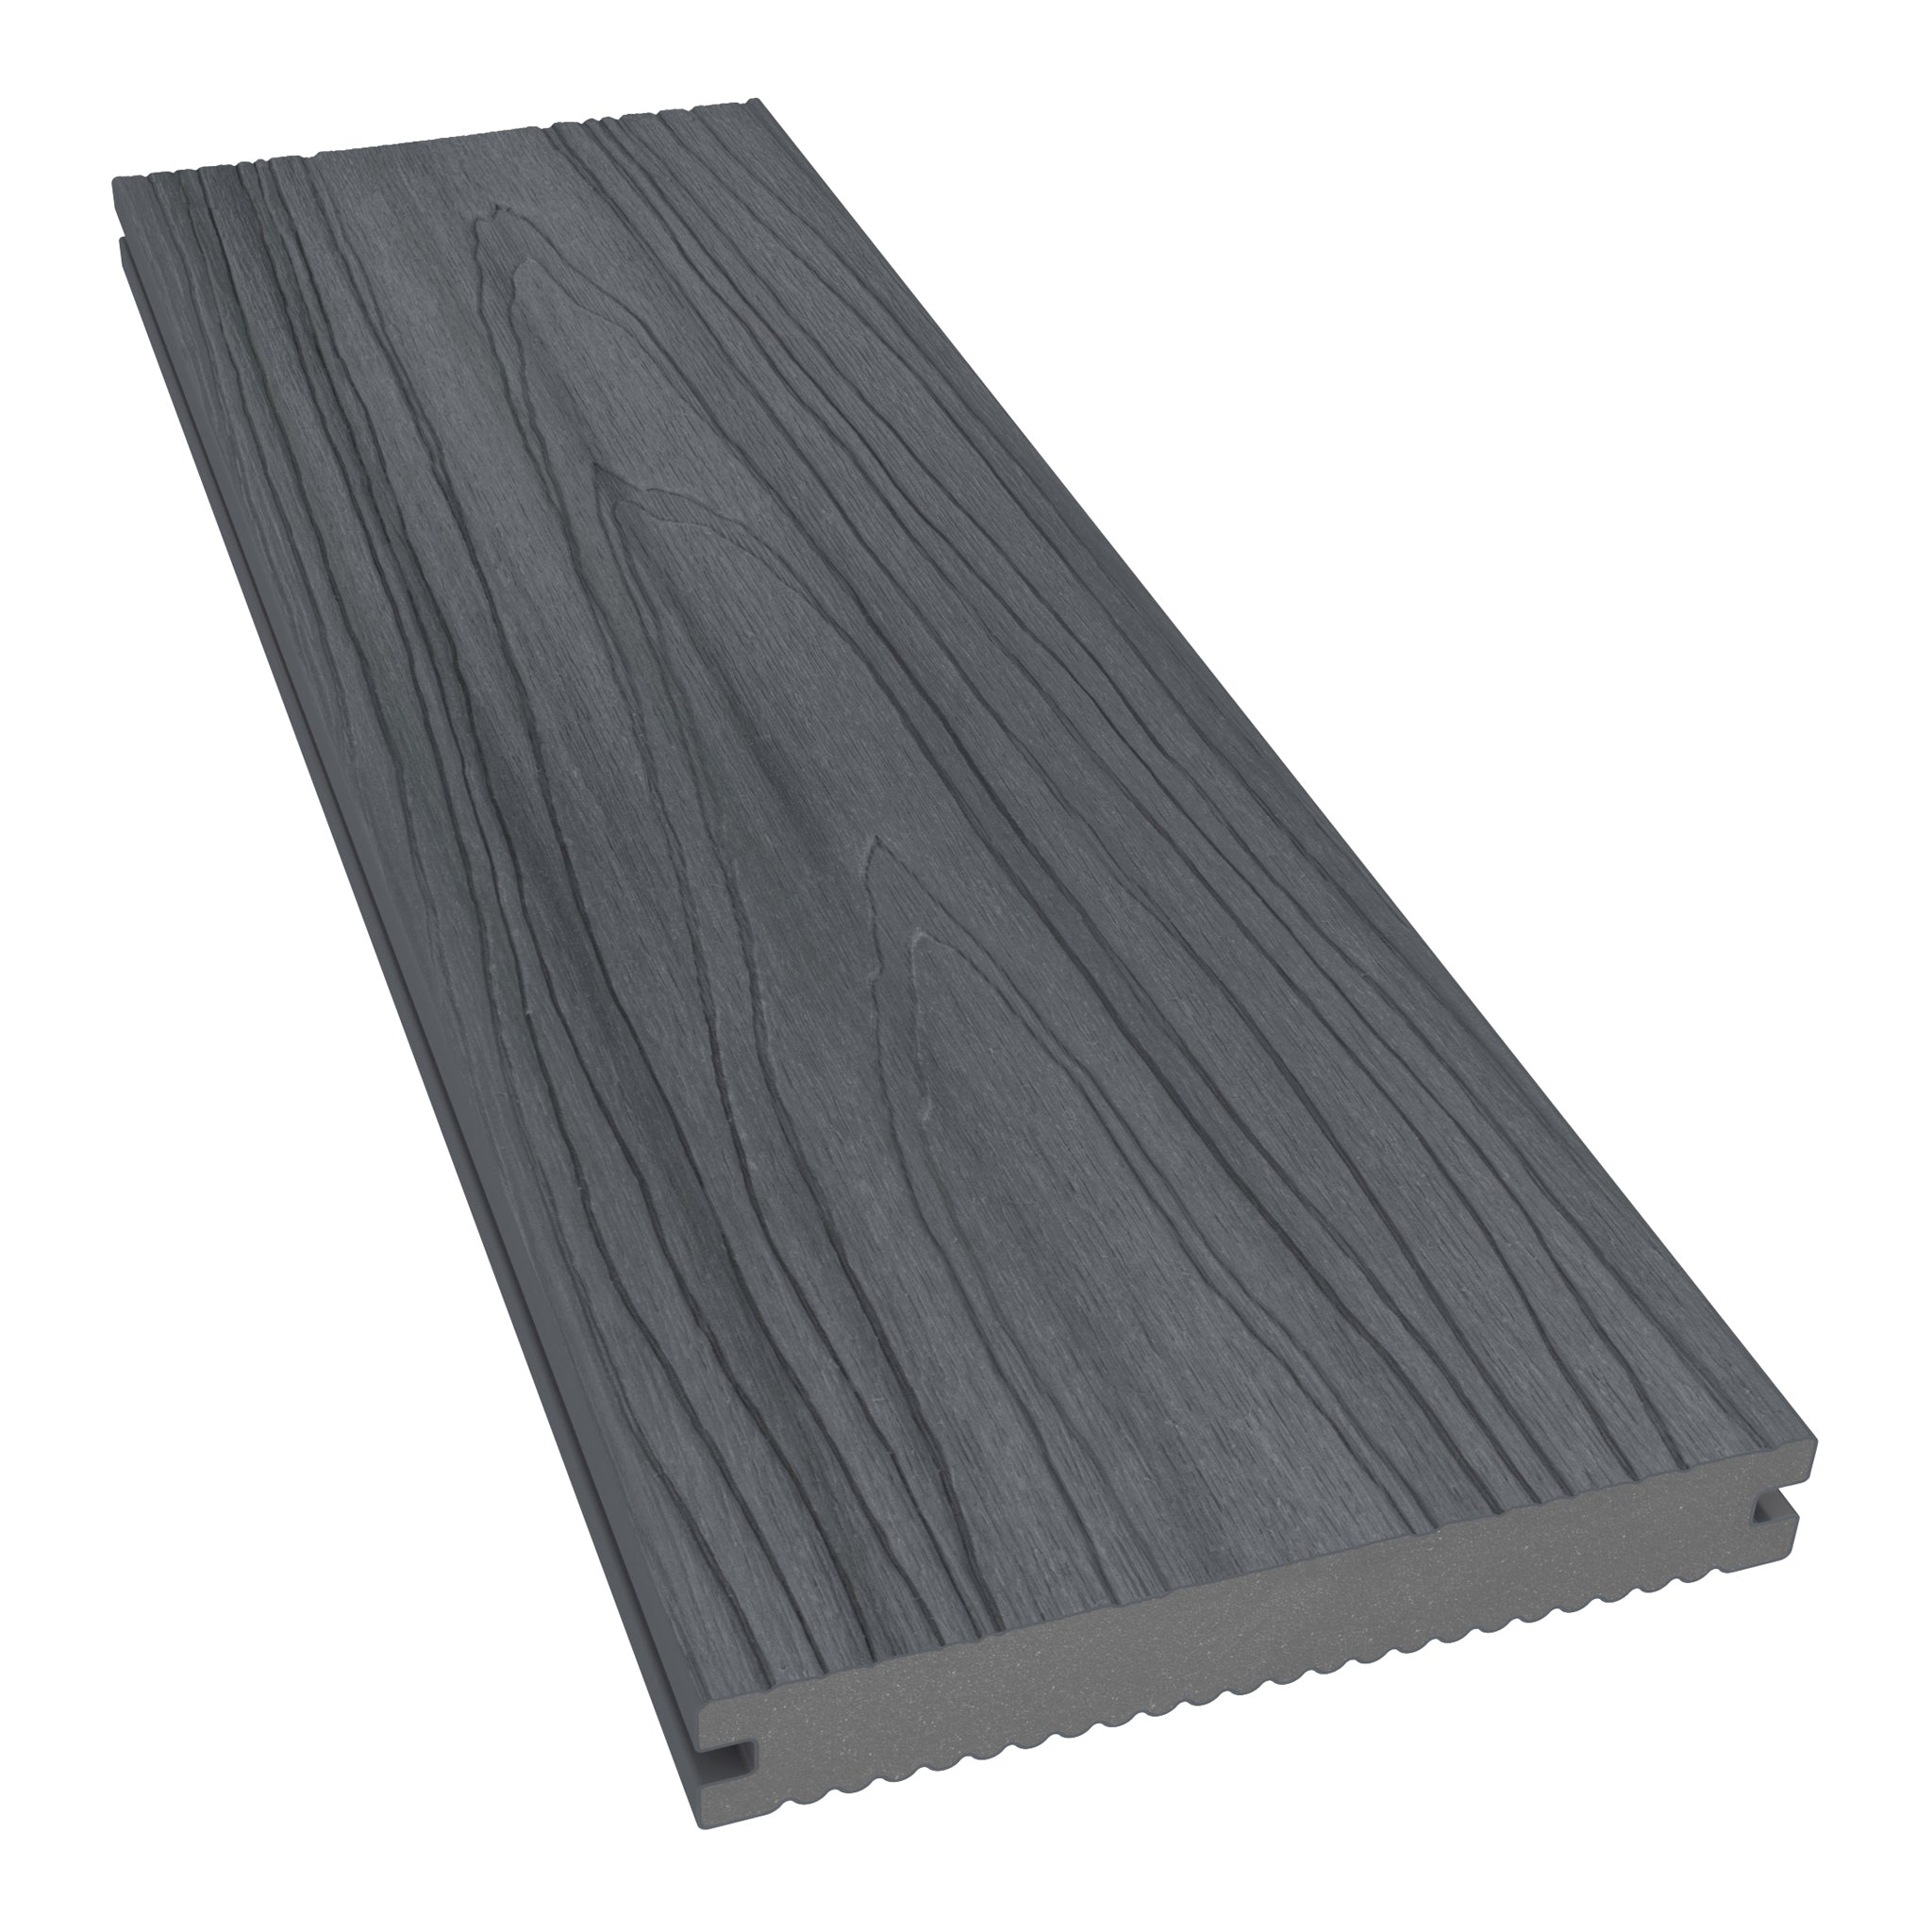
Once your subframe is securely in place, lay your boards over your joist network, following the same principles as outlined in the installing deck boards section. Begin with the first row of boards and work your way down the proposed area using both our Starter Clips and Metal or Plastic FastClips to securely attach the boards to the joists.

Installing Adjustable Decking Pedestals
Ready to achieve a perfectly level, long-lasting deck? Learn the benefits and best practices for installing adjustable decking pedestals to support your NeoTimber® boards with strength and precision. Start your project the right way and enjoy a stable, professional-quality finish.