


For Uneven Ground, Choose Installing Recycled Plastic Joists & Installing Recycled Plastic Posts For A Stable, Long-Lasting Base
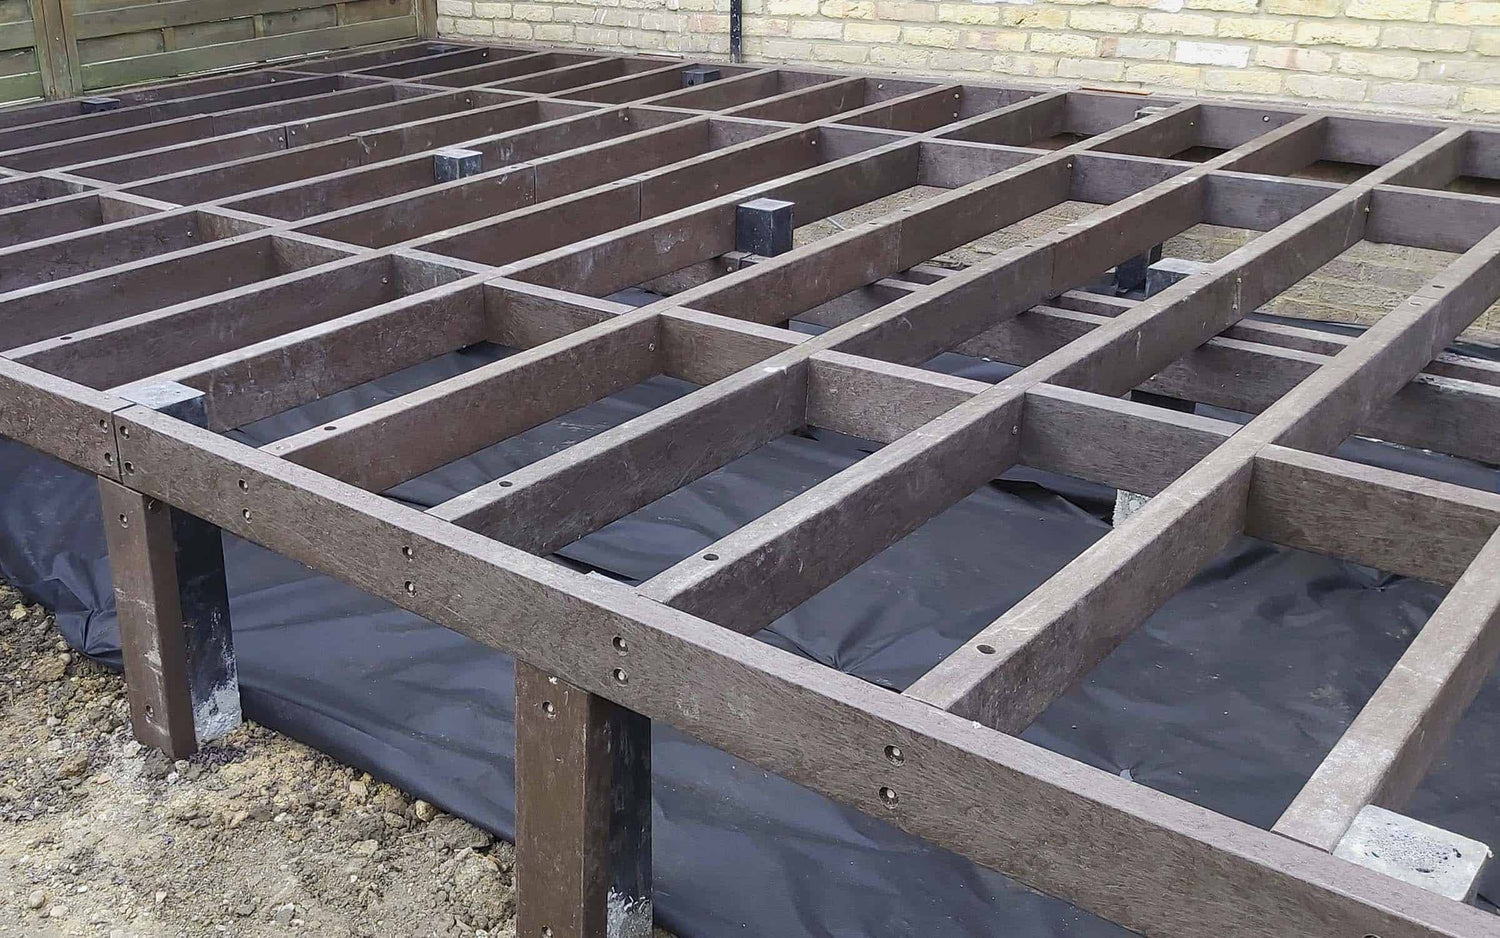
Consisting of a plastic joist and post product - this plastic lumber subframe is effective in areas with sloped and uneven ground, and represents a truly long-life, moisture resistant solution formed entirely from recycled plastic material.
Phase 1: Install A Plastic Post Network
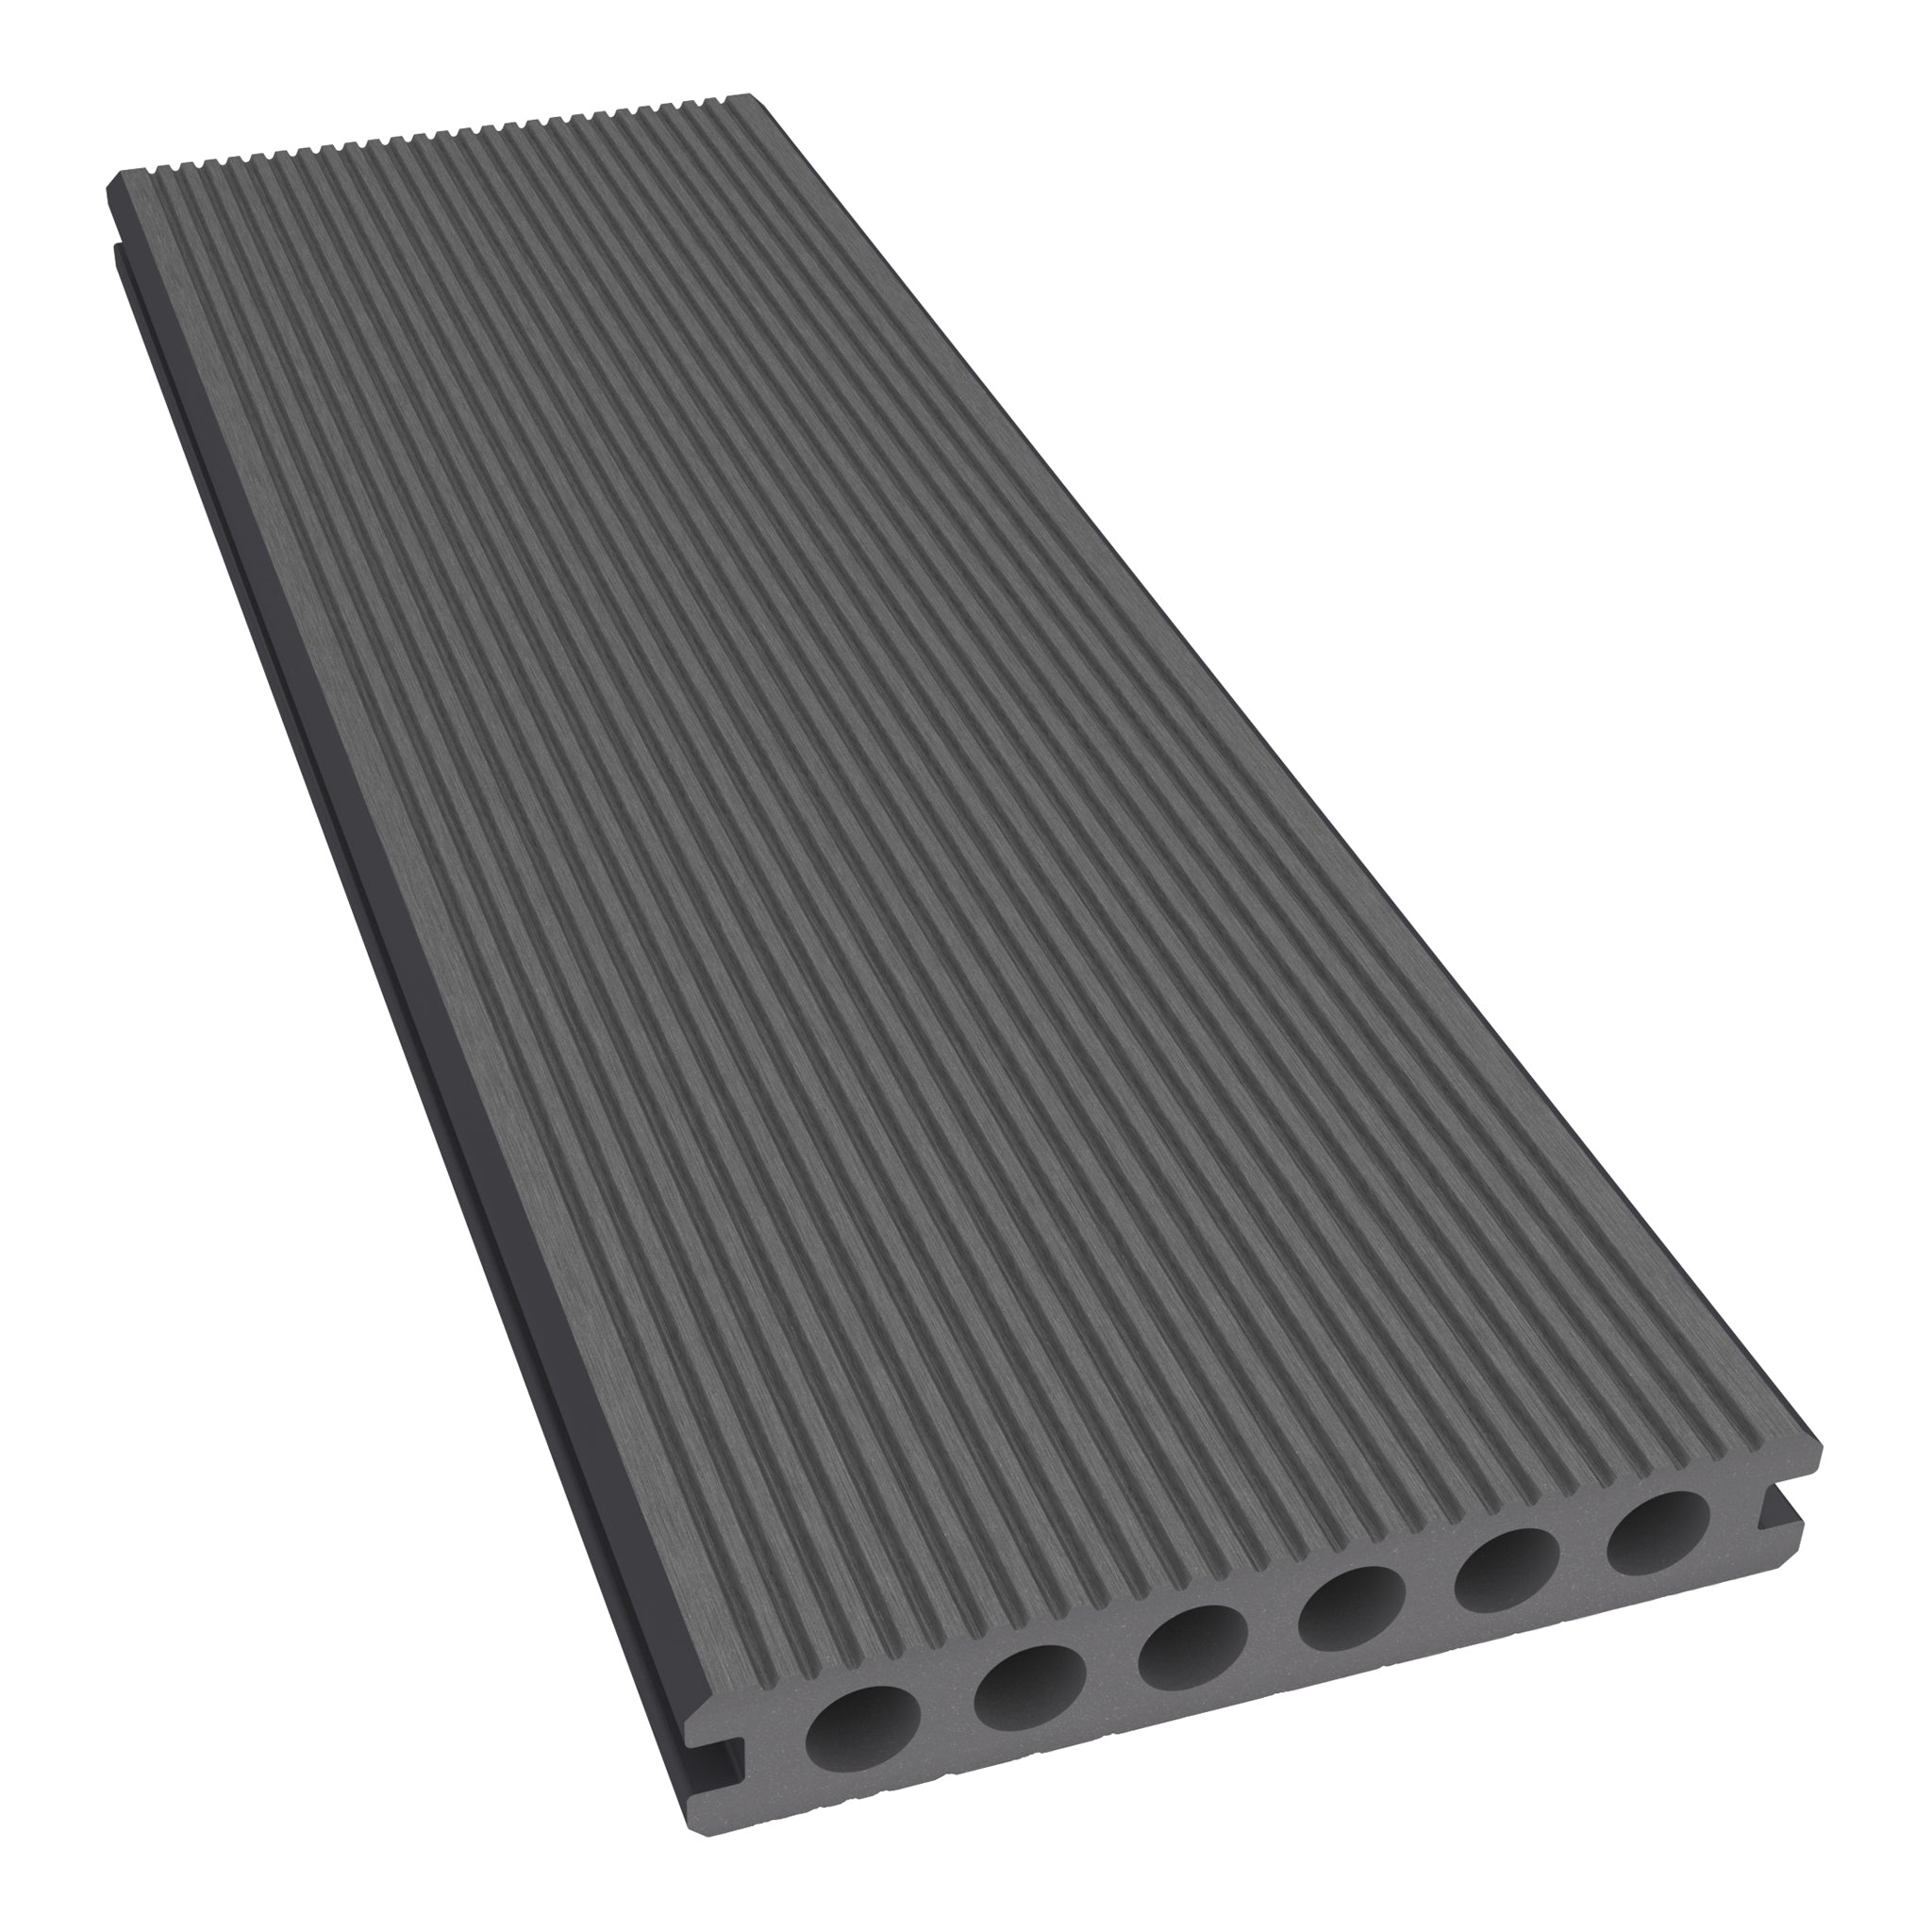
The NeoTimber plastic post system is fixed to a base and elevates the subframe, providing the deck area with a solid framework for which a consistent height can be achieved.
Phase 2: Attach A Bearer Network
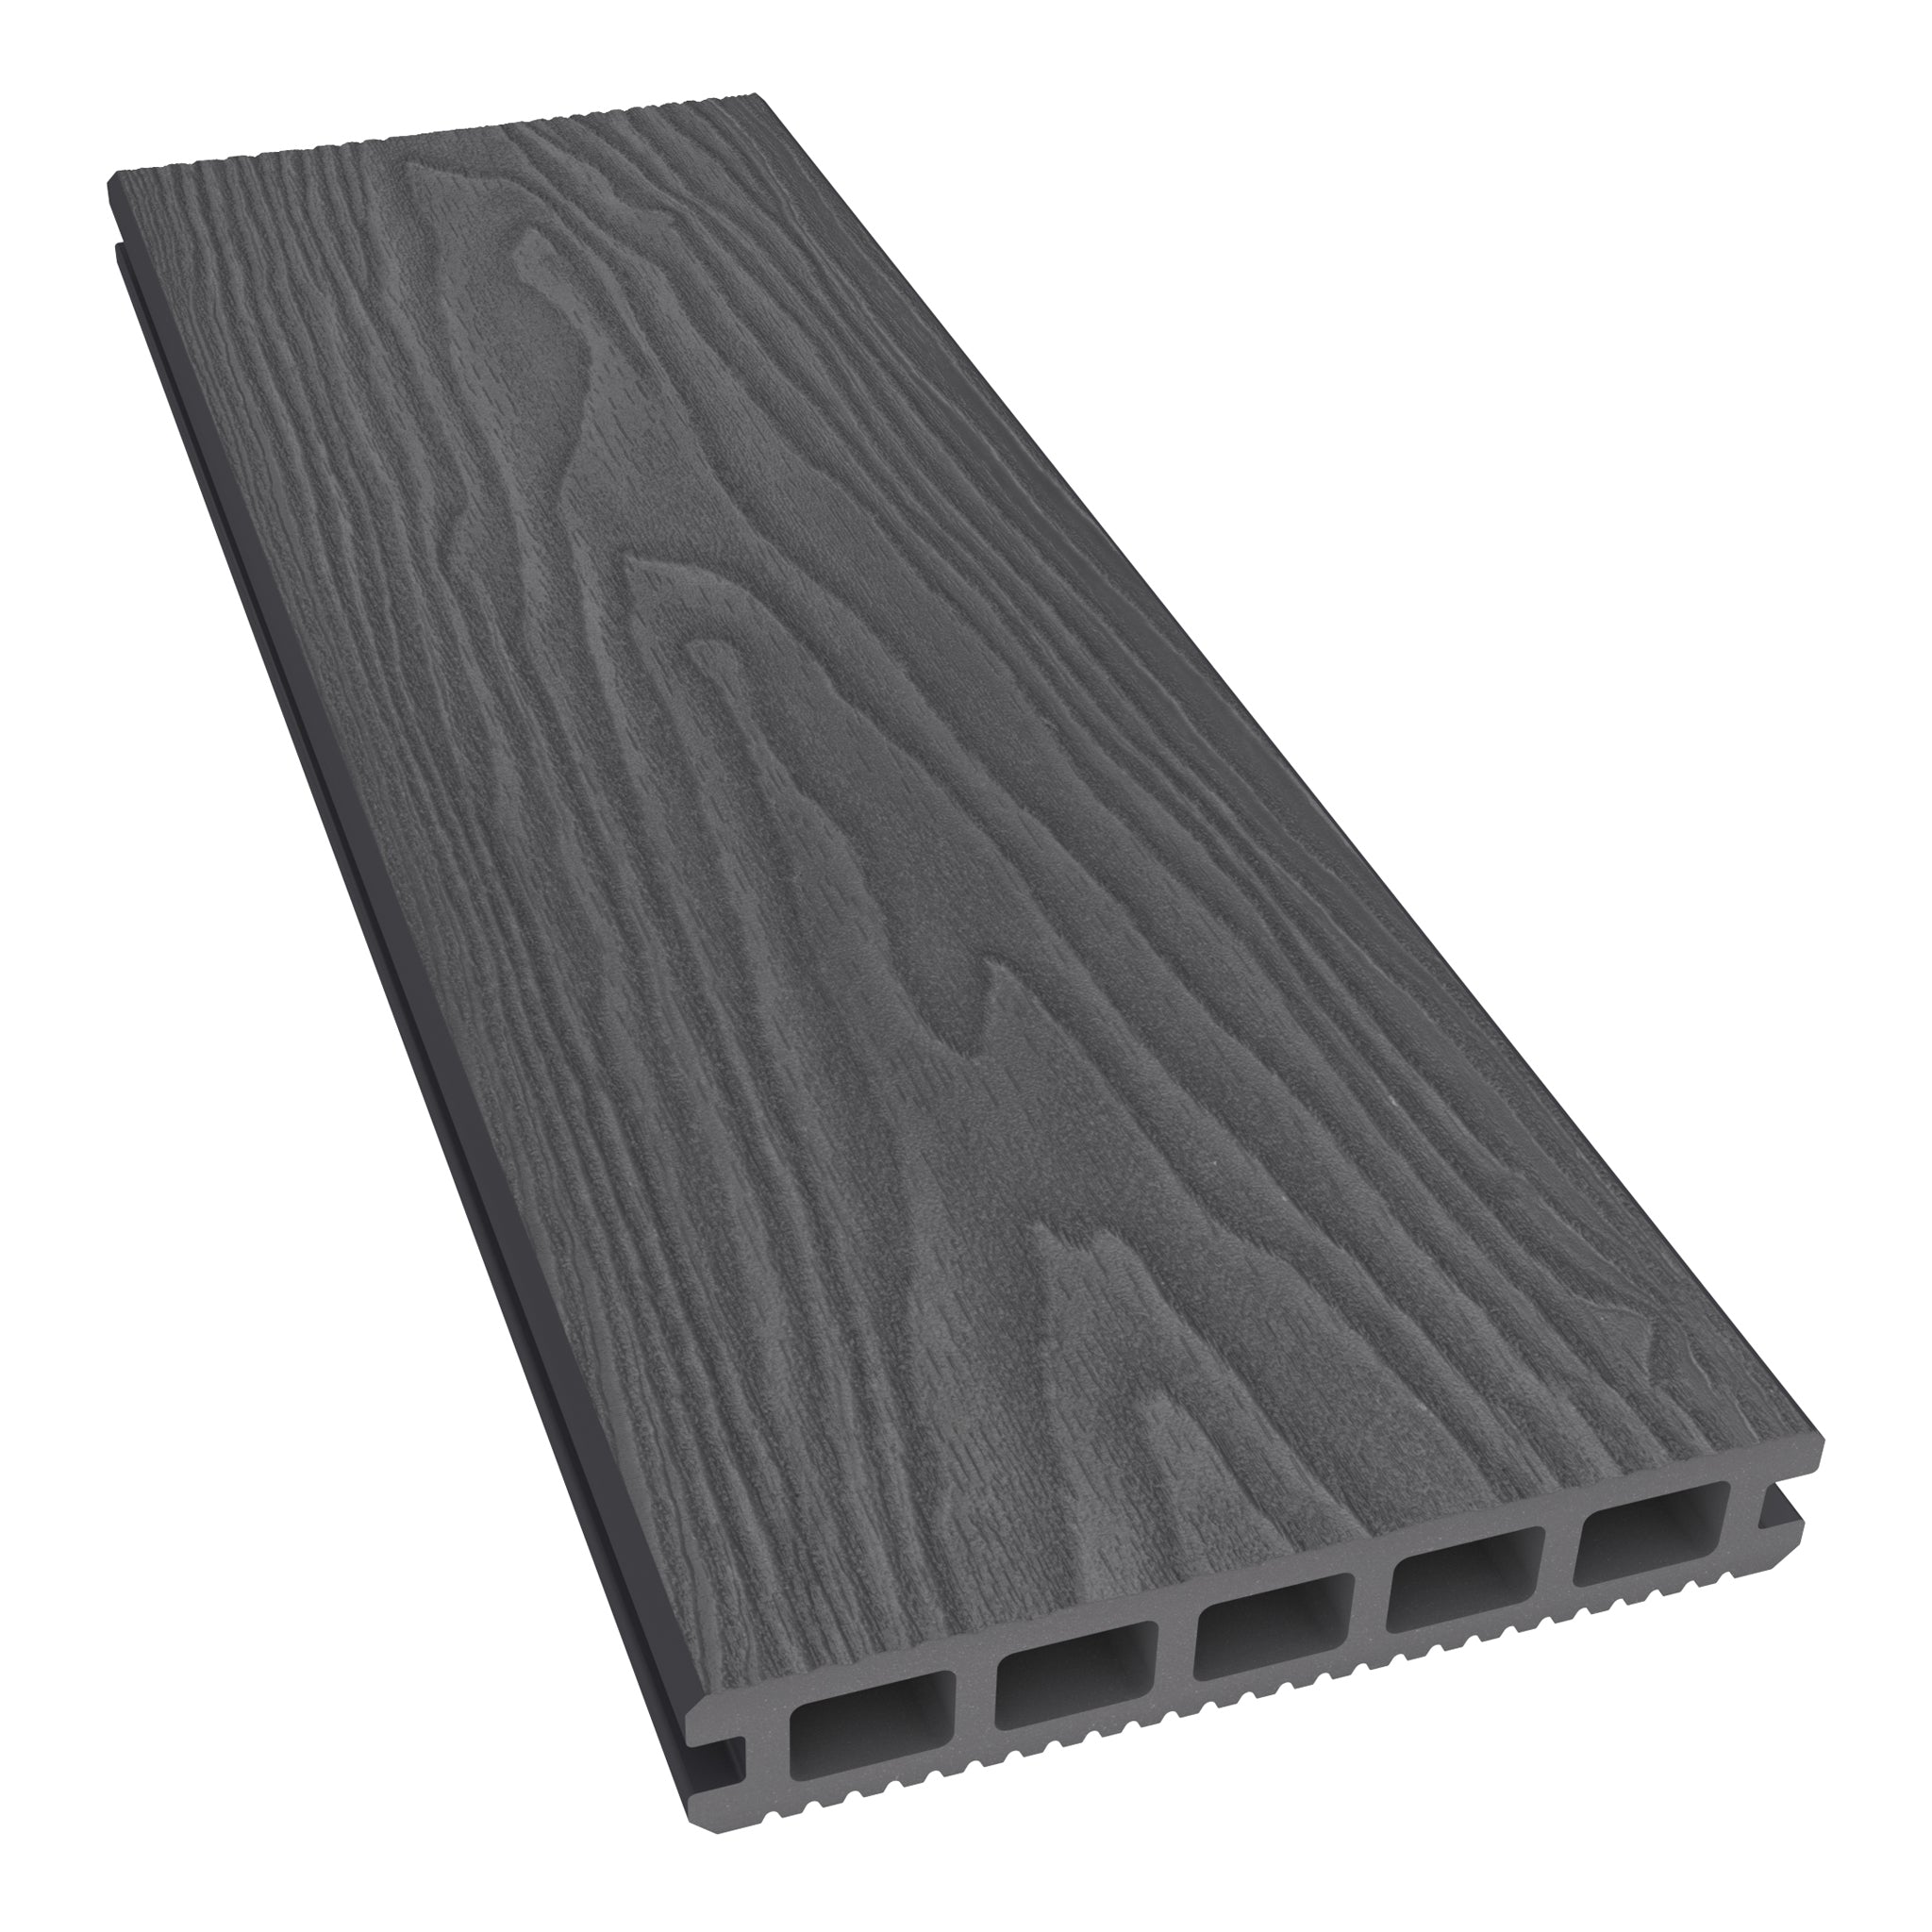
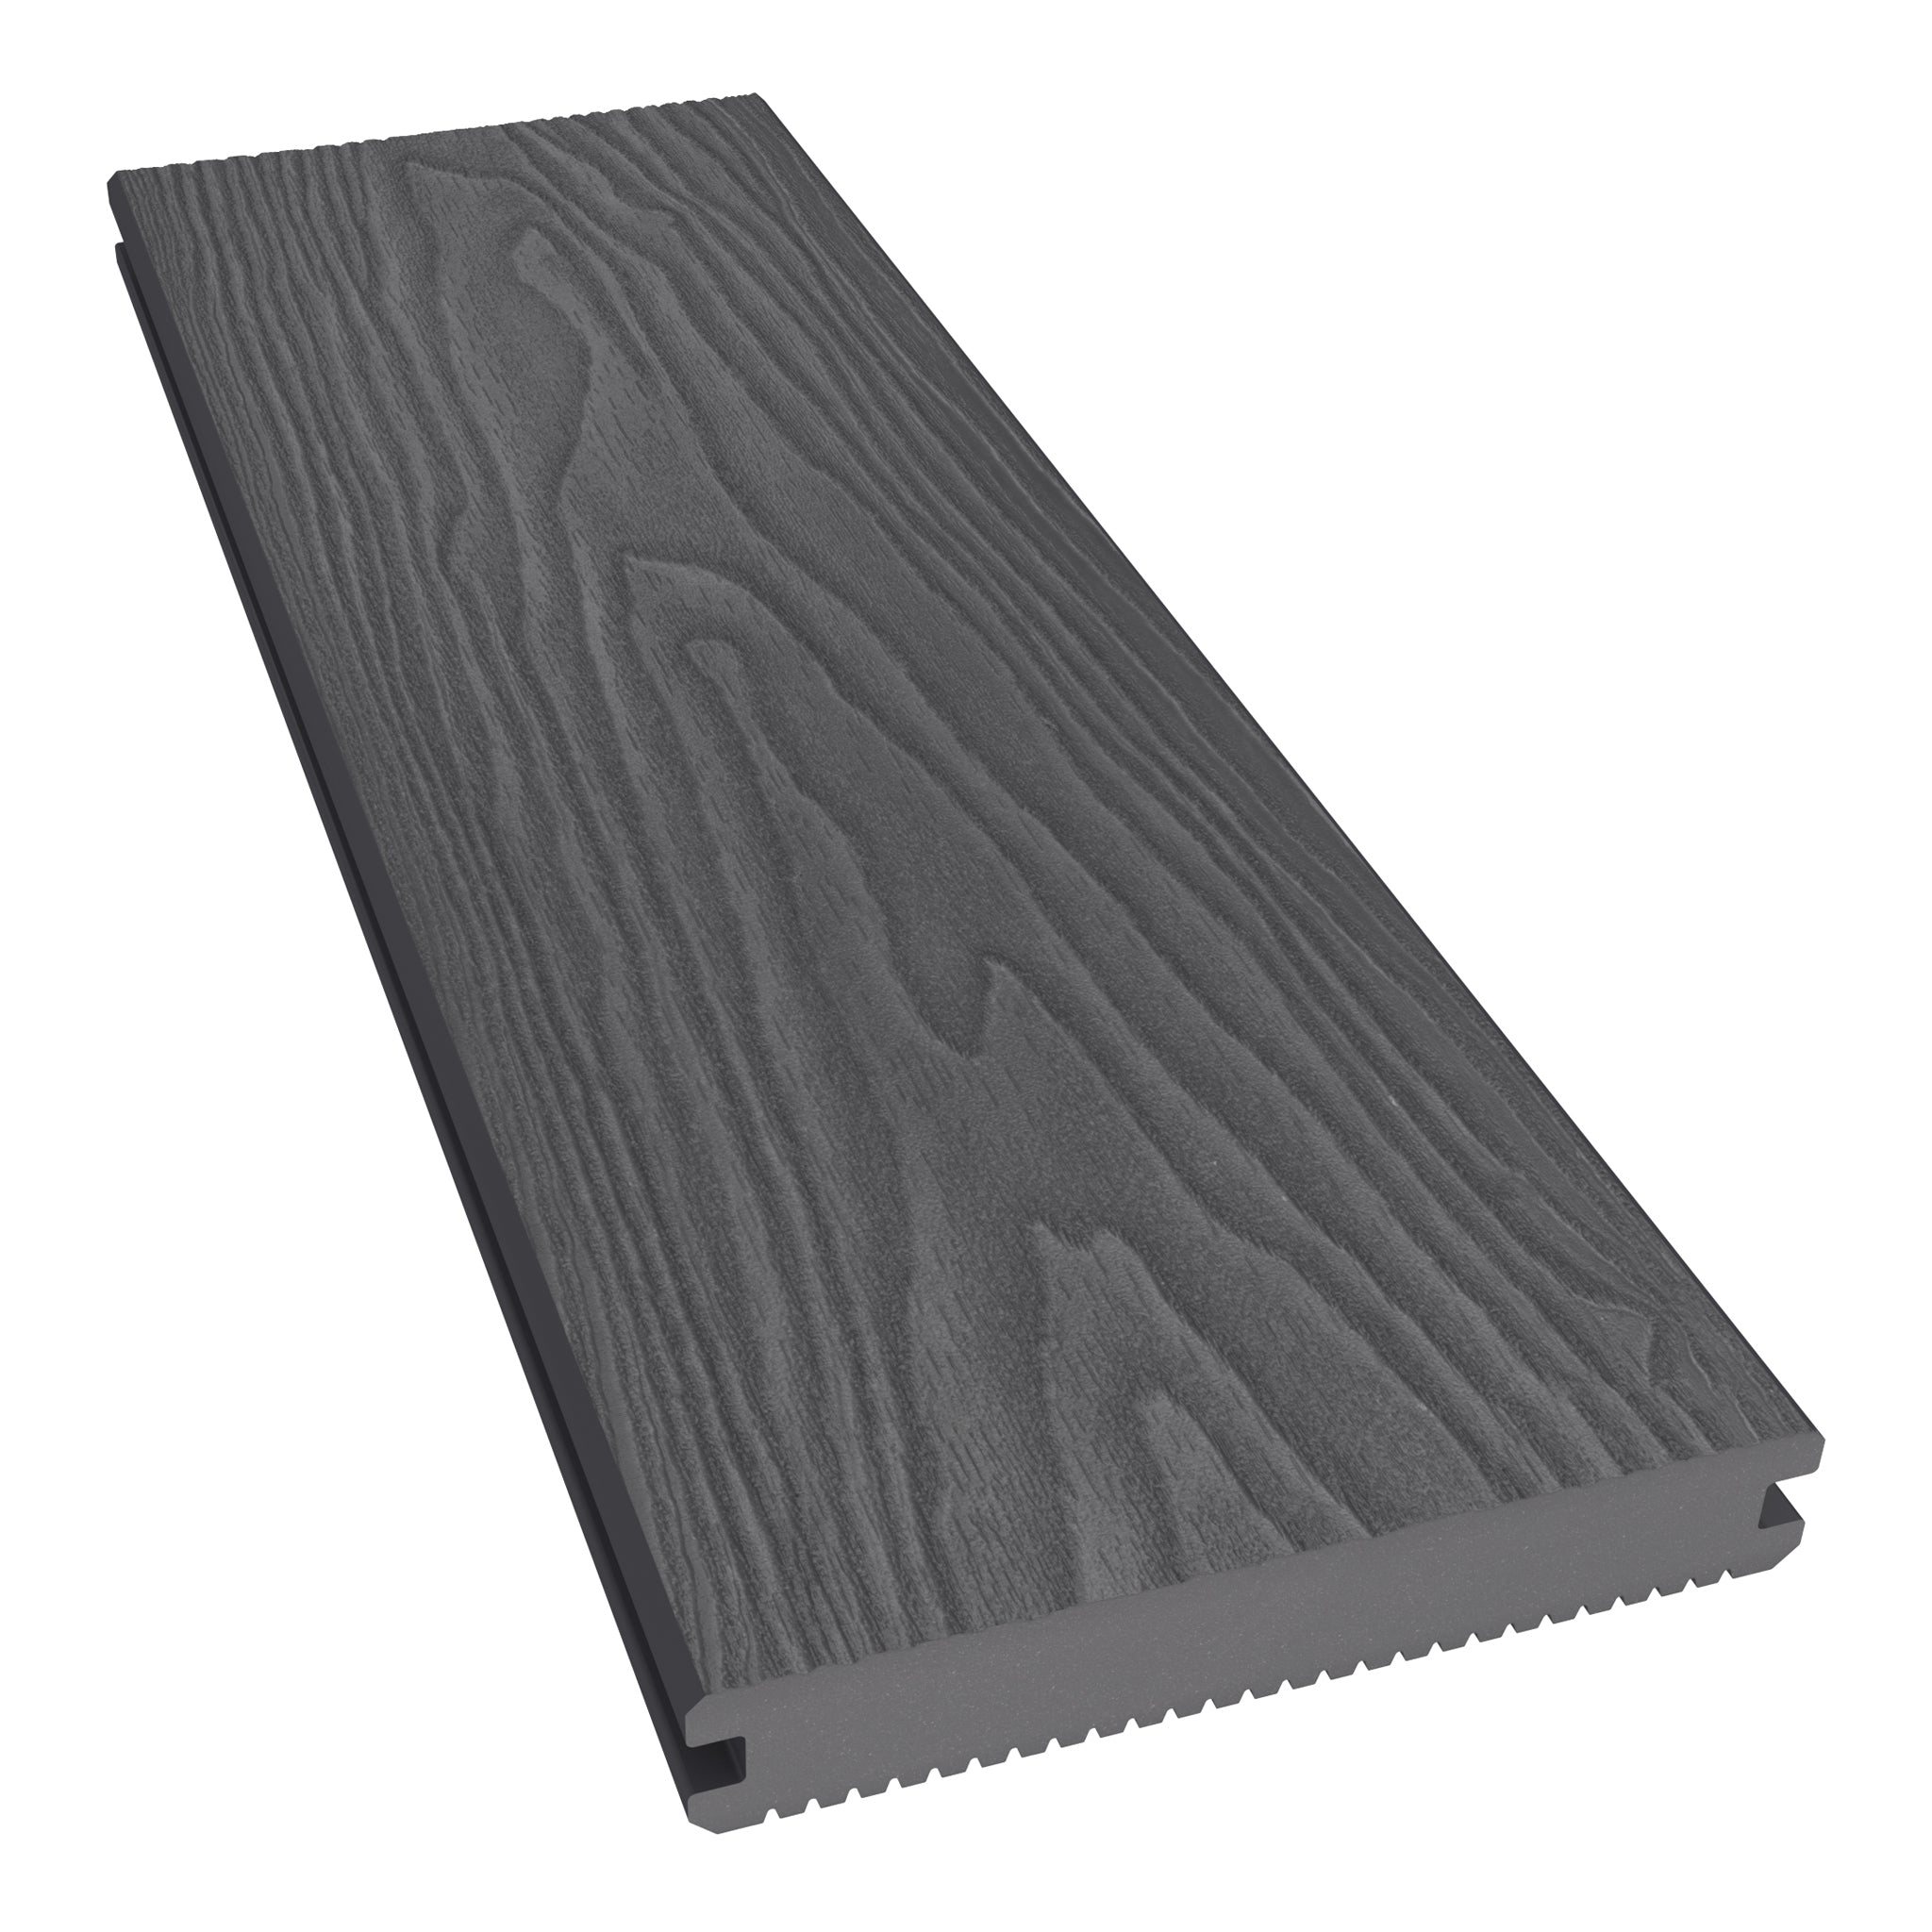
Installing the NeoTimber large plastic joist as a supporting bearer will provide the project with additional structural support.
Phase 3: Fix A Joist Network
The NeoTimber large plastic joist is then laid to form a network for which the NeoTimber decking boards are laid upon. Added noggins can be used for additional structural support.
1. Lay Your Post Network And Secure Into Place
Once your area is clearly outlined, mark a grid-layout and evenly lay your plastic post network. Space the posts at 1,000mm intervals. This is in keeping with the maximum support span of the large plastic joist that will be used to form your cross-bearer and joist network. Fix the posts to your base by forming a hole and cementing them into the ground. A third of the length of the post (or at least 500mm) should be secured under the surface of your base. Ensure the posts remain in an upright position as the concrete sets and that the tops of the posts are level with one another.

2. Laying Plastic Joists To Form A Bearer Network
Form a network of cross-bearers along the length of posts with the large plastic joist, providing a base of structural support for your joist network. When fixing the bearers to the posts, a gap of 125mm should be left above the bearer in order to accommodate for the thickness of the joist.

3. Securing Bearers At Joins
Joining bearers must be supported by a post and an expansion gap of 10mm must be observed. Ensure that joins in joists are supported by double bearers. Use 2 x 6-10mm single thread screws at every intersection between a bearer and post to fix securely. Pre-drill the material with an oversized pilot hole (approximately 3mm).

4. Laying Your Joist Network
Joists should be laid directly onto your bearer network in accordance with the recommended spacings of 250-350mm. Begin by installing the outside joists to the subframe and continue fixing along the decking bearer network.

5. Fixing Your Joists
Fix by screwing diagonally through the joist into the bearer. Use a 6-10mm single thread screw to ensure proper fixing and pre-drill the material with an oversized pilot hole (approximately 3mm). Off-cuts of the plastic joist can be used to form a series of noggins along the length of your joists to offer additional support. When joining two joists, ensure an expansion gap of 10mm is left. Where two boards are expected to meet, ensure sufficient support is provided in the form of a double joist.

Achieve A Strong, Long-Lasting Base By Installing Recycled Plastic Joists & Posts With Confidence
Build a foundation that lasts with our expert guidance on installing recycled plastic joists and installing recycled plastic posts. Whether you're working on uneven terrain or seeking a durable, moisture-resistant solution, our step-by-step instructions help you create a stable, long-term support system for your decking project. Learn the tools, techniques, and best practices that make installation smoother, faster, and more reliable, ensuring your outdoor structure is built to stand the test of time.