


Learn the right way of laying composite decking with NeoTimber’s comprehensive installation user guide.
Decking projects come in all shapes and sizes and there is very rarely a “one size fits all” solution to your decking requirements. Laying composite decking can therefore sometimes feel like an uphill battle, but we want to assure you that decking installation really doesn’t need to be so complicated.
In fact, there are only a few key principles you need to stick by in order to achieve a deck that is professionally installed and will ensure you get full use out of your NeoTimber® composite decking material.
Our definitive guide to laying composite decking is a foolproof user guide designed to provide you with all the tips, considerations and guidelines you will require to tackle your next composite decking install with ease.
The guide will cover all elements from your subframe, to fixing the boards, through to applying the finishing touches with edging options. We hope this guide will be your first port of call when you want an introduction on how to lay composite decking, the NeoTimber® way.
Composite Decking Subframe Considerations
The old saying goes that the foolish man builds his house on sand and this analogy rings true when approaching composite decking subframe builds. A strong, well-planned subframe is the cornerstone of any good decking project.
Trust us, we have seen our fair share of subframe horror shows in the past to know that certain elements must be considered when creating your decking subframe.

As we alluded to earlier in the article, there is no hard and fast way to lay the ideal composite decking subframe… they come in all shapes and sizes, environments and designs.
Below, we have highlighted some of the key composite decking subframe considerations for you to take into your next build...
Opting For The Correct Subframe Material For Your Space
There are a series of different materials you can consider when choosing the subframe for your decking space, and the material you choose won’t necessarily impact your warranty. While timber remains a widely used building material for subframes, alternative materials such as metal (both steel and aluminium), recycled plastic, and composite are being widely adopted due to their long-life properties.
While all of these materials are suitable to be installed with our NeoTimber® composite decking, your choice depends on the space, your budget and how long you want the deck frame to last.

Pressure-treated timber is the most commonly used material for decking subframes. It is flexible, affordable and easy to obtain. However, it is not without its pitfalls — and we often argue that it can be counter-intuitive to lay a long-life composite decking board onto a subframe that may rot and degrade in strength over time.
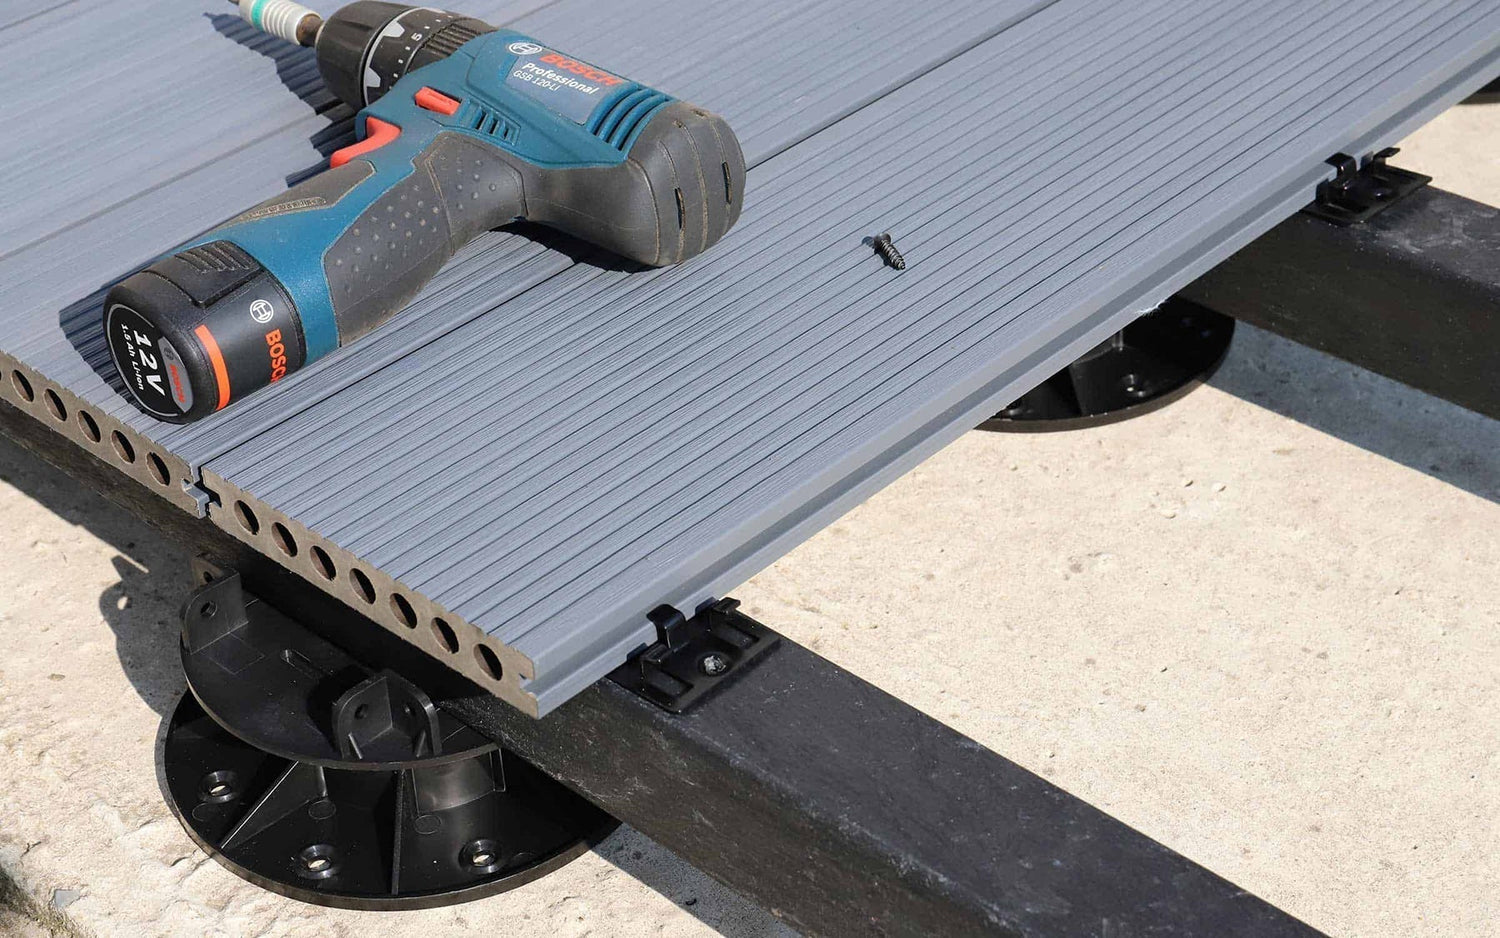
NeoTimber® offers a range of recycled plastic and composite subframe options, including our plastic lumber range and our adjustable pedestal system.
NeoTimber’s Core Subframe Installation Principles
No matter the subframe material you choose, there are some key installation elements worth considering when laying your subframe:
1) - Allow For Adequate Ventilation
Unobstructed airflow beneath the deck ensures even expansion and contraction of the composite deck boards and helps minimise trapped moisture.
2) - Allow For The Correct Level Of Drainage
We recommend incorporating a 1% drainage slope across your subframe to encourage water runoff and prevent pooling on the deck or joists below.
3) - Allow For Correct Joist Centres
Joist centres of 250–350mm will ensure proper support for NeoTimber® boards and maintain your warranty.
4) - Accommodate Additional Design Features
Some decking layouts require adjustments to your subframe design:
Joining Boards At Butt Joins
Double joisting is required wherever boards meet end-to-end.
Incorporating A Picture Frame
Double joist the perimeter to support picture frame boards.
Laying Diagonal Runs
Diagonal decking requires tighter joist centres — always 250mm.

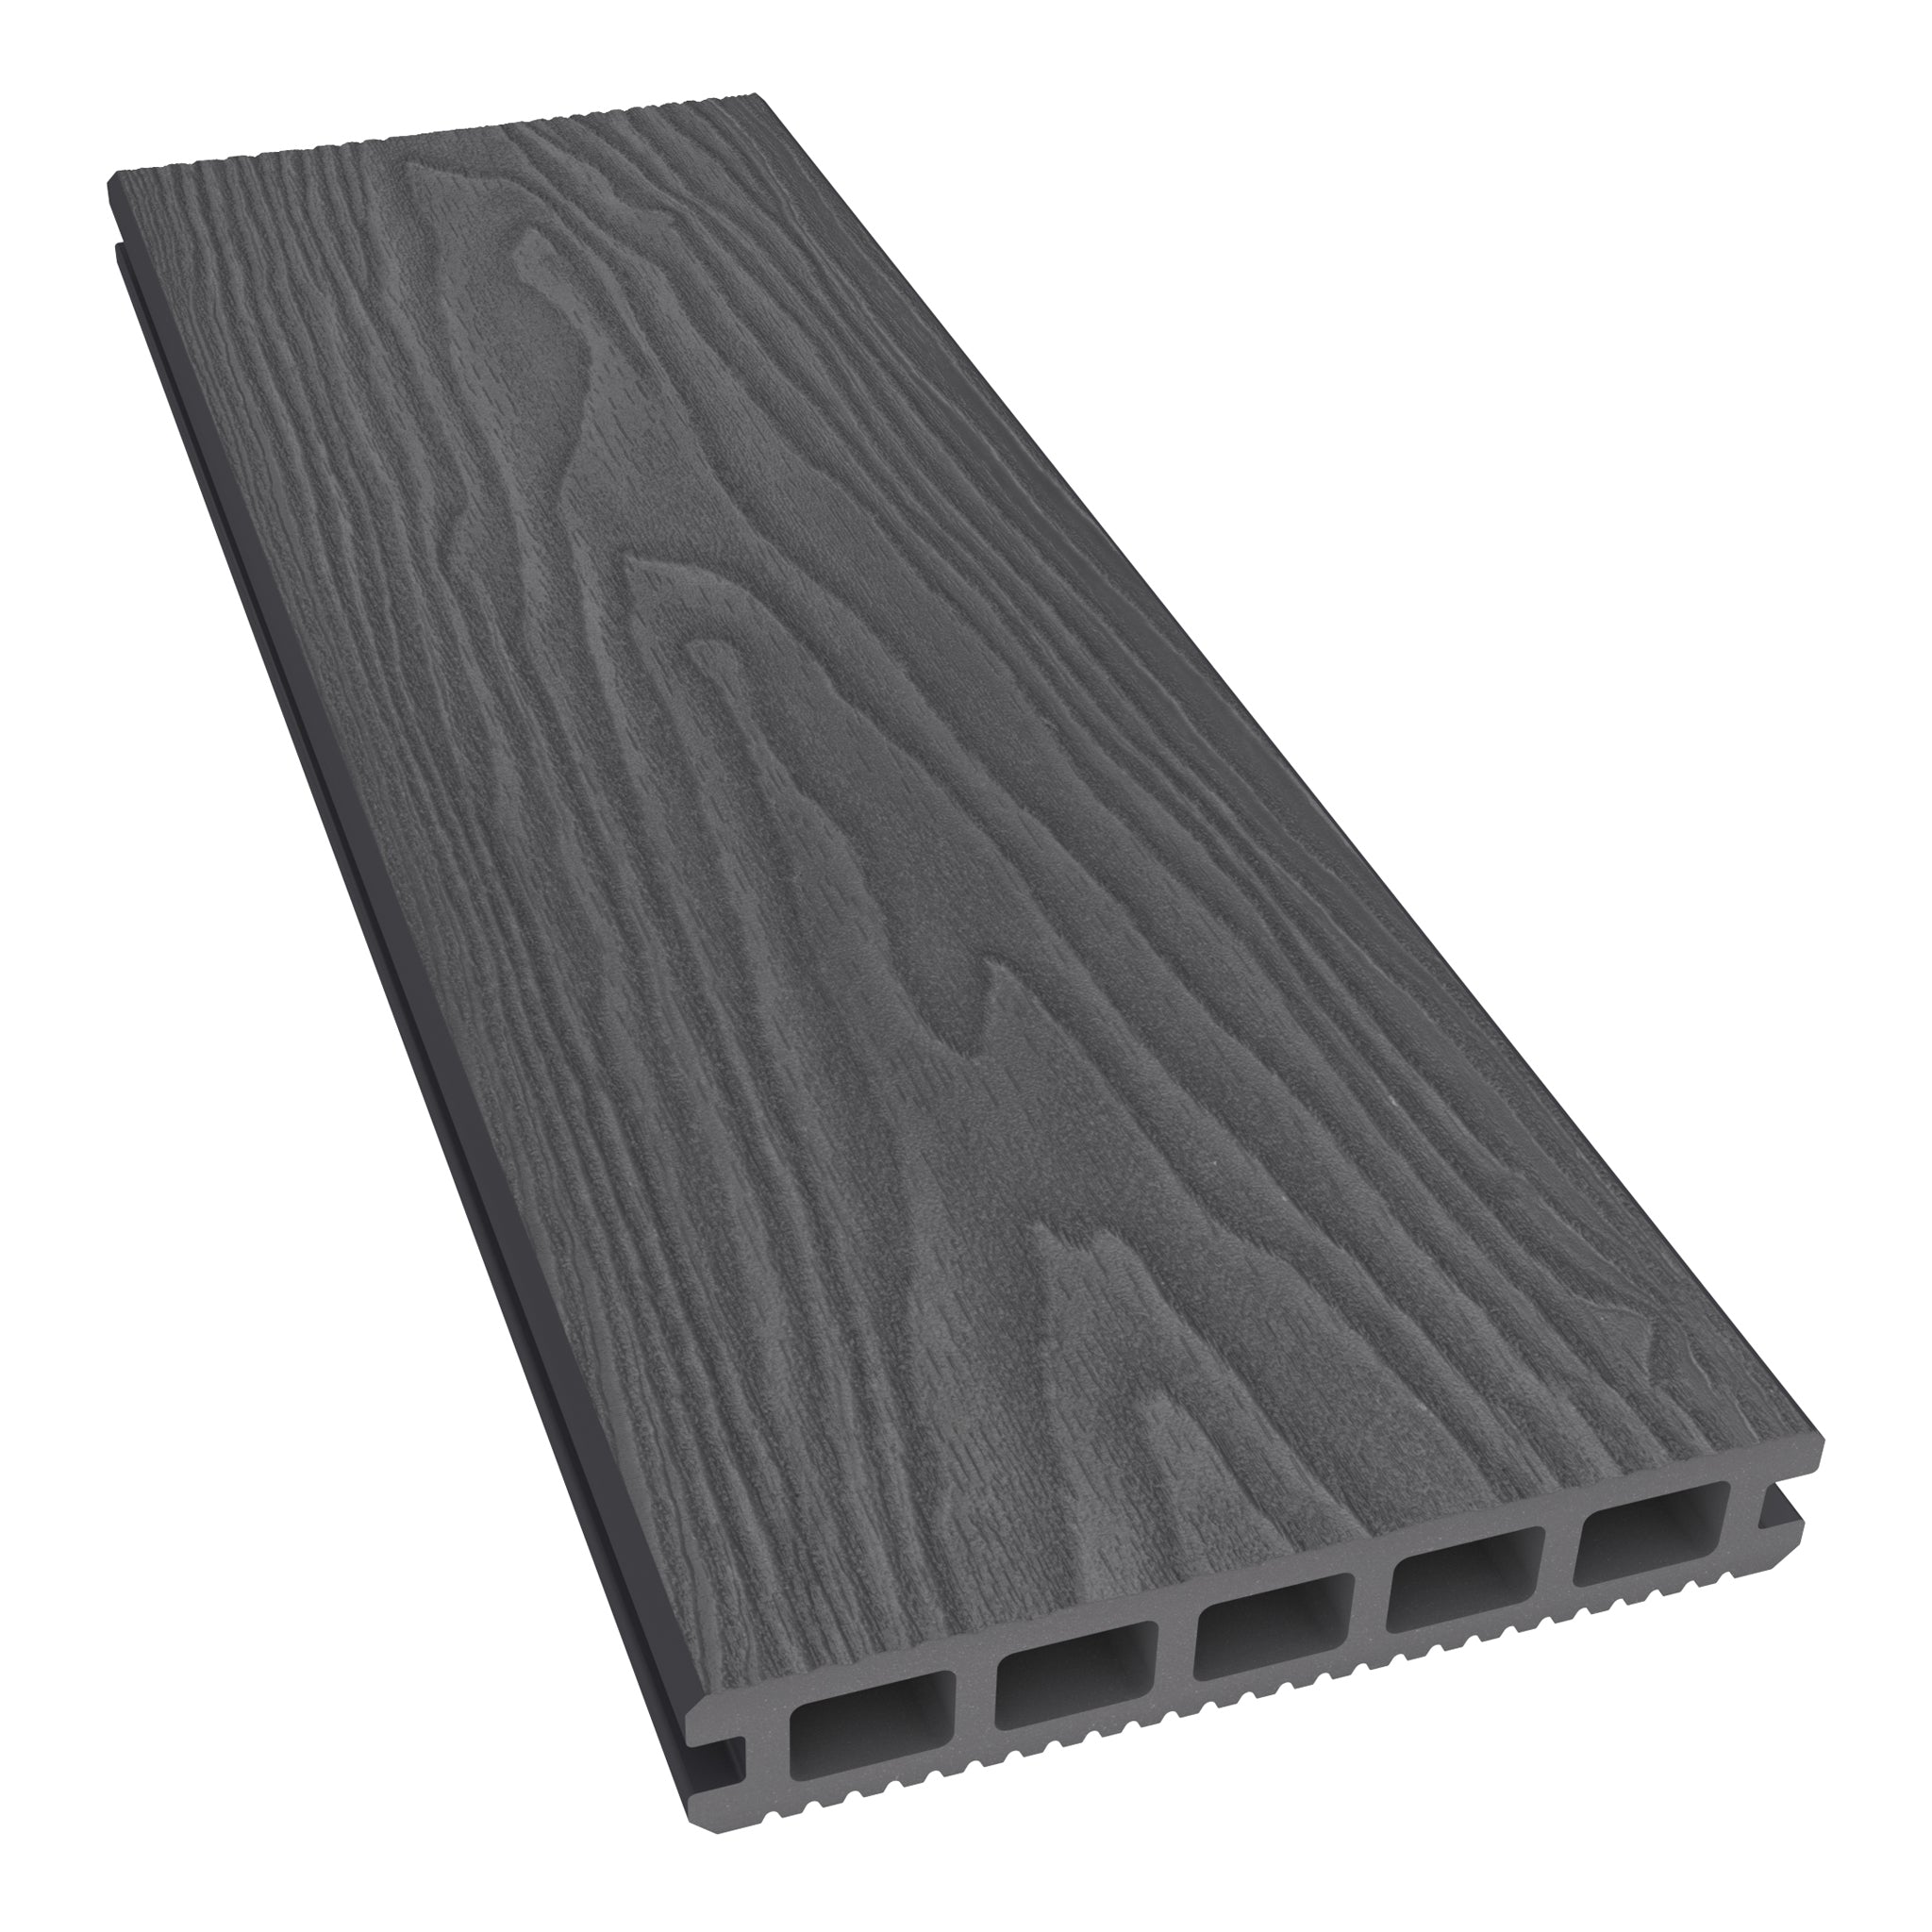
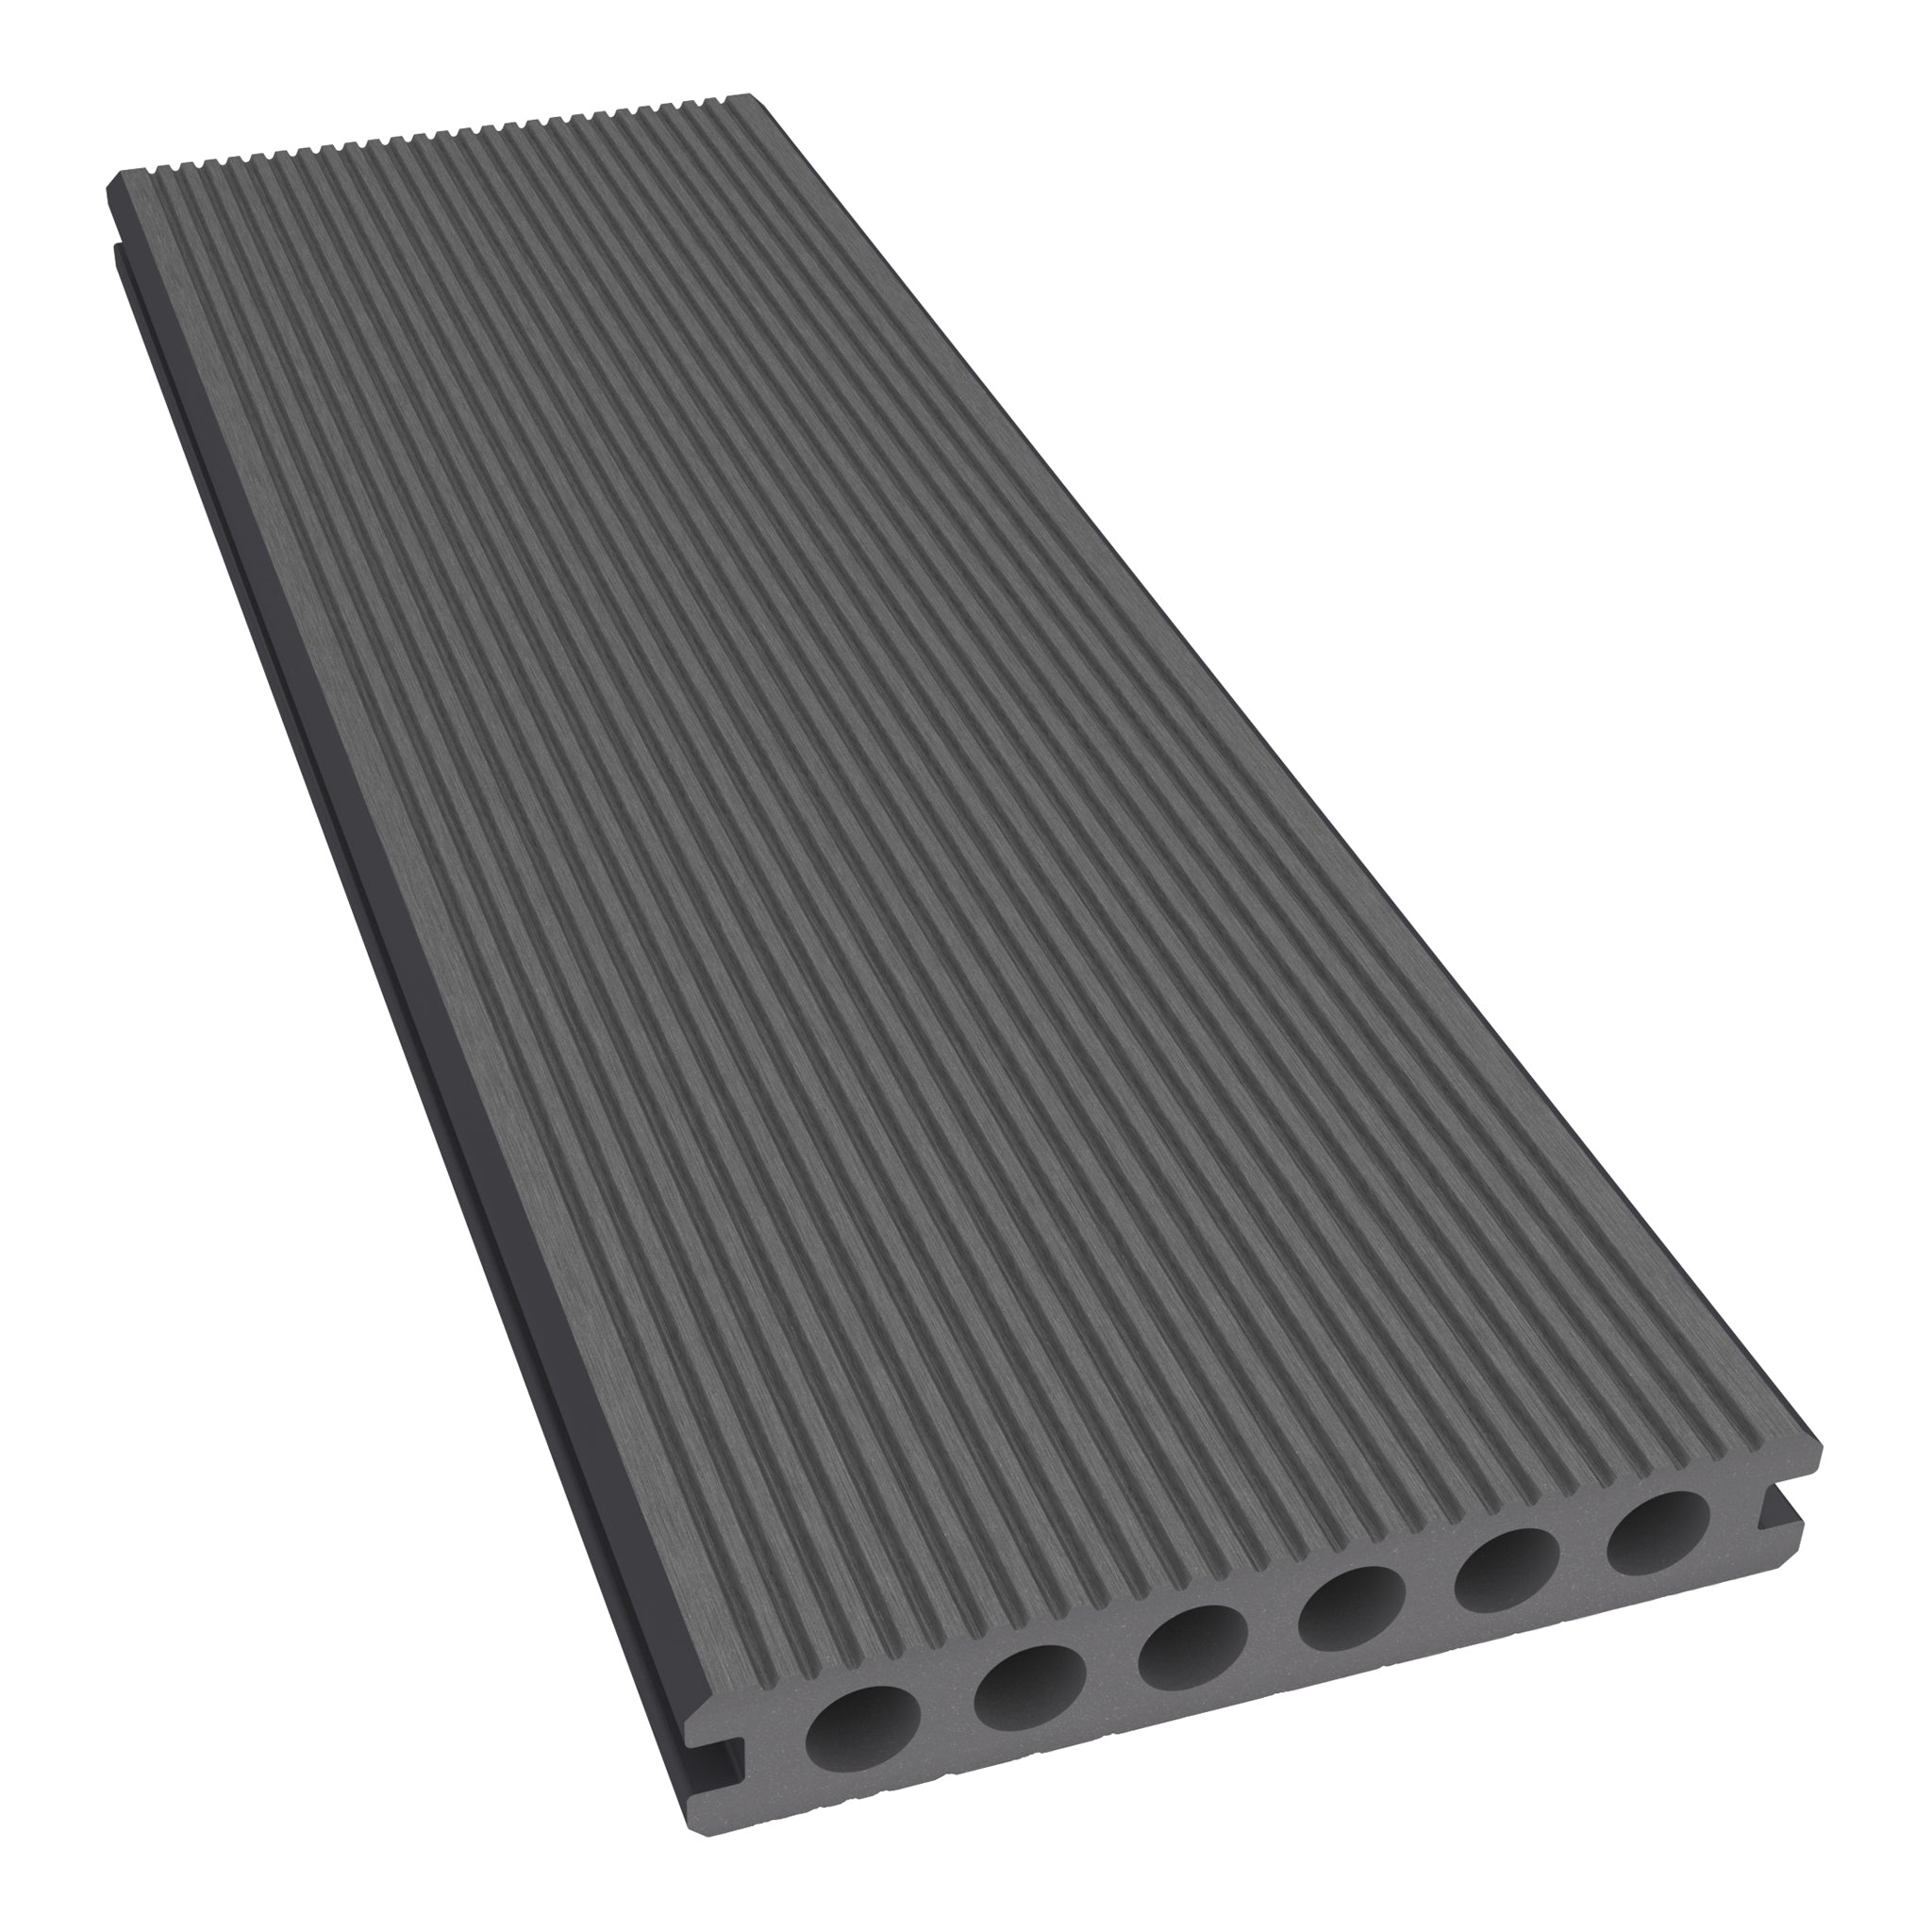
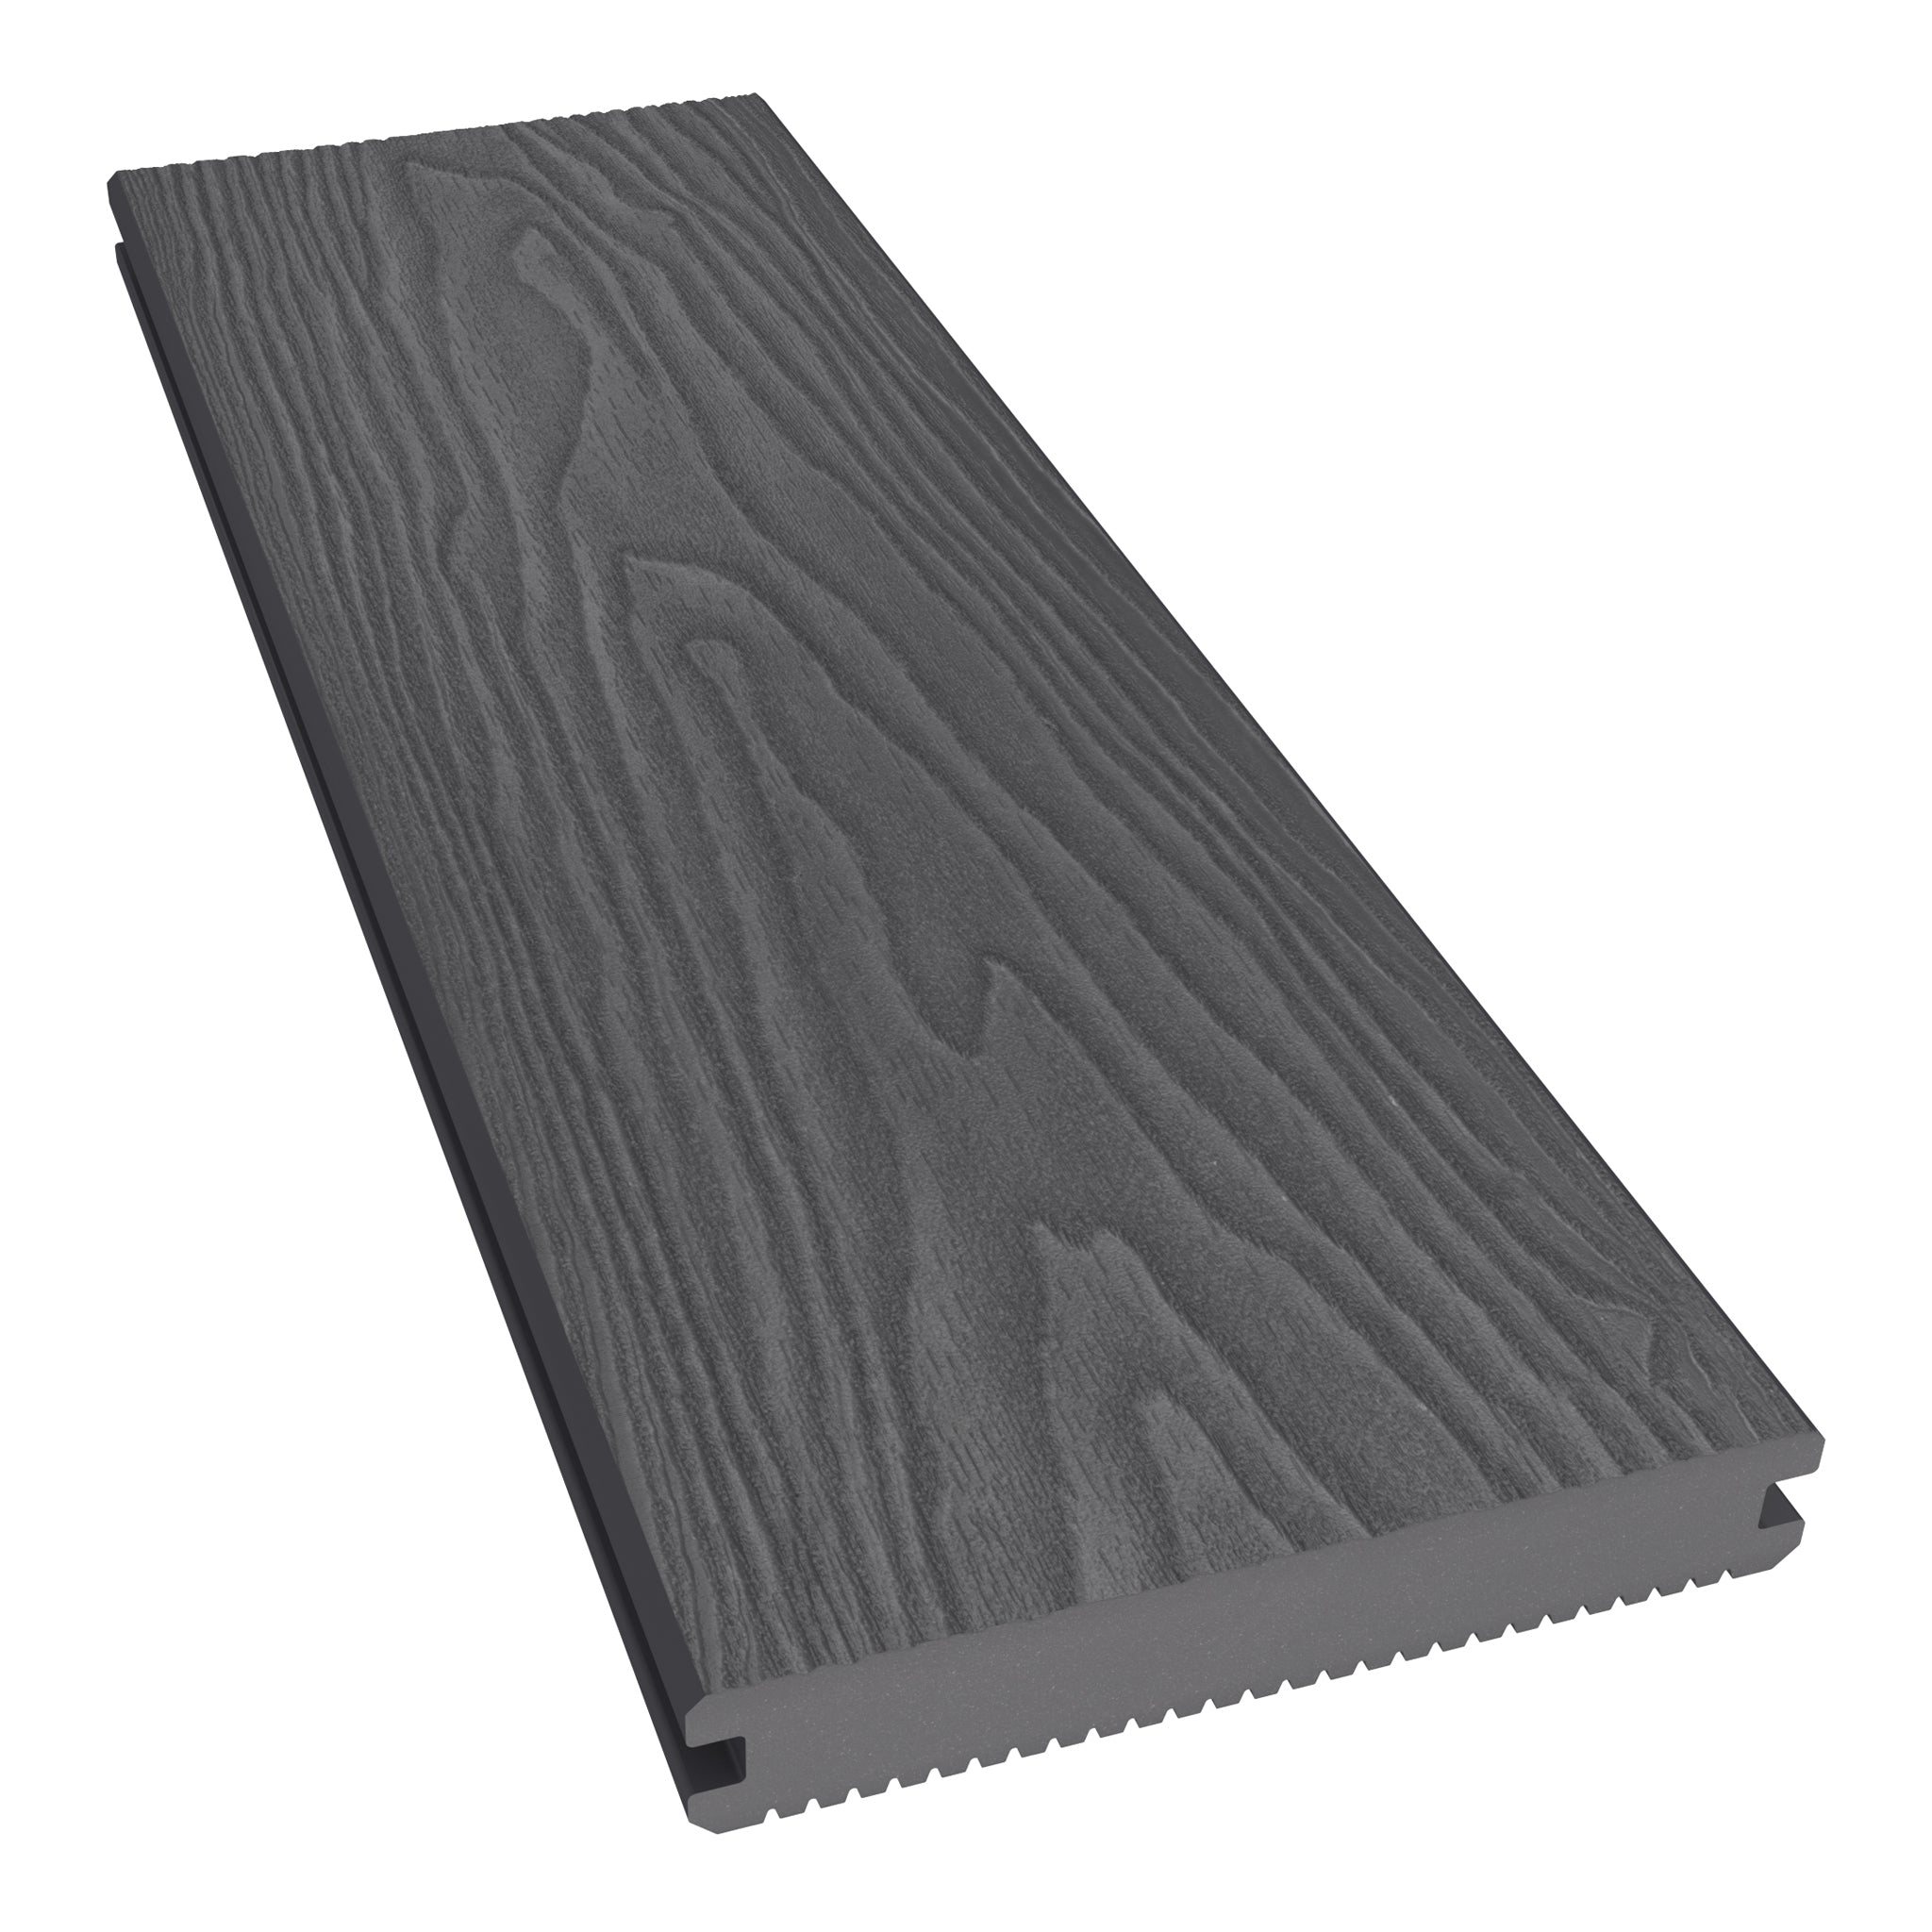
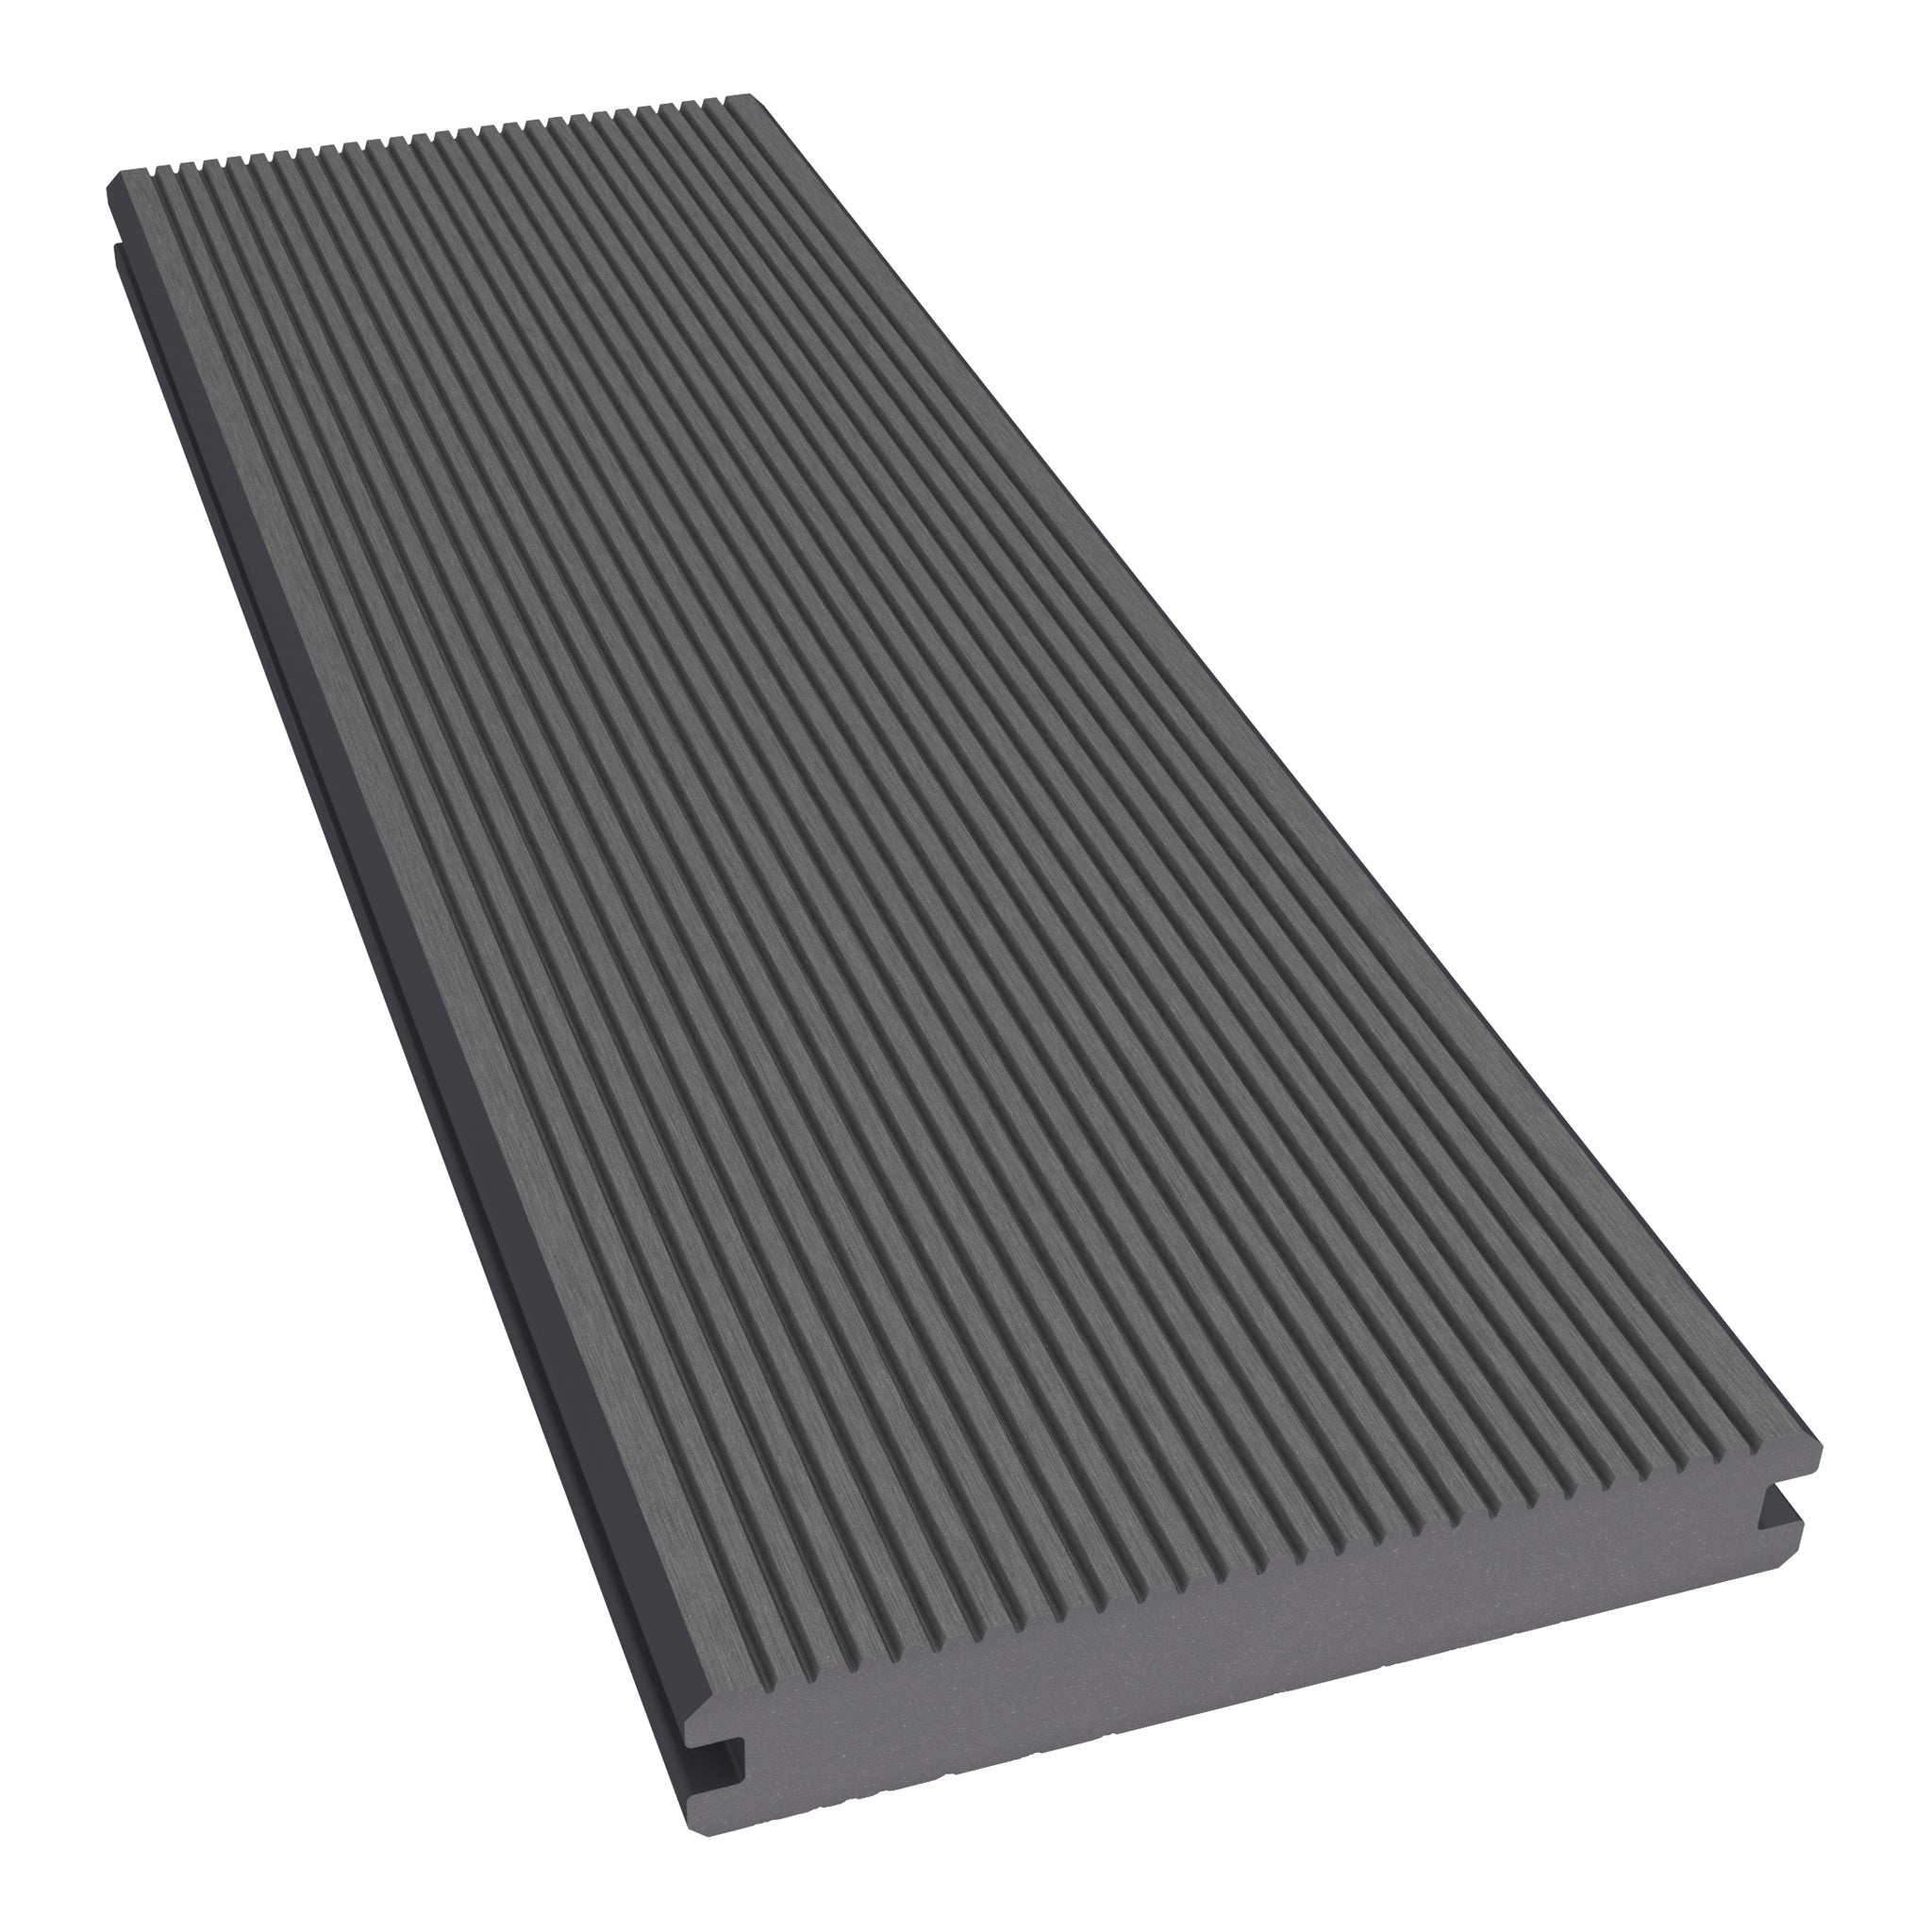
Laying Composite Decking
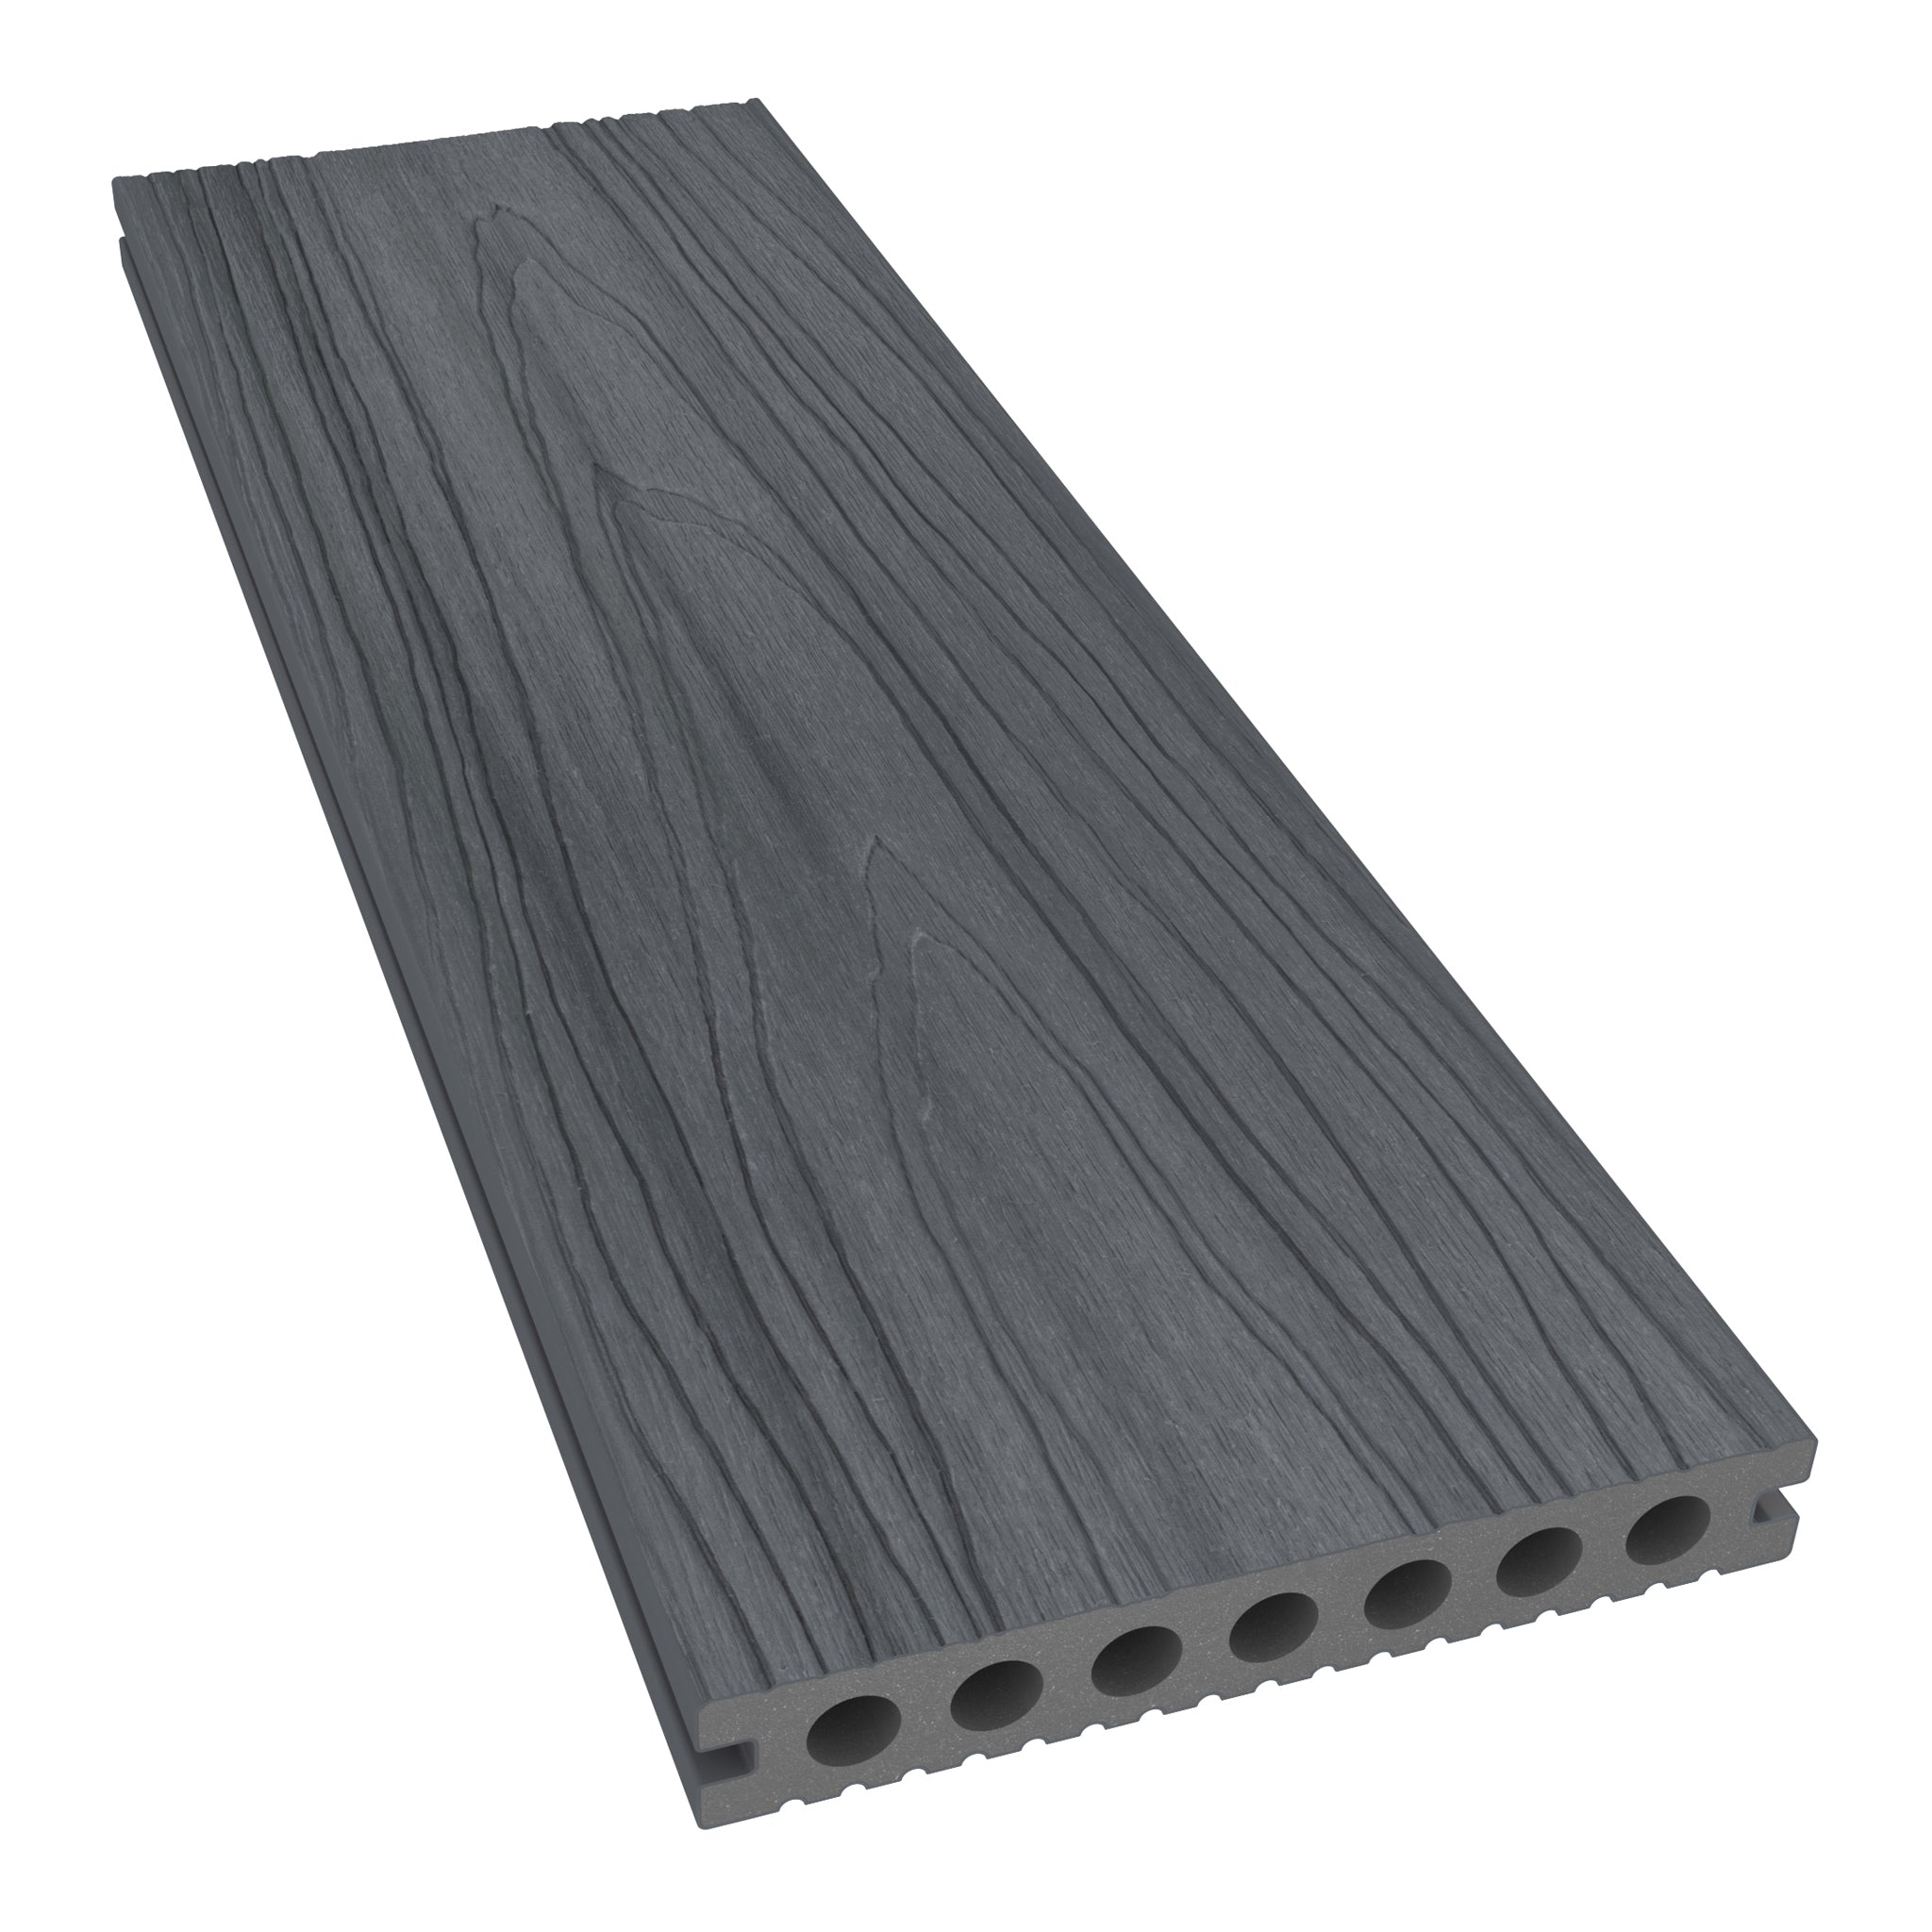
Once your subframe is ready, laying the composite decking is the next step. While some timber installation principles still apply, composite decking has unique requirements — especially around expansion gaps and fixings.

Composite boards expand and contract primarily with temperature changes. You must allow space for this movement.
Laying Composite Boards Using Purpose-Built Fixings
NeoTimber’s fixings range works seamlessly with our decking boards to secure boards while maintaining correct spacing.
Starter Clips
Secure your first row of boards neatly and discreetly.
FastClips
Available in 3mm metal and 6mm plastic. These fix the main body of the deck.
Decking Screws
Used for the final run of boards, fixed through the face or groove channel.
Trim Screws
Securely fix our trim options.
Allowing For Expansion Gaps
Expansion gaps must be provided between boards and around the perimeter:

Butt Joins
Allow 1–6mm depending on temperature.
Perimeter Gaps
Allow at least 8mm between the deck edge and any wall or fixed structure.
More guidance available in our pre-installation guide.
Installing NeoTimber’s Edging Options
Finishing the edges of your deck can be achieved using our three edging solutions. Below is a summary:

Skirting Trims
Fixed using trim screws. Pre-drill and countersink. Adhesives not recommended.
Corner Trims
Also fixed using trim screws. Pre-drill and countersink. Do not use adhesives.
Edge Board
Can be installed using a starter clip underneath and a screw or FastClip on the opposite side. Always pre-drill.
After More Help?
Transform your outdoor space with confidence by mastering composite decking installation. NeoTimber’s guide helps ensure your deck looks stunning and performs for years.
For more technical help:
- Contact our sales team.
- Visit our installation resources page.